Be a Land Steward.
Sign up for Greenhouse Gases -
a weekly-ish newsletter that will teach you the science behind regenerative gardening, with action steps to help you make a difference in your backyard.

Sign up for Greenhouse Gases -
a weekly-ish newsletter that will teach you the science behind regenerative gardening, with action steps to help you make a difference in your backyard.

My first year of growing tomatoes on new land under a greenhouse was a pretty big failure. But it gave me lots of motivation to learn how to make improvements to my tomato techniques and to the soil before the next planting season.
And the result? A year’s worth of tomato sauce (around 40 quart jars) from 24 plants!
This year I’m trying my hand at these storage tomatoes in addition to my standard 24 paste tomato plants.
Growing tomatoes from seed does take some preparation, and some of these techniques actually require you to start thinking about your tomato crop a year in advance. But, start where you are and get those tomatoes planted - your pantry will thank you!
Like I mentioned in the introduction, the year we had a tomato failure, it our first time planting in the heavy clay soil that was under our greenhouse. We didn’t have time to prep the soil with a cover crop. We thought that the compost we got delivered would be enough, but it’s likely that the soil microbiome hadn’t really established itself.
After the season was done, I cleared out all of the tomatoes from last year and planted a cover crop of daikon radish to add aeration and organic matter to the soil. I also scattered some peas in there for additional organic matter + a bonus boost of nitrogen.
When the cover crop was complete, we mulched the area with the daikon greens + pea vines, leaving the radishes in the ground to naturally decompose. I planted a few late winter/early spring plants to keep the soil covered until it was tomato time.
So while you may not have the time to do this before your tomato planting, it’s a great thing to plan out now for the upcoming winter to support the soil structure for next year’s planting.
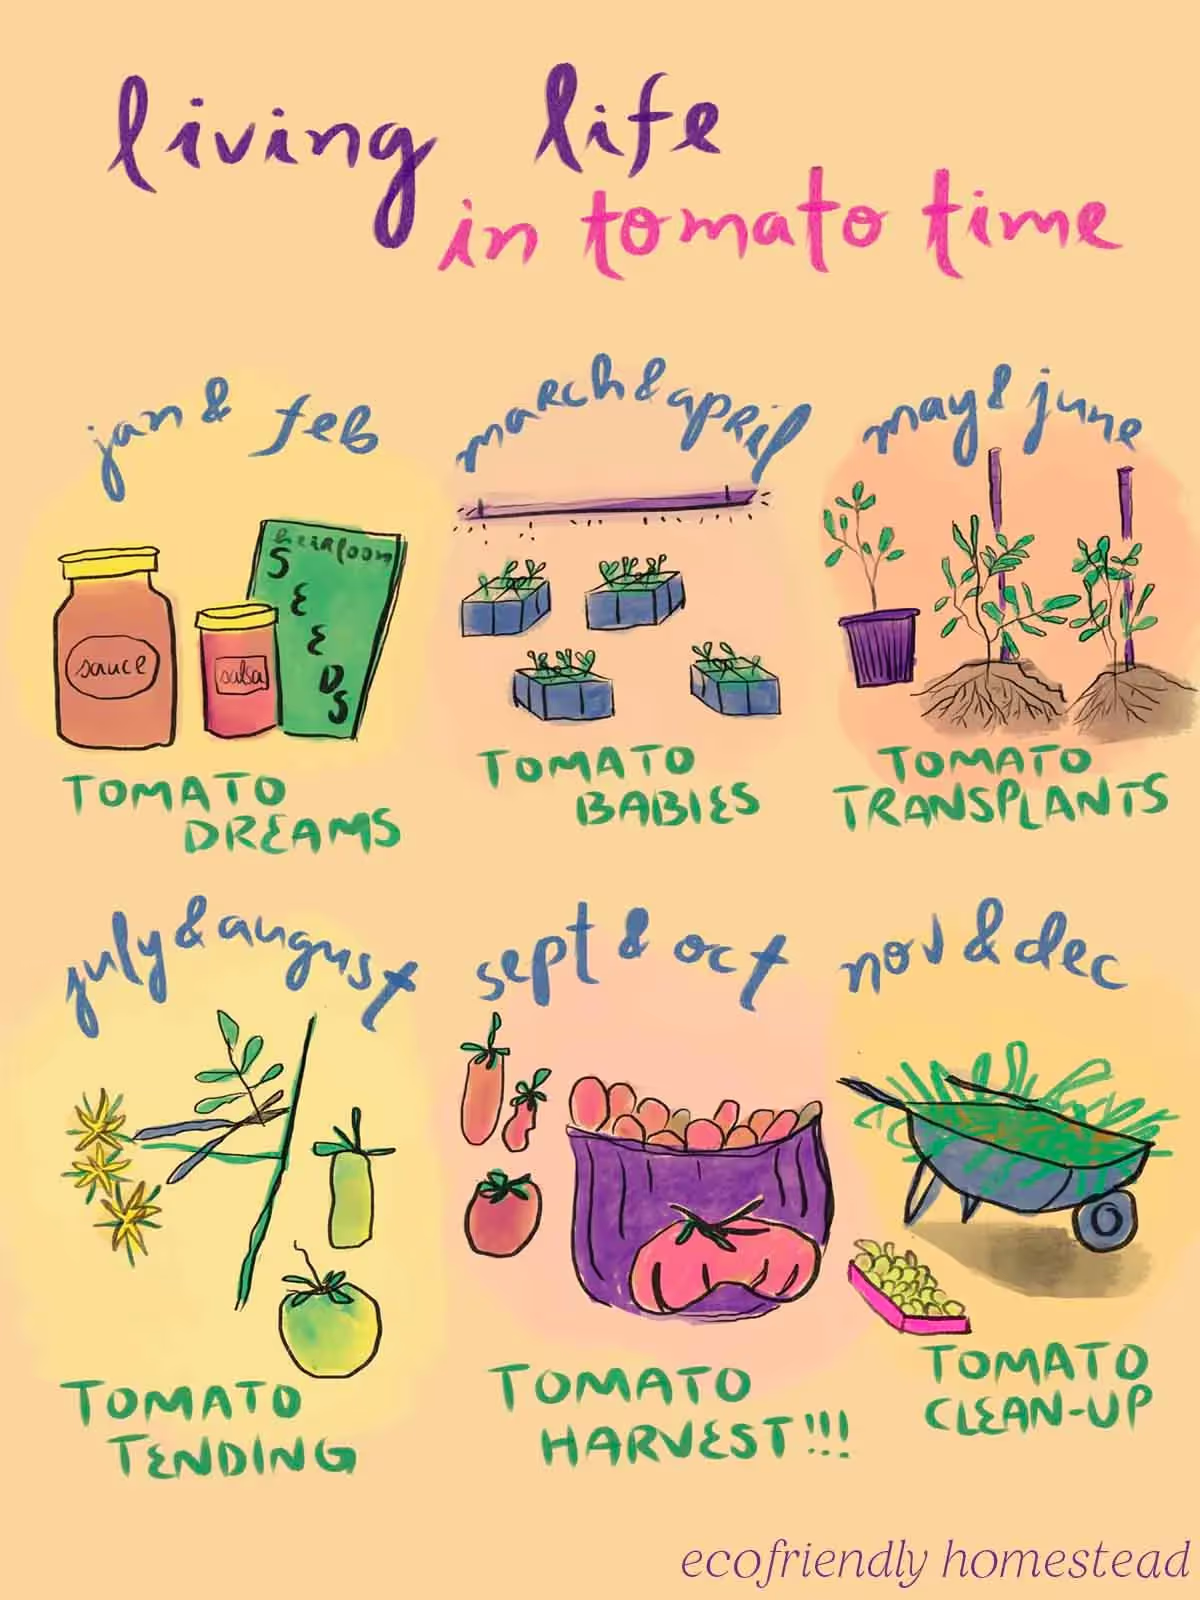
The year our tomatoes didn’t do well, we planted our transplants in the ground in mid-June.
We changed that and going forward, our tomato transplants are in the ground by mid-May. This gave the tomatoes a chance to develop roots, grow, and bloom, before the intense heat of July set in.
While tomatoes love the heat, they actually only develop fruit when it’s in the temperature range of 70-85 degrees (source).
With a mission to have tons of tomato sauce lining your pantry shelves, it’s tempting to put transplants at the smallest spacing that is recommended.
There were huge downsides to this. It made it hard to navigate between rows, which made it hard to tend to the plants thoroughly for pruning. This also meant the plants were competing more heavily for water and resources, and that air circulation between the plants wasn’t the best. Low air circulation is a great way to invite disease to your plants.
By increasing the row spacing to every 24 inches, we doubled the spacing in between rows. It was easier to keep up with pruning suckers and with general plant wellness checks too.
Piggybacking off of the last point, pruning new suckers and bottom dead leaves off plants twice a week helps air circulation and keeps plants focused on producing tomatoes instead of producing new green growth.
I had previously set the drip irrigation to water the tomatoes 3 times each week. In hindsight this was too often, as it didn’t allow the tomato roots to grow as deeply and as strongly as they would have otherwise if they had to search a little for water.
What works well for us now is to water twice a week, for 1 hour on drip irrigation, and the tomatoes seem to be thriving because of it.
I got a great tip from one of Huw Richards’ recent videos on holding off on watering your tomatoes once you’ve transplanted them into the soil.
Of course, you still water them in, but after that, he suggests waiting to further water them for 7-10 days after this point. This encourages the roots to search for water, and the plant will establish itself in a more sturdy way.
Sometimes the newly transplanted tomatoes don’t make it through the water hold - usually around two in my experience. I have backup plants that I save to swap out. In a way I think was great - it meant that those plants may have not been in the best health, and may have struggled from something else later on in the season.
We do some light mulching with decaying plant material from cover crops and other plant residue. Heavy mulching isn’t recommended in greenhouses, since a greenhouse and not as open to air flow.
Light mulching may have helped the water to be retained better in the soil, prevented weeds from cropping up around the tomatoes, and offered nutrition to the soil as the mulch broke down.
In other areas of the greenhouse and nearby, we planted a few plants known for being beneficial to tomatoes.
Our companion plants of choice are basil, sweet alyssum, calendula, and marigolds.
Honestly, I’d grow tons of basil even if it wasn’t a known companion plant since it’s a summer classic. This student study found that growing basil with tomatoes had the same effect as fertilizing tomato plants when compared to a control group of tomatoes. The root system of tomato plants paired with basil weighed twice as much as tomato plants that received fertilizer applications.
What really seals the deal though is that the plants paired with basil had twice as many fruits harvested as the fertilized tomato plants, and more than four times the harvest of the control plants.
Sweet Alyssum is an attractor to a parasitic wasp that feeds on tomato hornworms. While tomato hornworms are a big problem here, I’m hoping to keep it that way. I first learned this tip from Kevin at Epic Gardening.
As for marigolds, it was found in one study to reduce greenhouse whiteflies, and in other study marigolds reduced levels of root knot nematode. Calendula is very similar to marigold in terms of its phytochemicals, and with its medicinal properties it makes a great two-for-one addition to the garden.
This works best when taking substantial cuttings from a plant - we’re talking maybe 2 feet tall. I put these in spaces outside of the greenhouse, and they end up giving me a late harvest in a way that makes this a perfect succession technique.
