
Be a Land Steward.
Sign up for Greenhouse Gases -
a weekly-ish newsletter that will teach you the science behind regenerative gardening, with action steps to help you make a difference in your backyard.

Sign up for Greenhouse Gases -
a weekly-ish newsletter that will teach you the science behind regenerative gardening, with action steps to help you make a difference in your backyard.
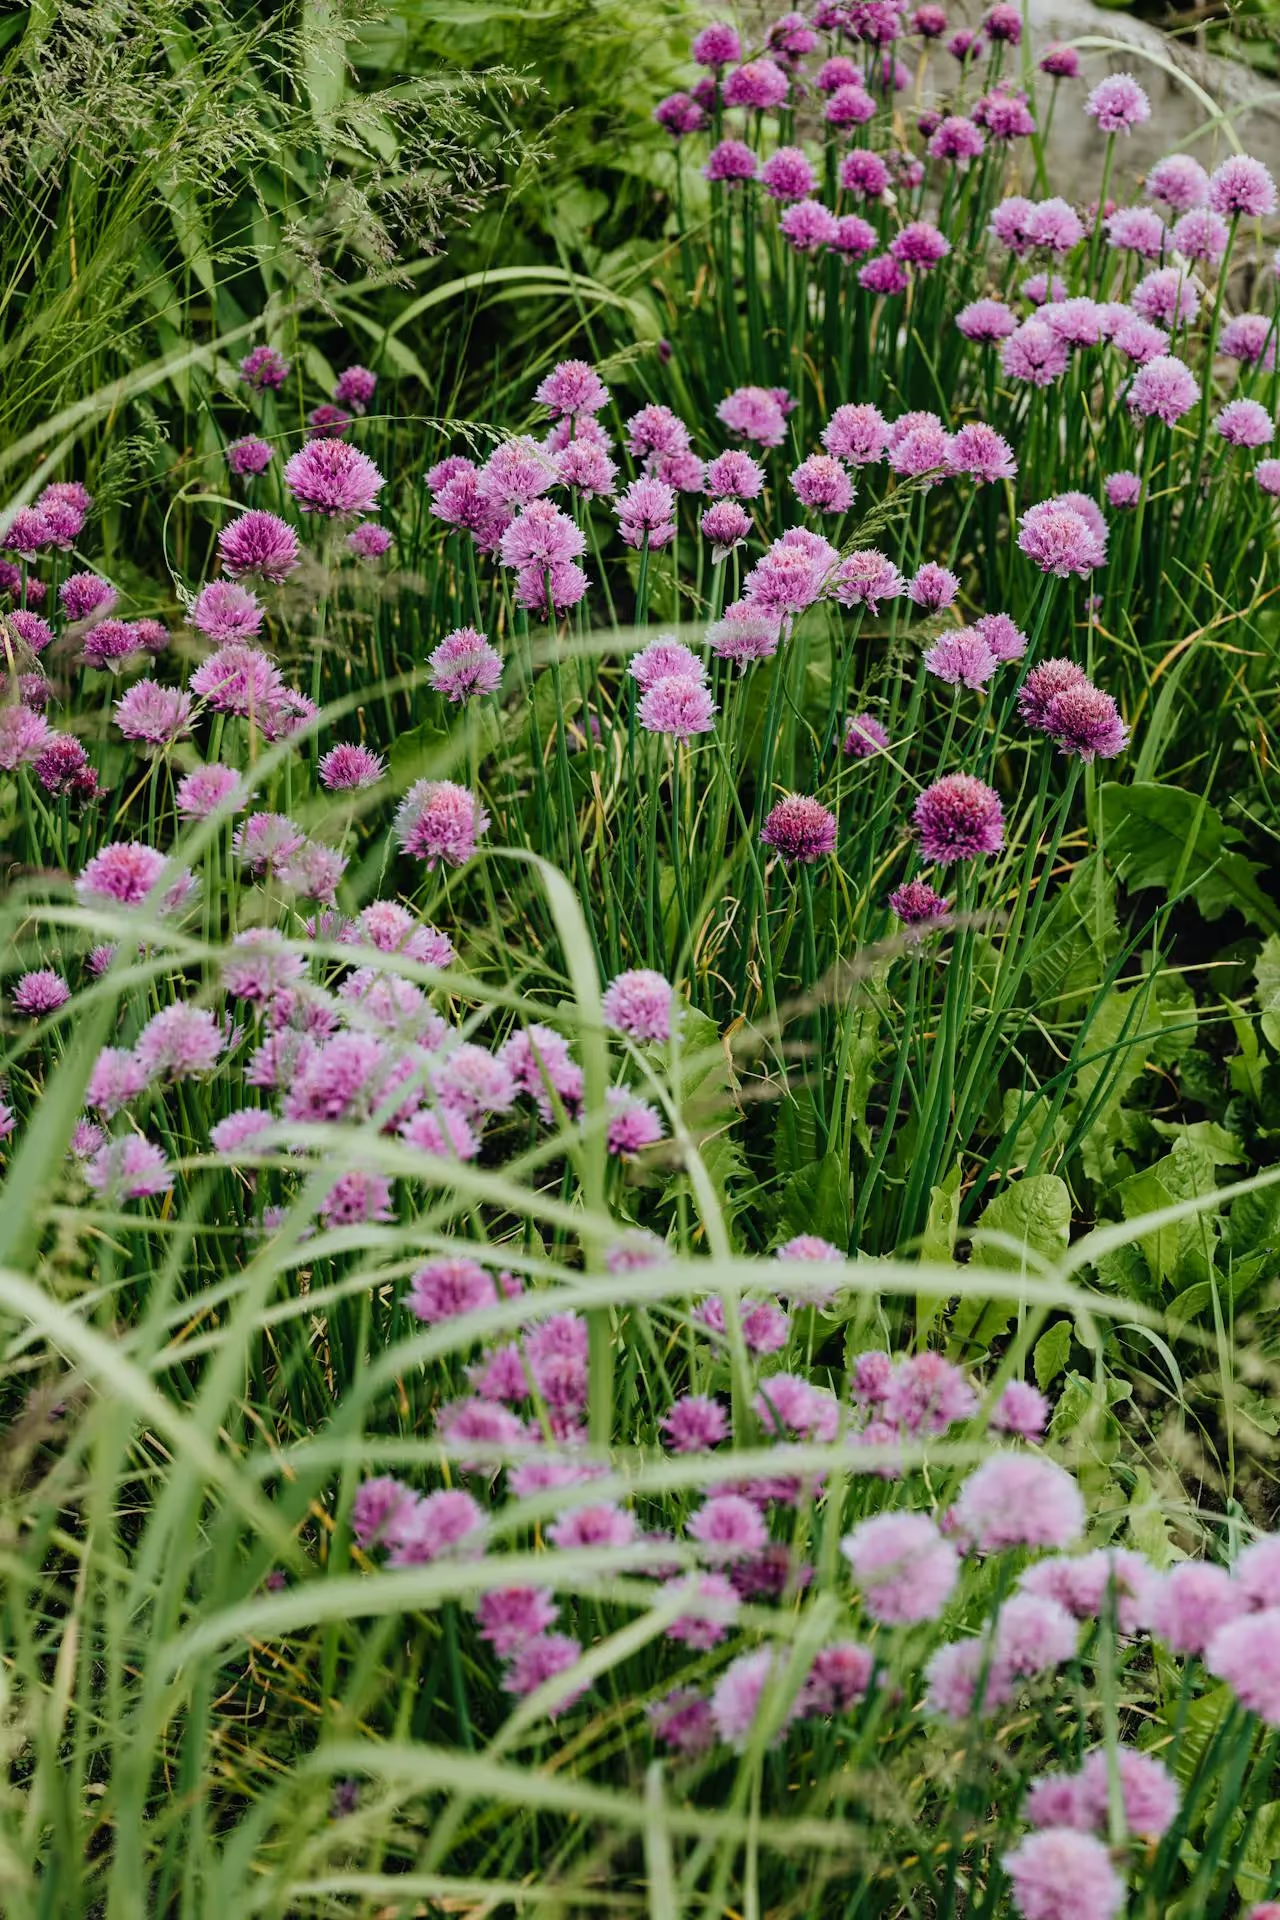
If you've ever enjoyed the fresh, onion-like flavor of chives in your dishes, you know just how delightful this herb can be.
But did you know that you can easily multiply your chive plants through a process called division?
This method not only boosts your garden’s yield but also helps rejuvenate older plants.
While chives are perennial, dividing them can improve their productivity.
In this post, I’ll share how I propagate chives by division - no tools or gadgets required!
Division is one way to propagate your perennial plants. You are essentially splitting up one plant - dividing it at the root level - in order to multiply your plant population.
The important thing to keep in mind is that for division to be successful, plants should be split up so that the “new” plant comes with its own root system in tact.
Chives are a great first plant to practice division with. In fact, these were the first plant I ever propagated with this technique! Without much fuss, they settled in just as I hoped they would.
Chives are perfect for root division, since they naturally expand outwards in a clumping fashion as they get established in the garden.
When you divide these clumps, you create more plants from a single parent. This is a cost-effective, easy, and straightforward way to expand your herb garden and get more flavor from your backyard.
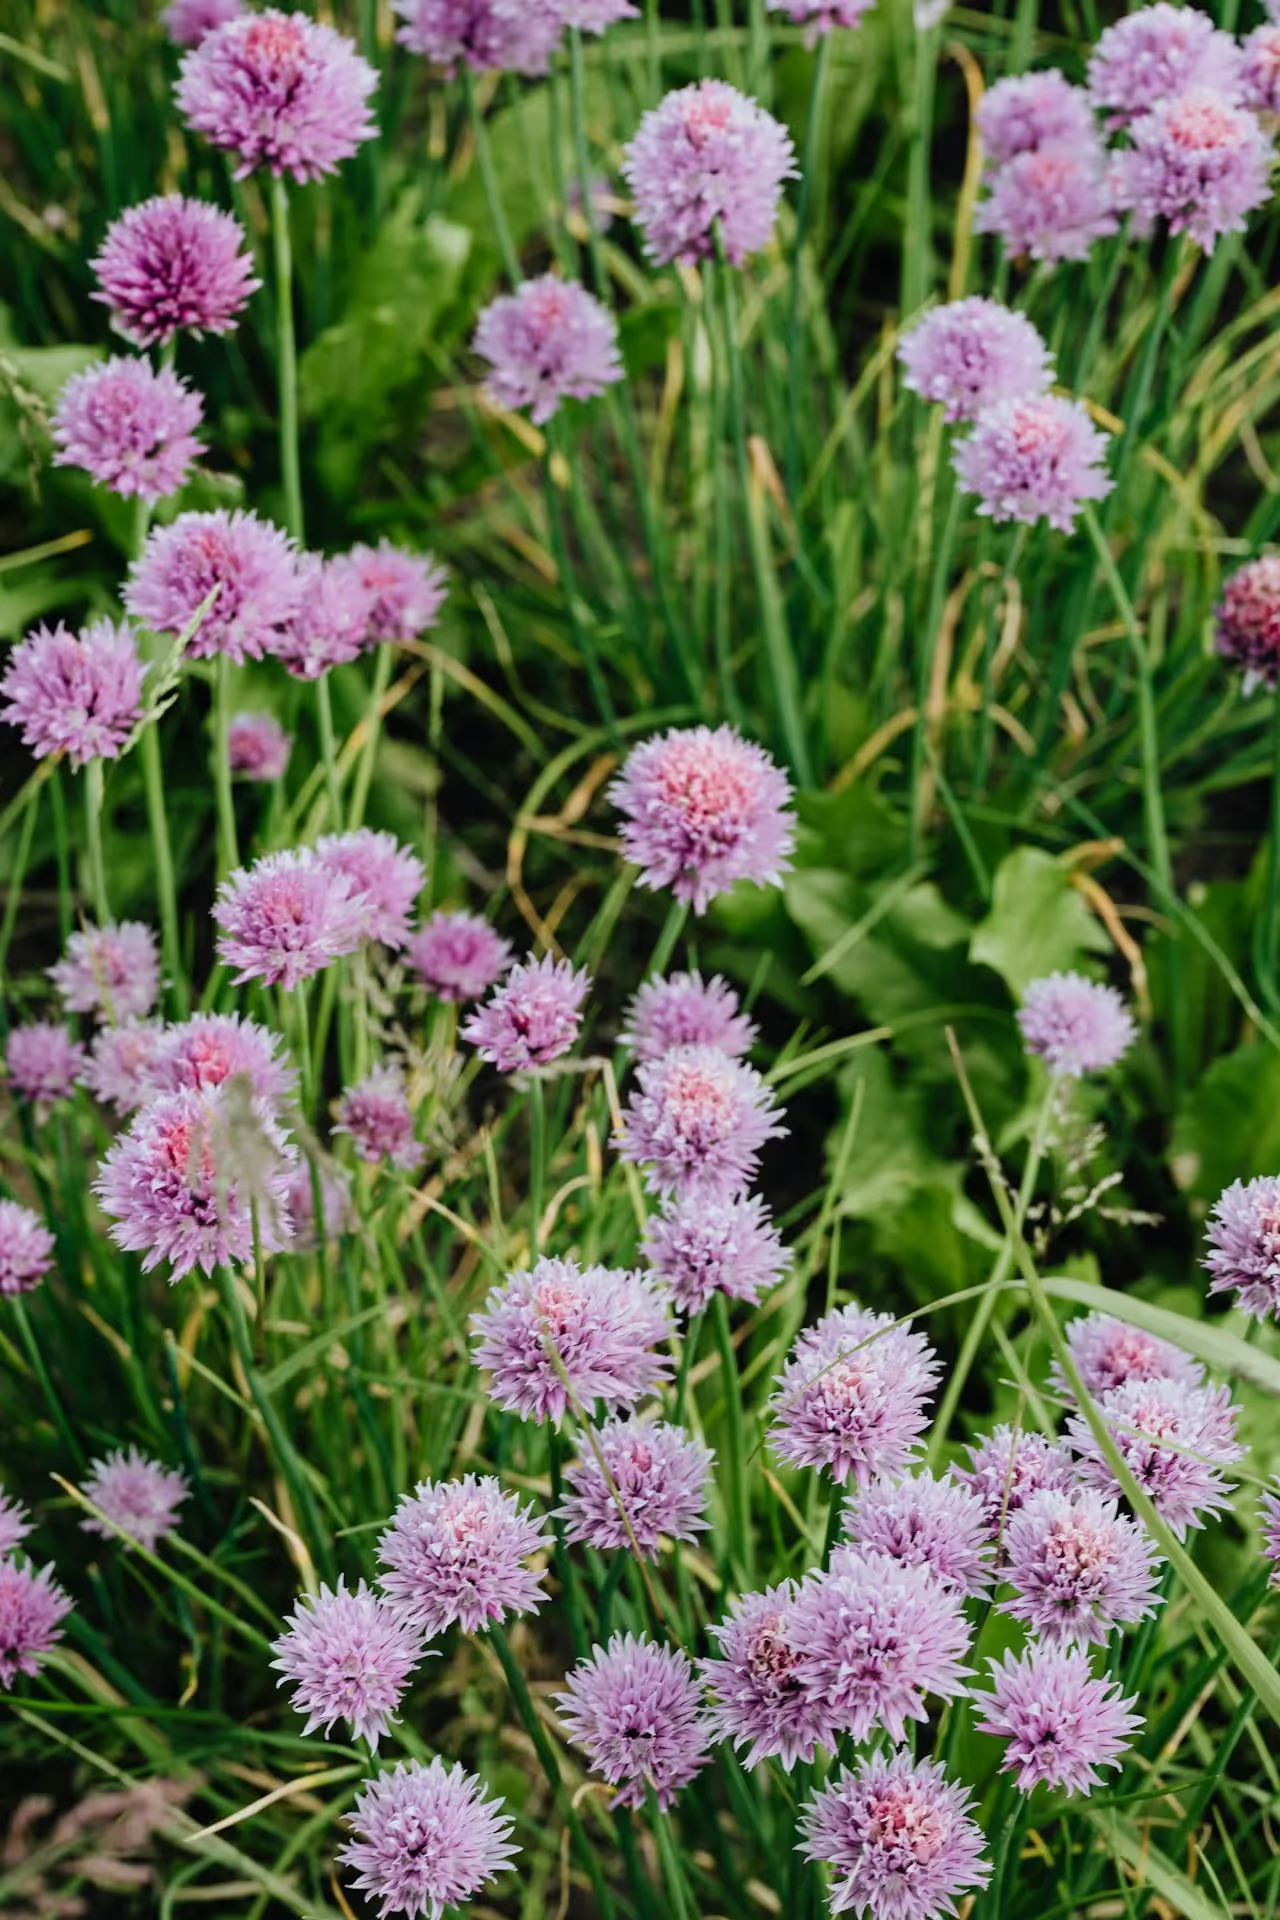
There are several benefits that come with propagating chives by division:
In order to have enough plant to divide up, you’ll want your chives to be in at least their second growing season. This gives them time to form numerous clumps.
While you can divide chives any time of year, the best periods for division are early spring according to University of MN Extension.
During this time, the plants are not in active growth, but will be starting soon. The goal is to let the new plants experience mild weather so they aren’t stressed by extreme heat or cold.
As a note, I’ve divided chives in spring, summer, and fall with the same amount of success.
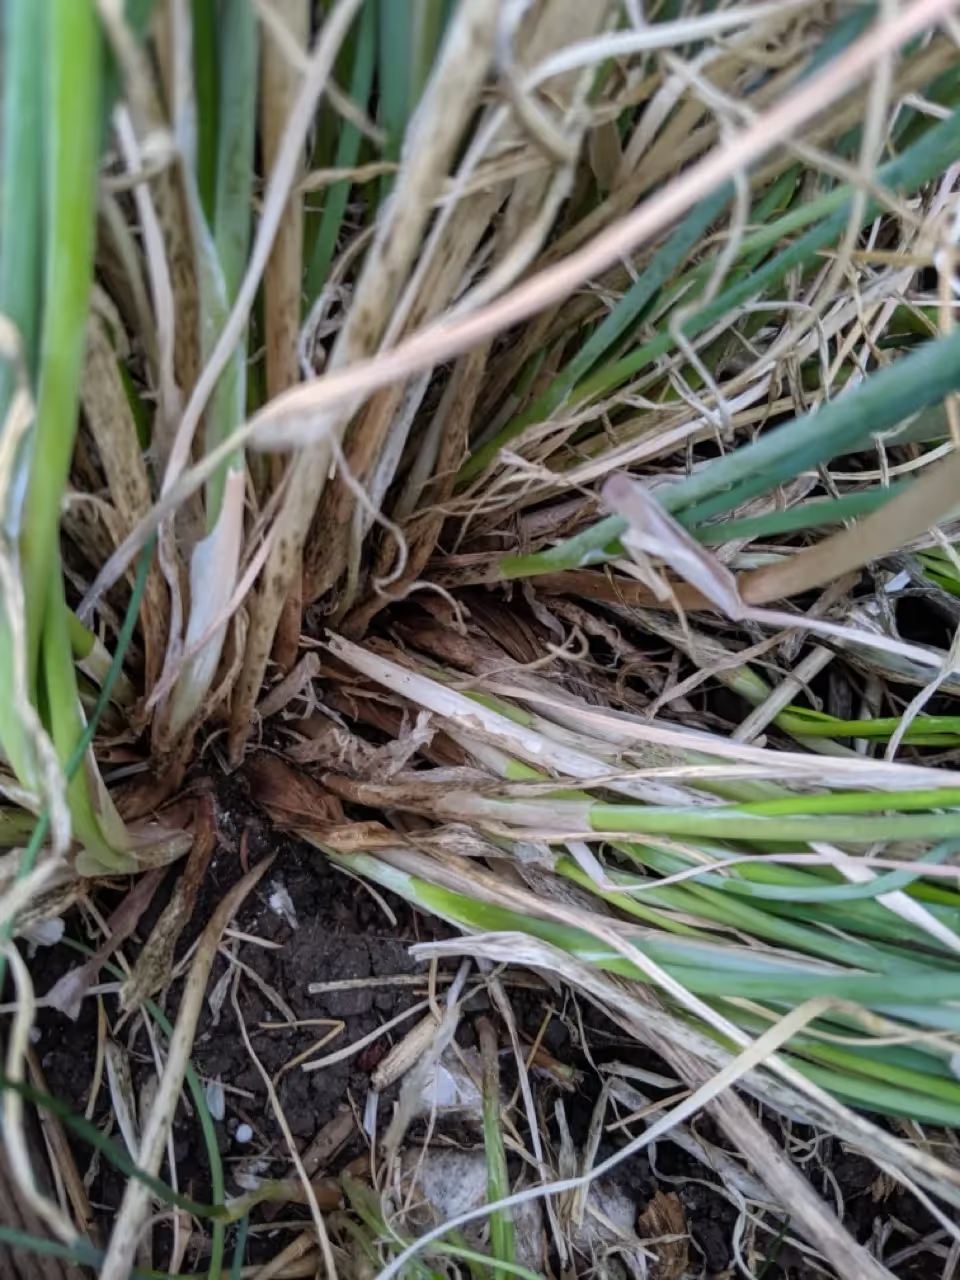
Here are some indicators that your chives would benefit from division:
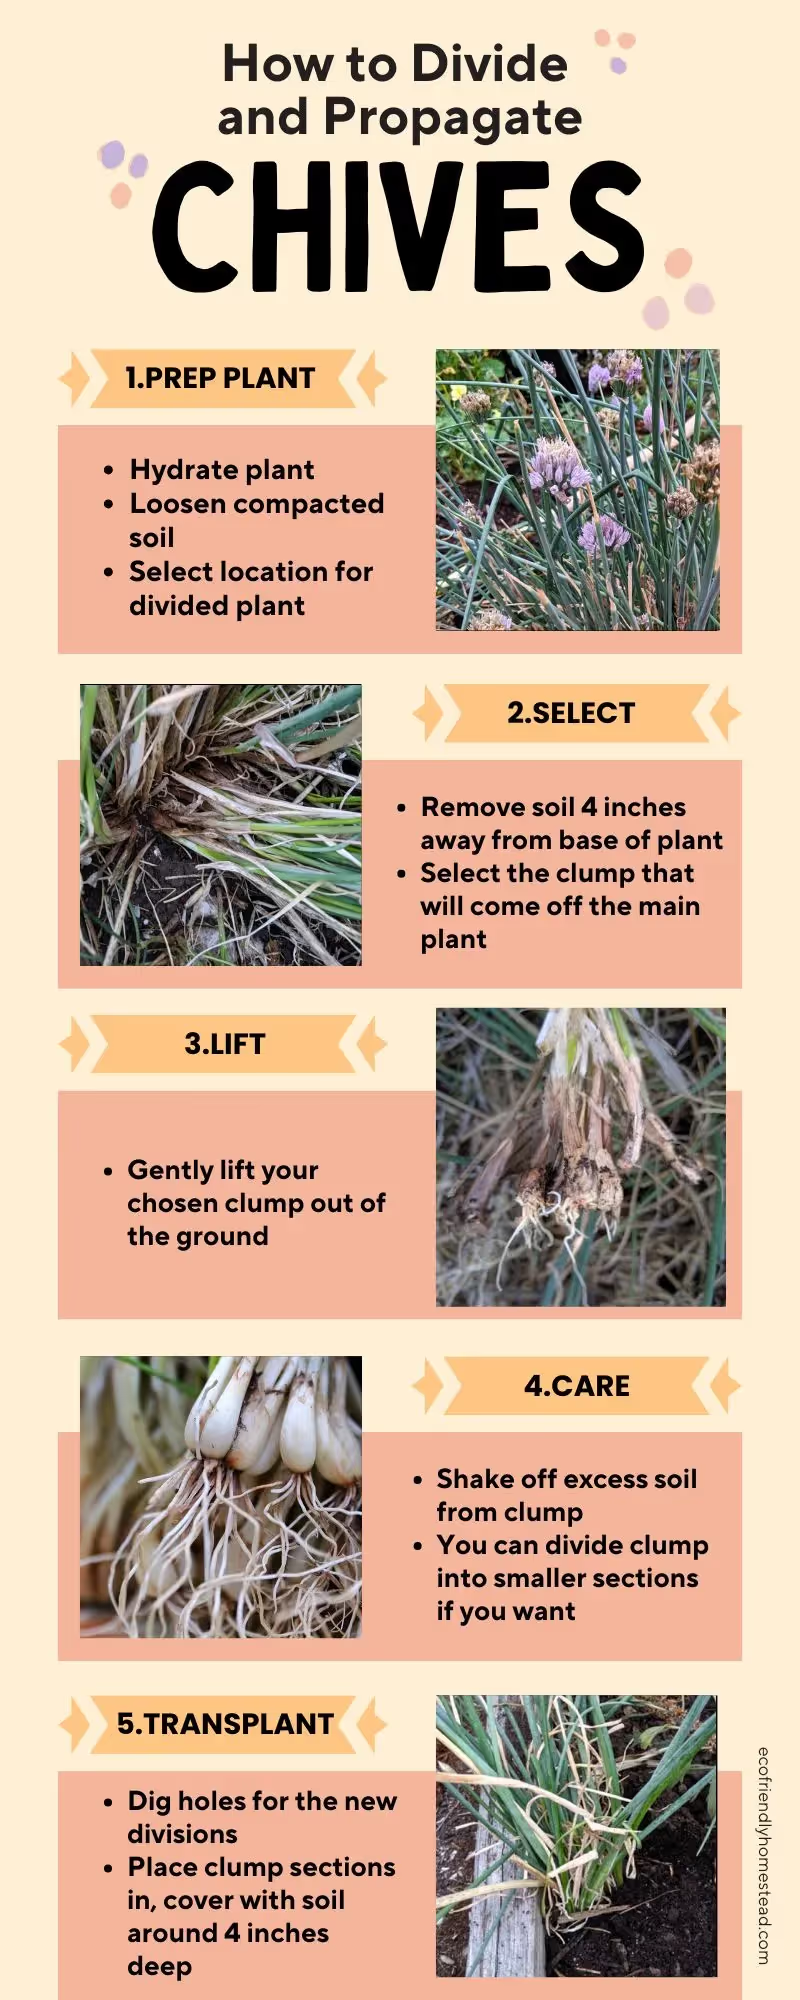
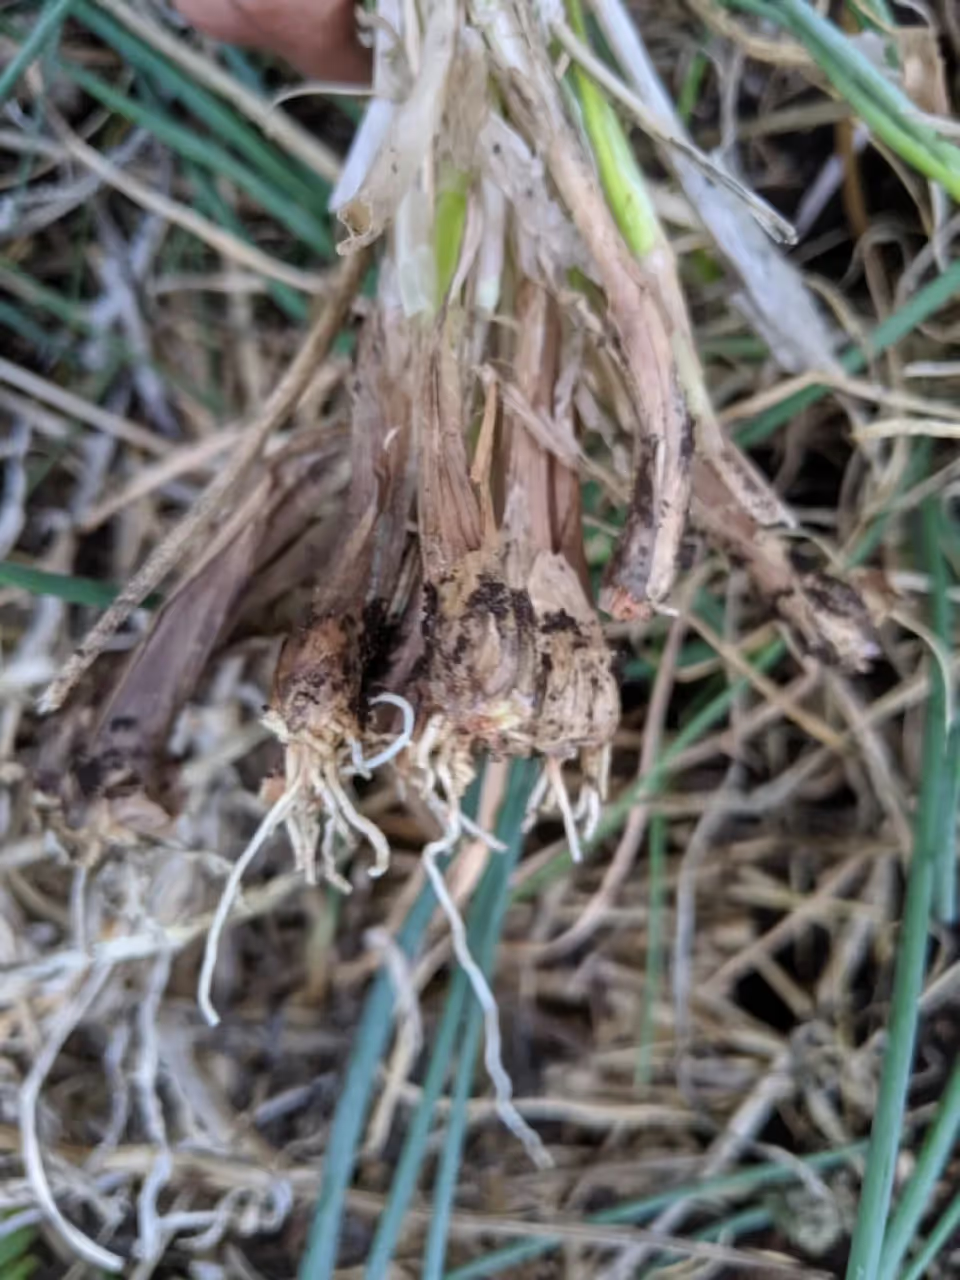
Digging Out:
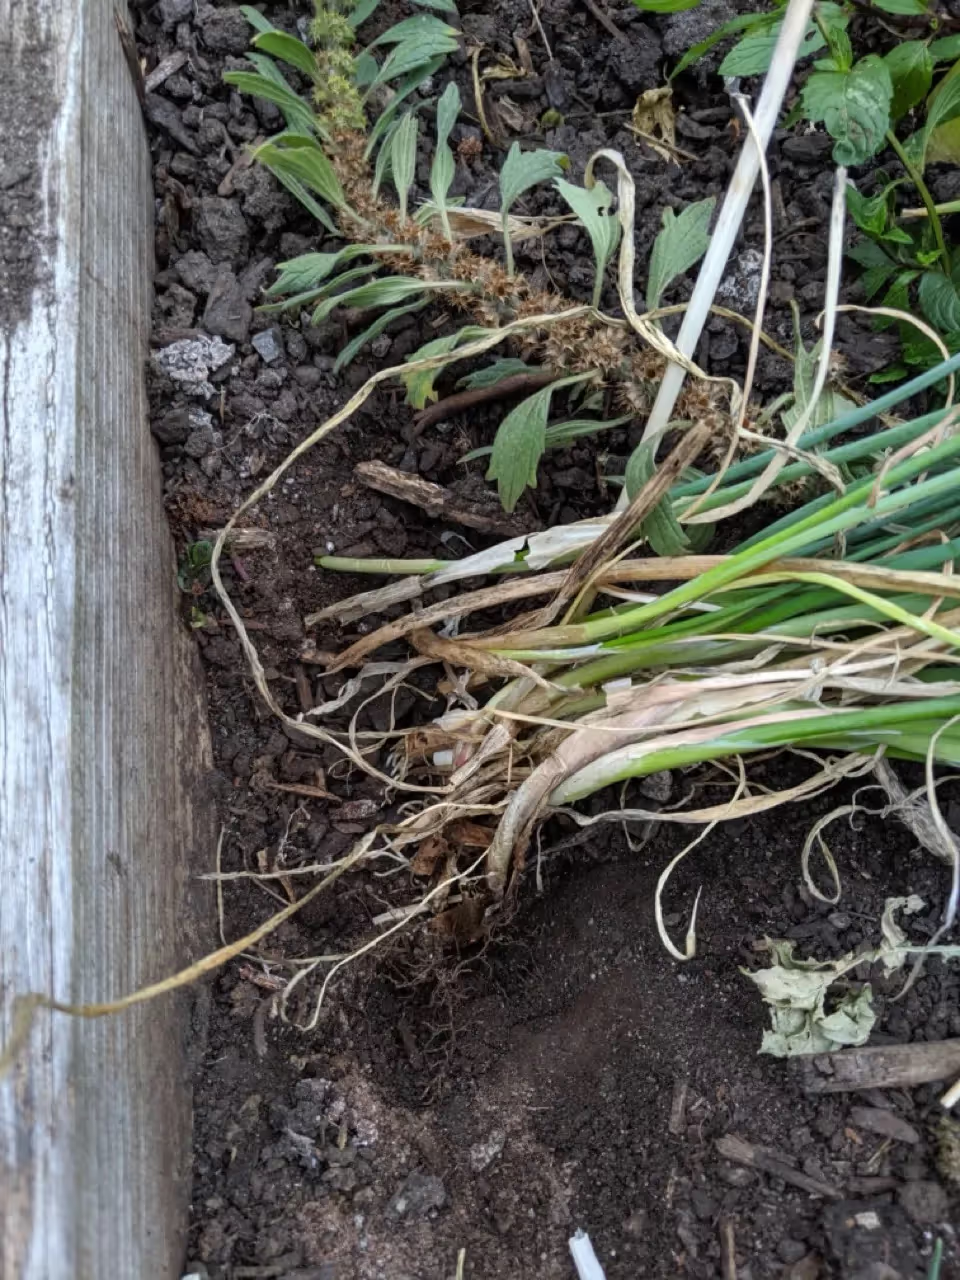
Division:
Replanting:
Keep it Hydrated:
Optional: Amend:
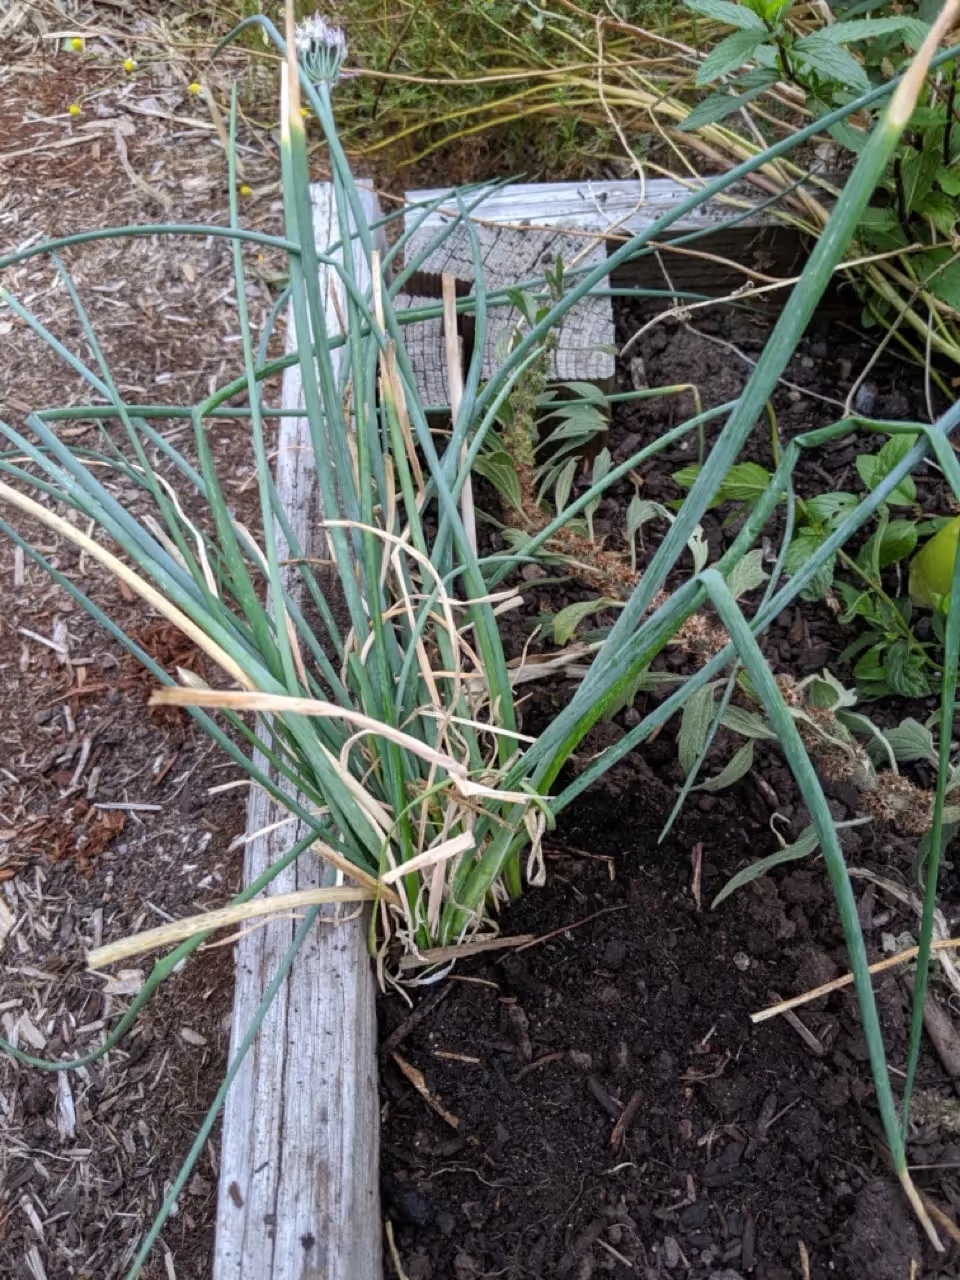
Consistent Moisture:
Nutrient Boost:
While division is an effective method, you can also propagate chives from seeds. However, this method takes longer and is less reliable.
The first time I divided my chives, it was due to overgrowth. I had a chive plant growing in my greenhouse that was starting to spread a little too far.
I decided to see what would happen if I simply lifted some of the plant out and transplanted it elsewhere. I transplanted the cluster into some rows nearby, with the intention of extending my chive harvest window.
To my delight, it worked! Almost a little too well, actually. After a few seasons, the chives in these rows spread vigorously, which just meant that I had more divisions that I could make.
Now, I have chives scattered throughout the garden in different growing conditions. This allows me to harvest chive blooms over the summer with a seemingly endless supply. I’ve even had enough plants where I have shared excess clusters with neighbors, so they have their own plants too.
I love adding chopped chives to salads, or as a garnish to stir-fries or baked potatoes. Their pungent flavor really brightens up any savory meal.
Technically, you can divide an established cluster of chives every year. Select groupings of chives from the outer edge of the stand. For younger chive plants, you probably will want to wait a couple of years to get going with division.
Yes, chives can be divided and then grown in pots. Ensure the pots are large enough to accommodate the new divisions.
Divided chives typically establish themselves within a few weeks and will start producing new growth soon after.
Propagating chives by division is a straightforward and rewarding gardening practice. Not only does it increase your yield, but it also promotes the health and longevity of your plants. Give it a try, and you may find yourself with a thriving chive garden that you can share with friends and family.