
Be a Land Steward.
Sign up for Greenhouse Gases -
a weekly-ish newsletter that will teach you the science behind regenerative gardening, with action steps to help you make a difference in your backyard.

Sign up for Greenhouse Gases -
a weekly-ish newsletter that will teach you the science behind regenerative gardening, with action steps to help you make a difference in your backyard.
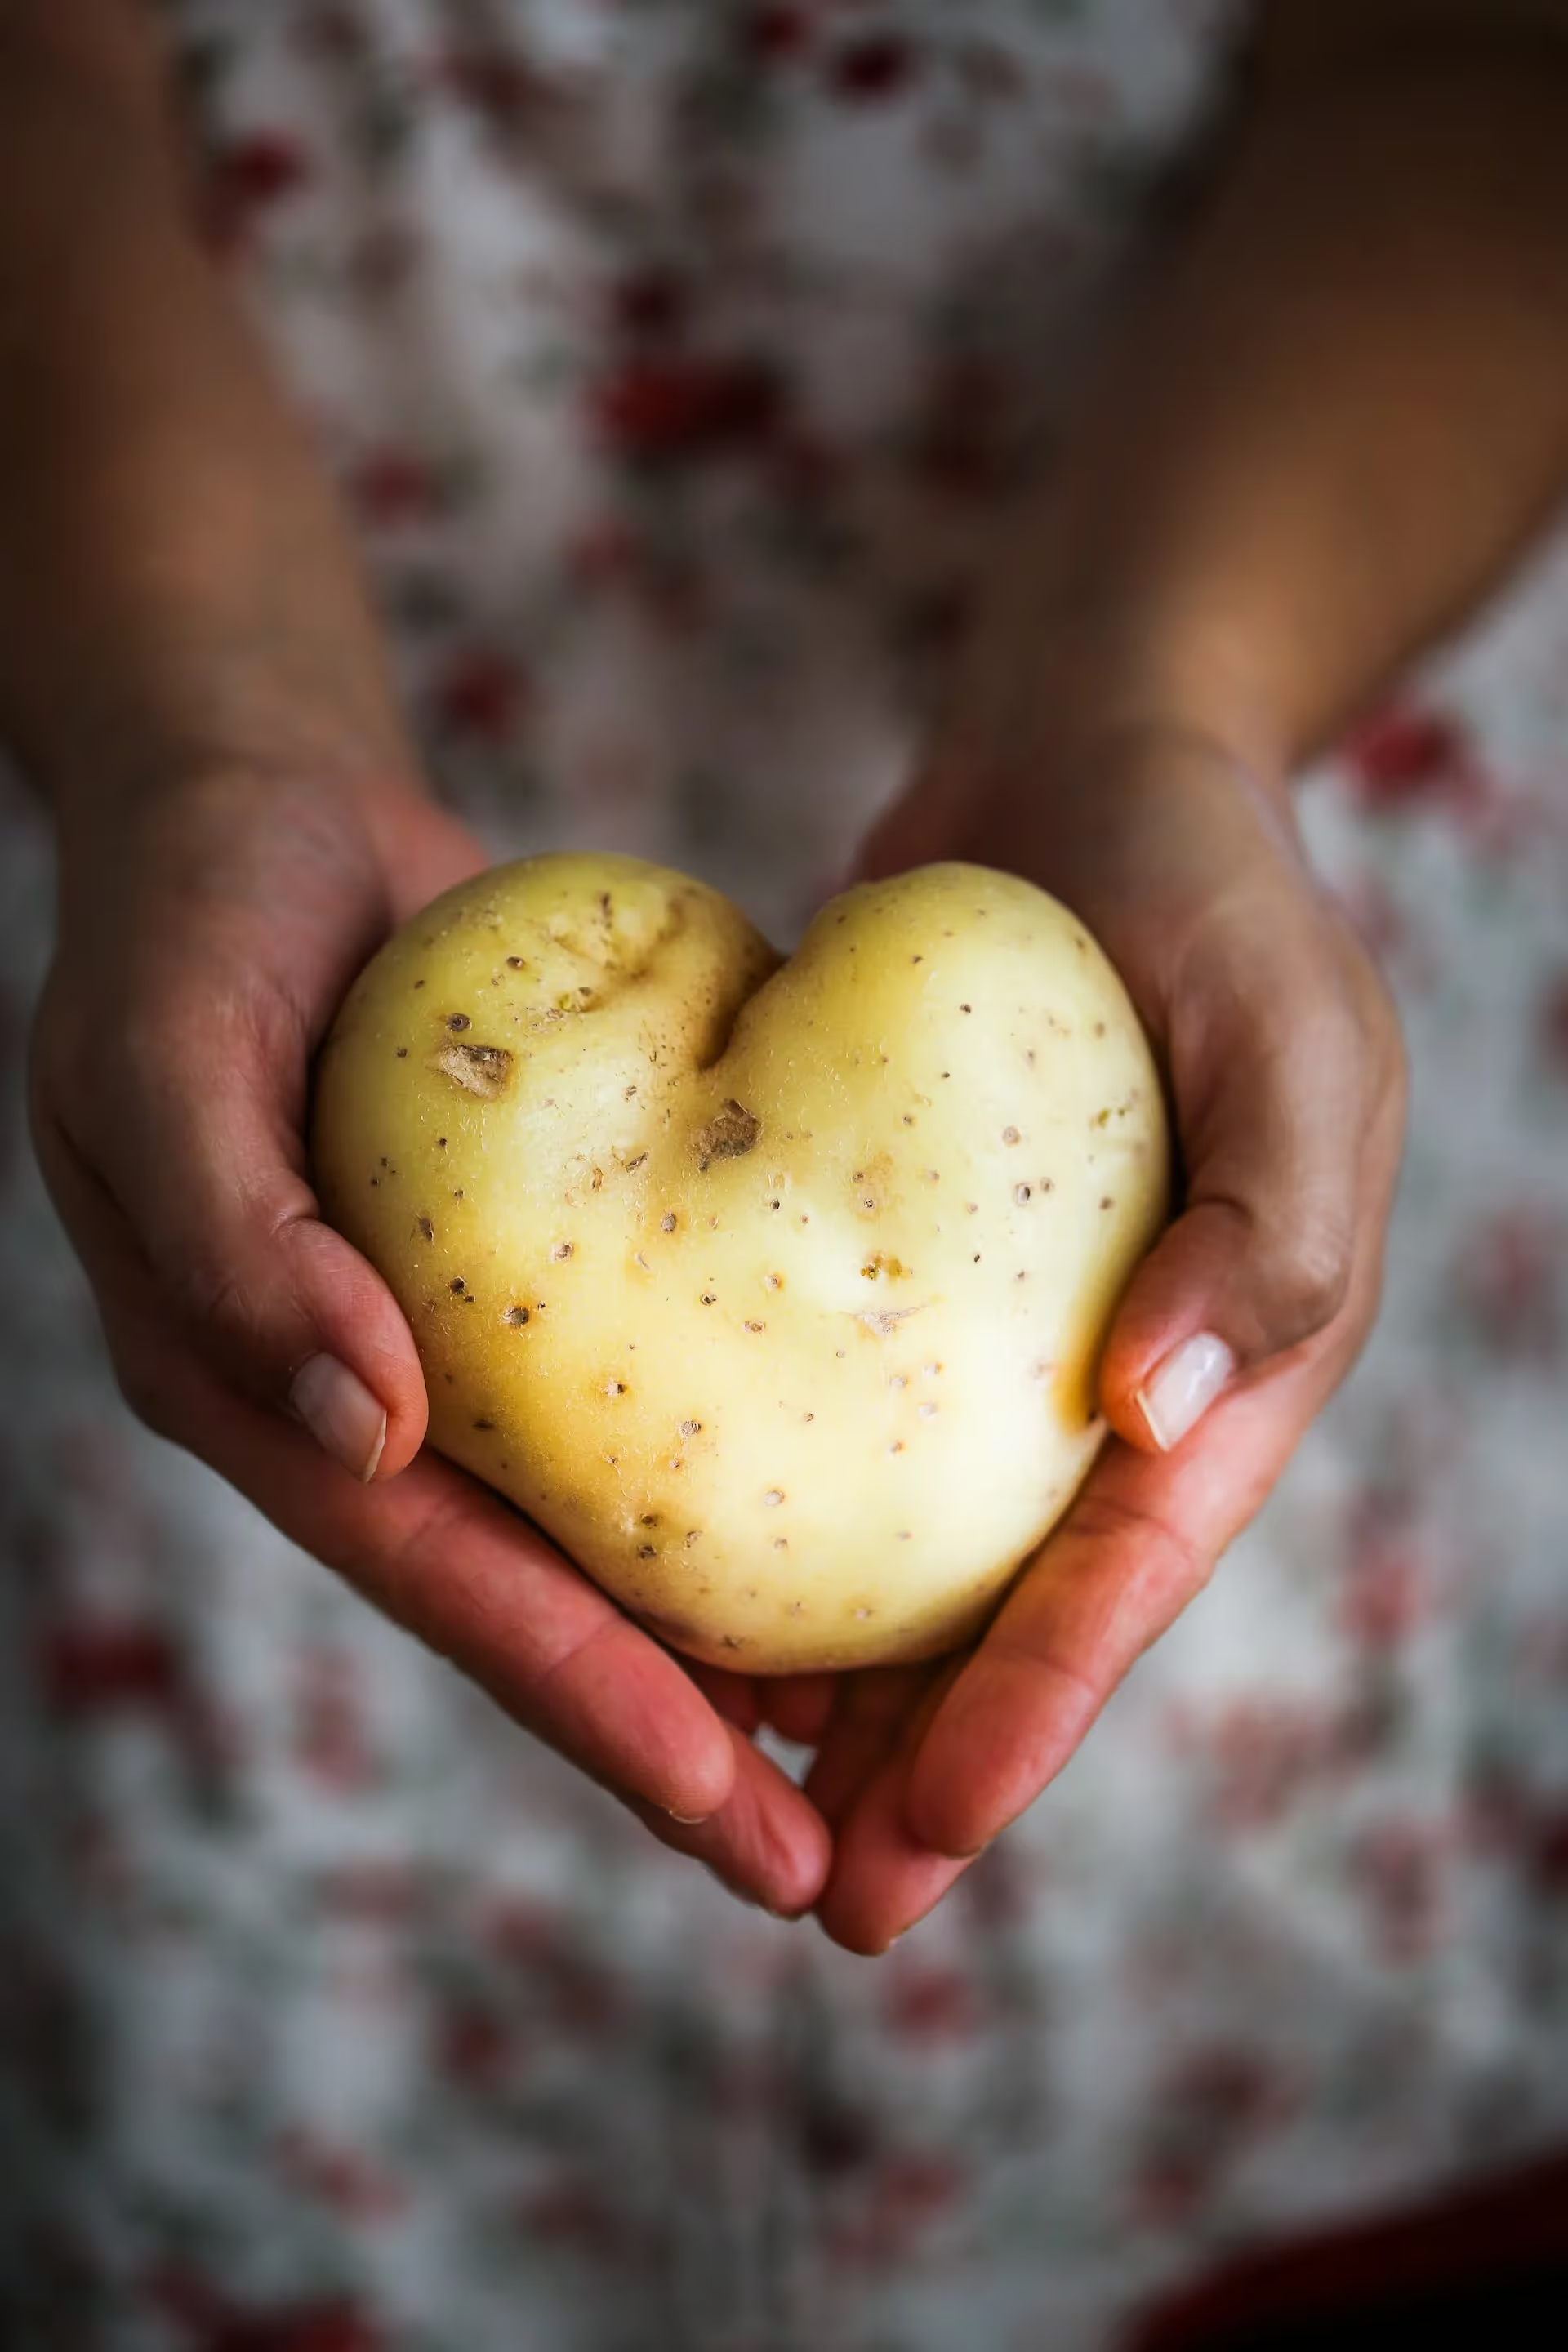
For me, potatoes represent food security. A shelf of potatoes in my pantry means I have plenty of nutritious food to eat.
Potatoes are an easy plant to grow. You can even save some potatoes from this year's harvest to plant as "seeds" for next year's crop. This builds self-sufficiency in your garden and pantry.
Potatoes do well with organic no-till methods. You can grow potatoes with no-dig soil practices, and they can also be grown in containers.
Regenerative gardening principles benefit potatoes. Crop rotation, mulch, and cover crops are all great for potato health. These regenerative methods also help the soil and the environment.
If you learn more about how to grow potatoes and use these techniques, you will have success. Add in regenerative gardening techniques and your whole garden will thrive.
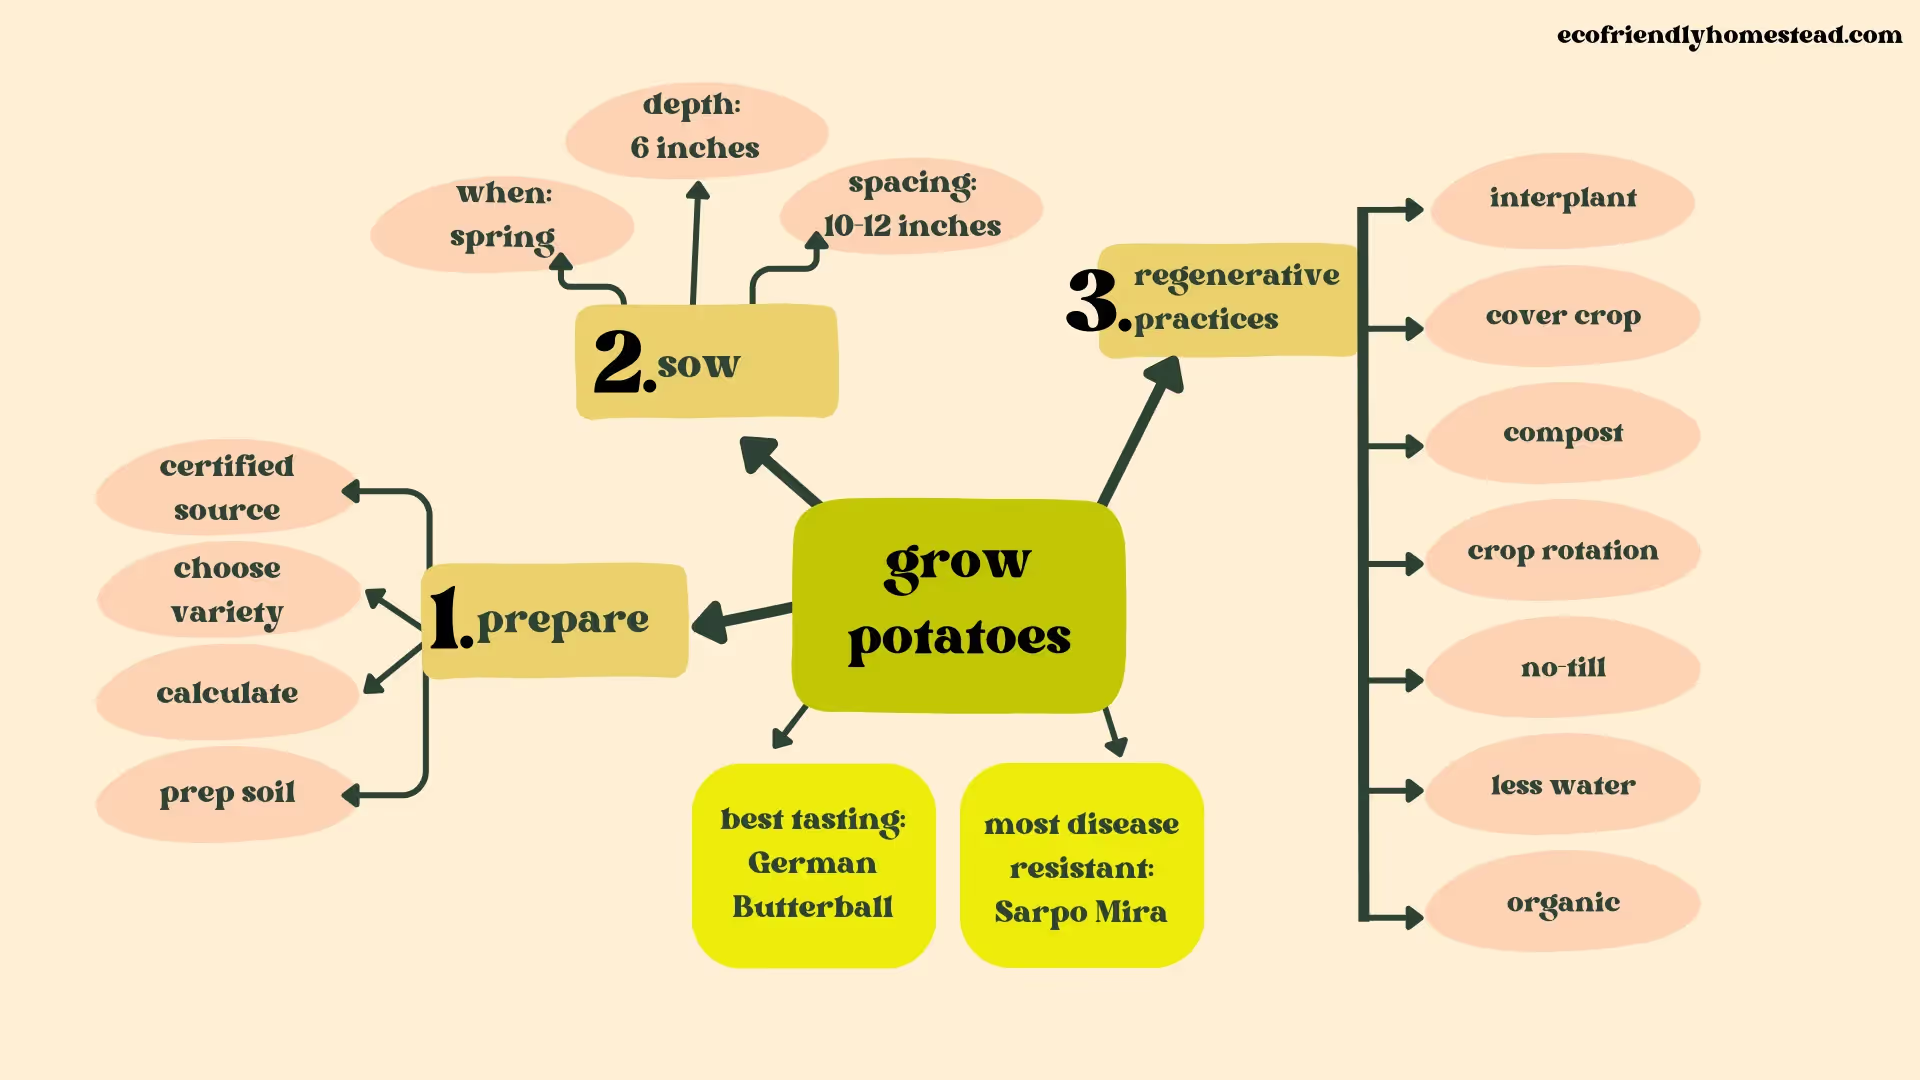
I’ll share my techniques for planting potatoes and break down the steps in this guide.
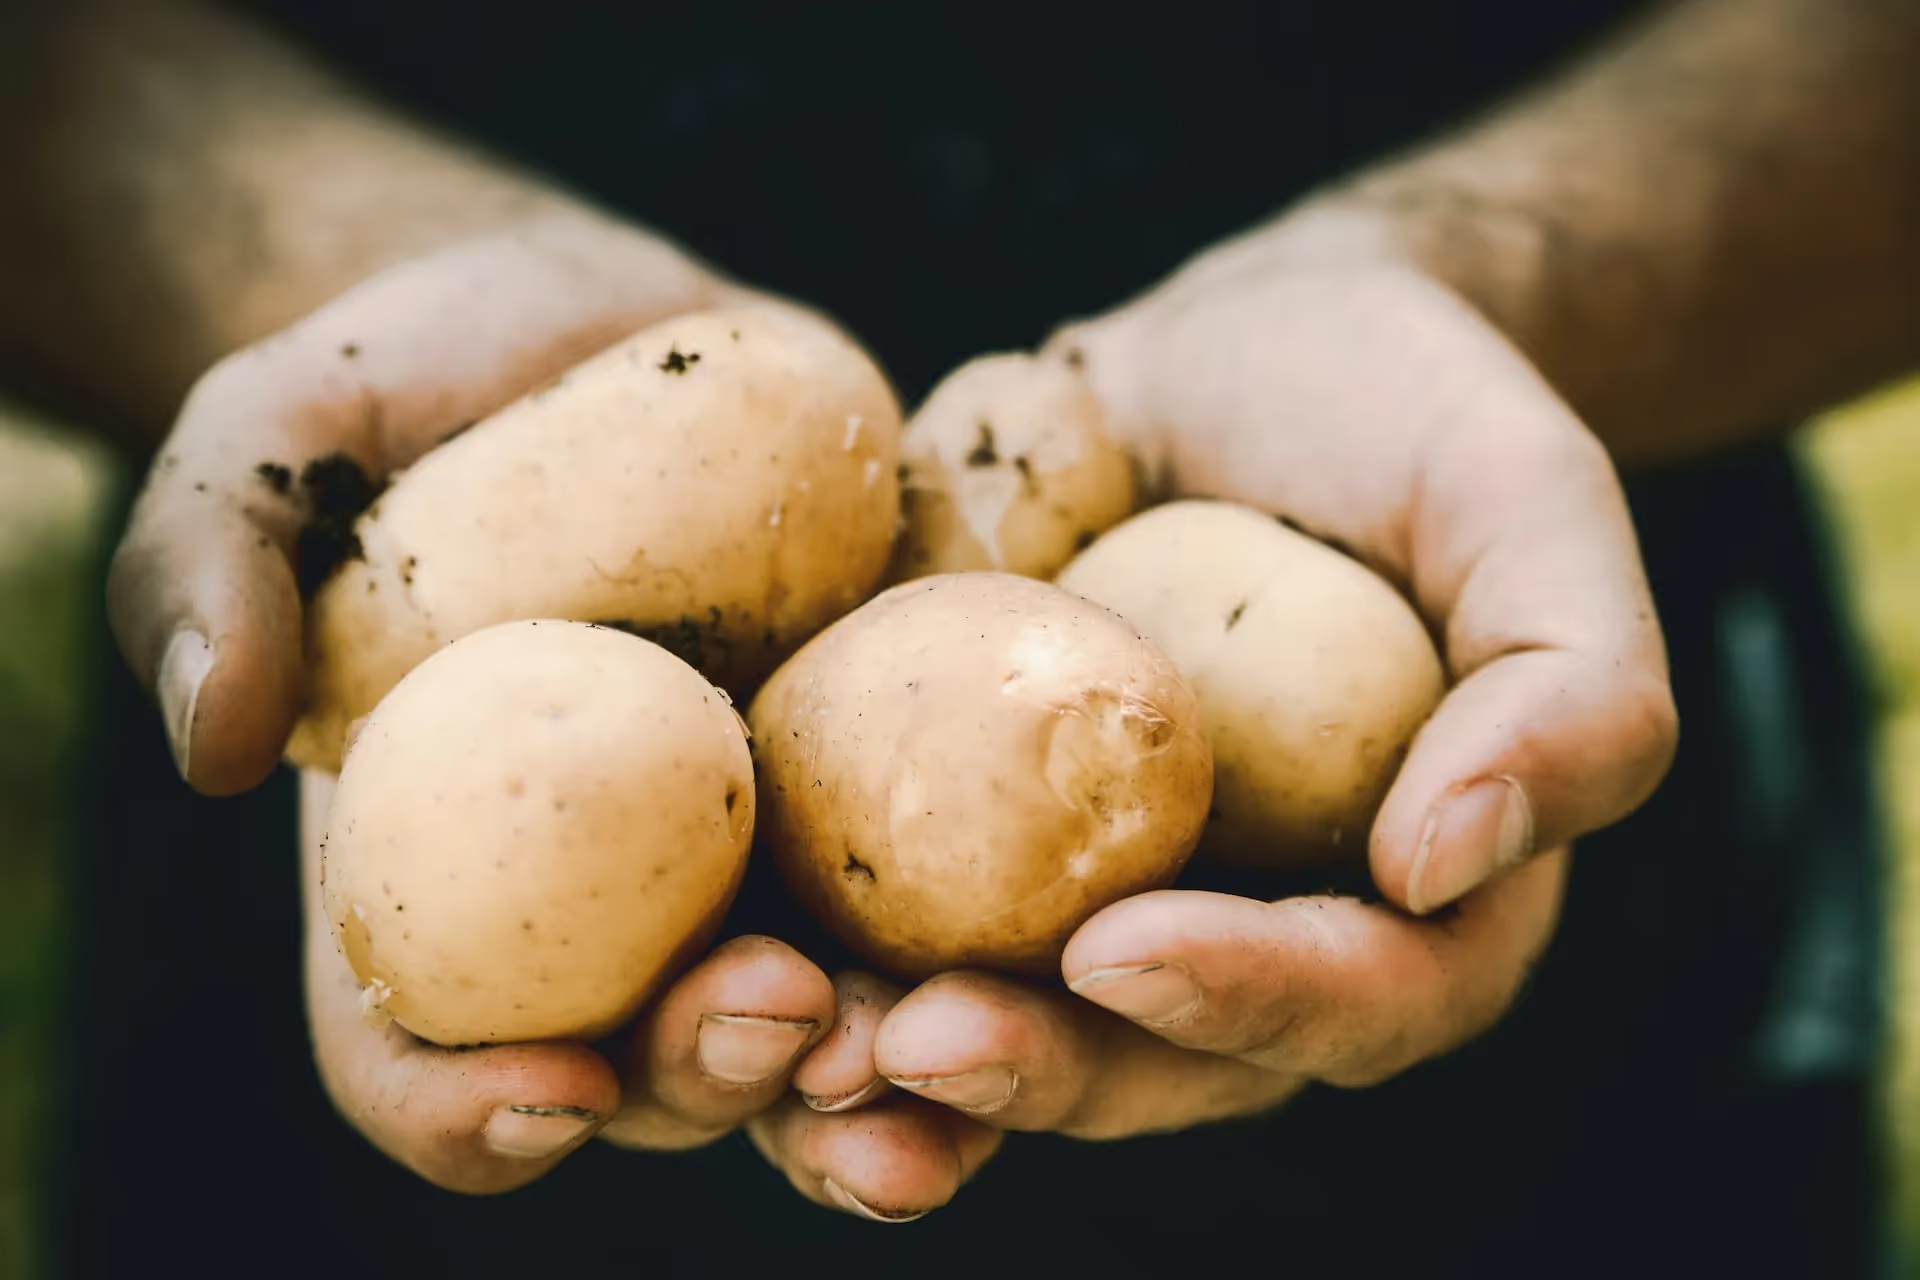
It’s very important to grow potatoes that are tested for common diseases. Certain diseases spread through the potatoes. This causes contamination of your soil for years to come.
Look for potato seed that is “certified.” Certified seed potatoes are inspected by a state agricultural board or university. These third party sources verify that the tubers are free of disease. Sometimes certified potatoes are labeled "blue tag." This certification is in addition to any organic labels.
It’s important to note that certified potatoes are not guaranteed to be disease-free. However, it’s great reassurance that you’re less likely to bring disease into your garden.
Here is a list of Organic Seed Potato companies that sell certified potatoes
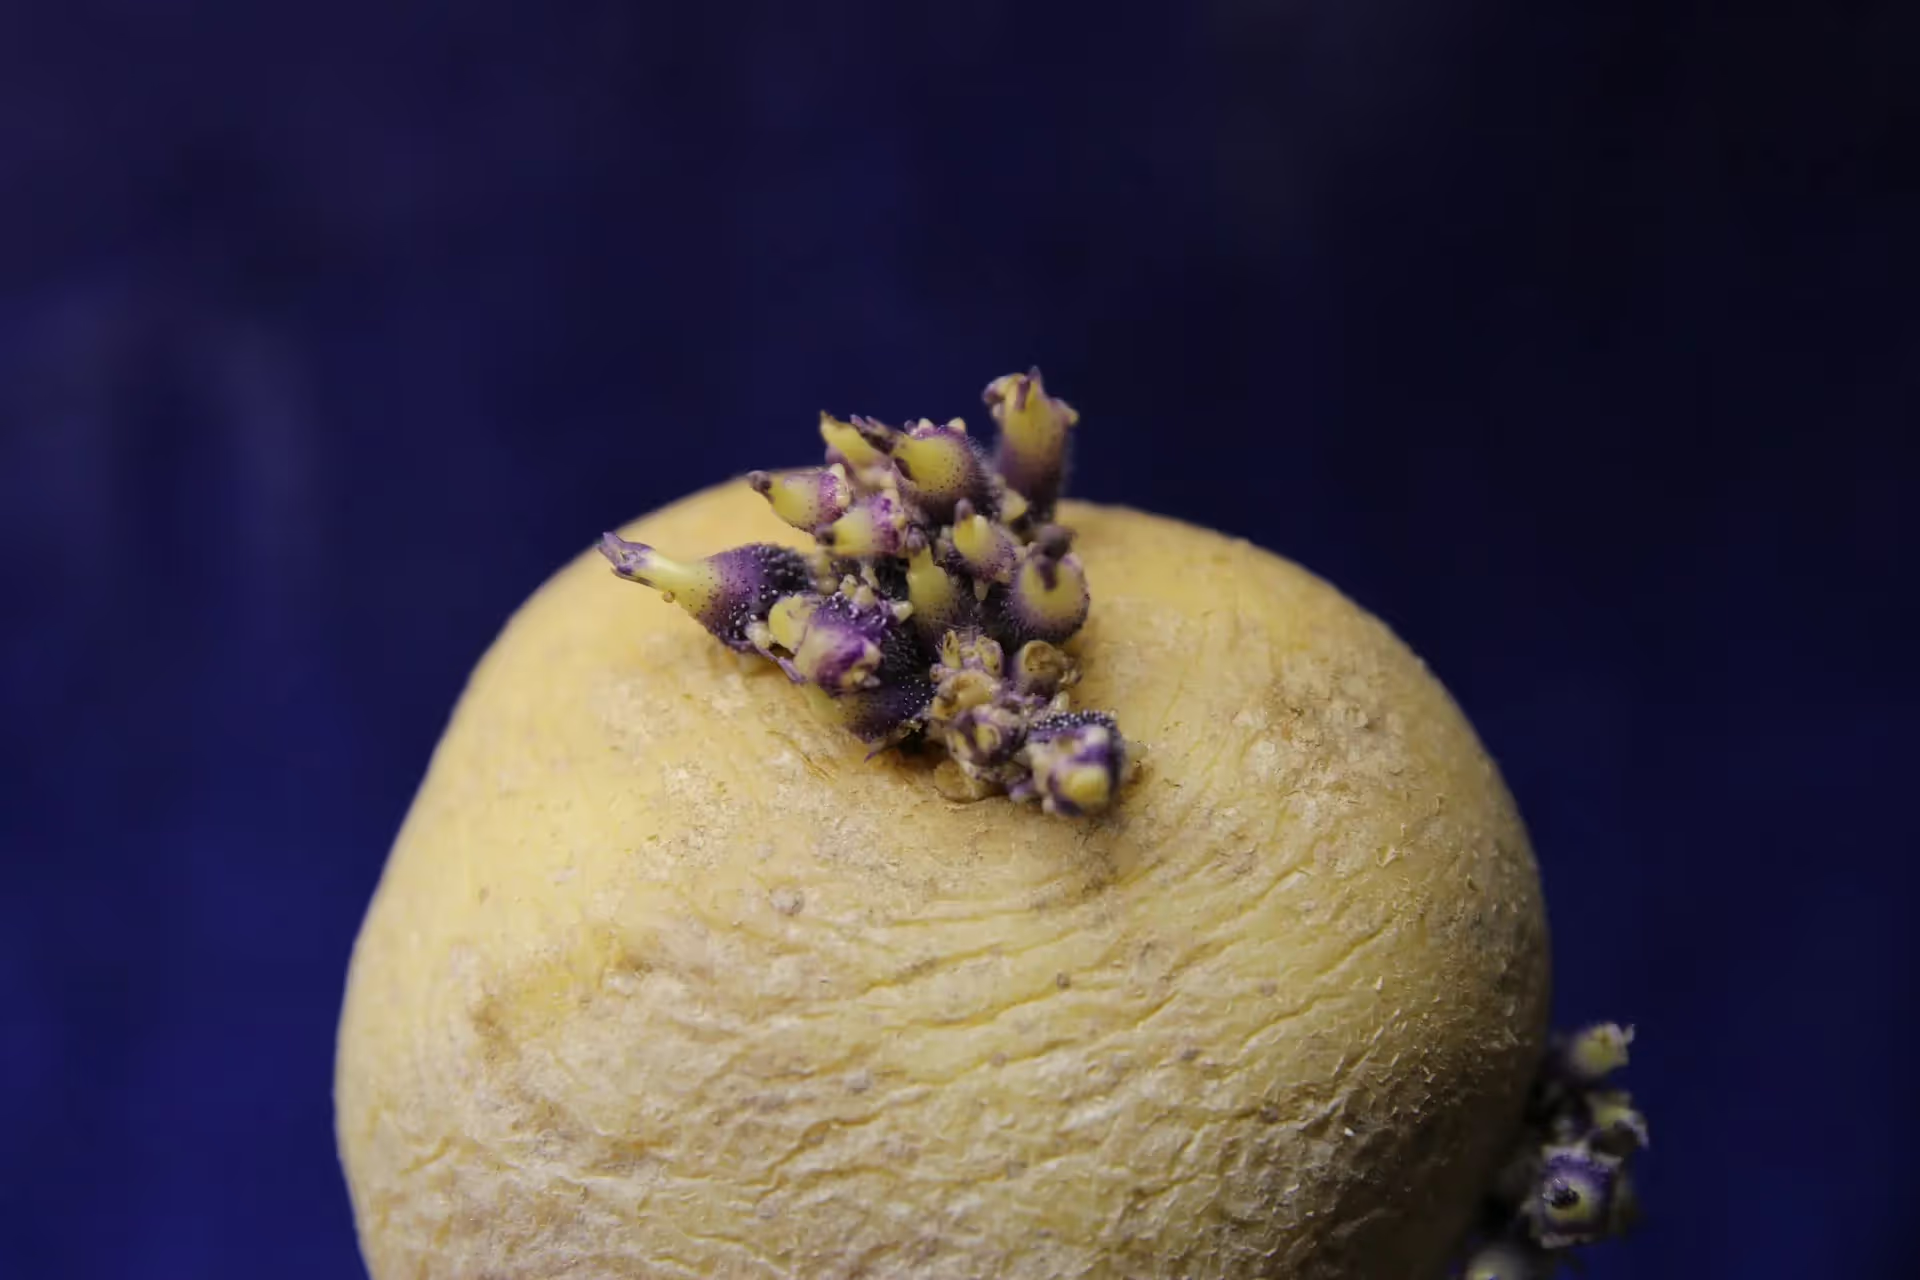
In my experience, sprouted potatoes from the grocery store don’t yield as big of a harvest.
I learned from Cultivariable that conventionally grown potatoes have anti-sprouting chemicals on them. These sprout inhibitors allow potatoes to last longer on the shelves. This may delay their time to sprout in your garden and ause other growth issues.
Additionally, you don’t know if the store-bought potatoes carry any diseases or pathogens that could transfer into your garden.
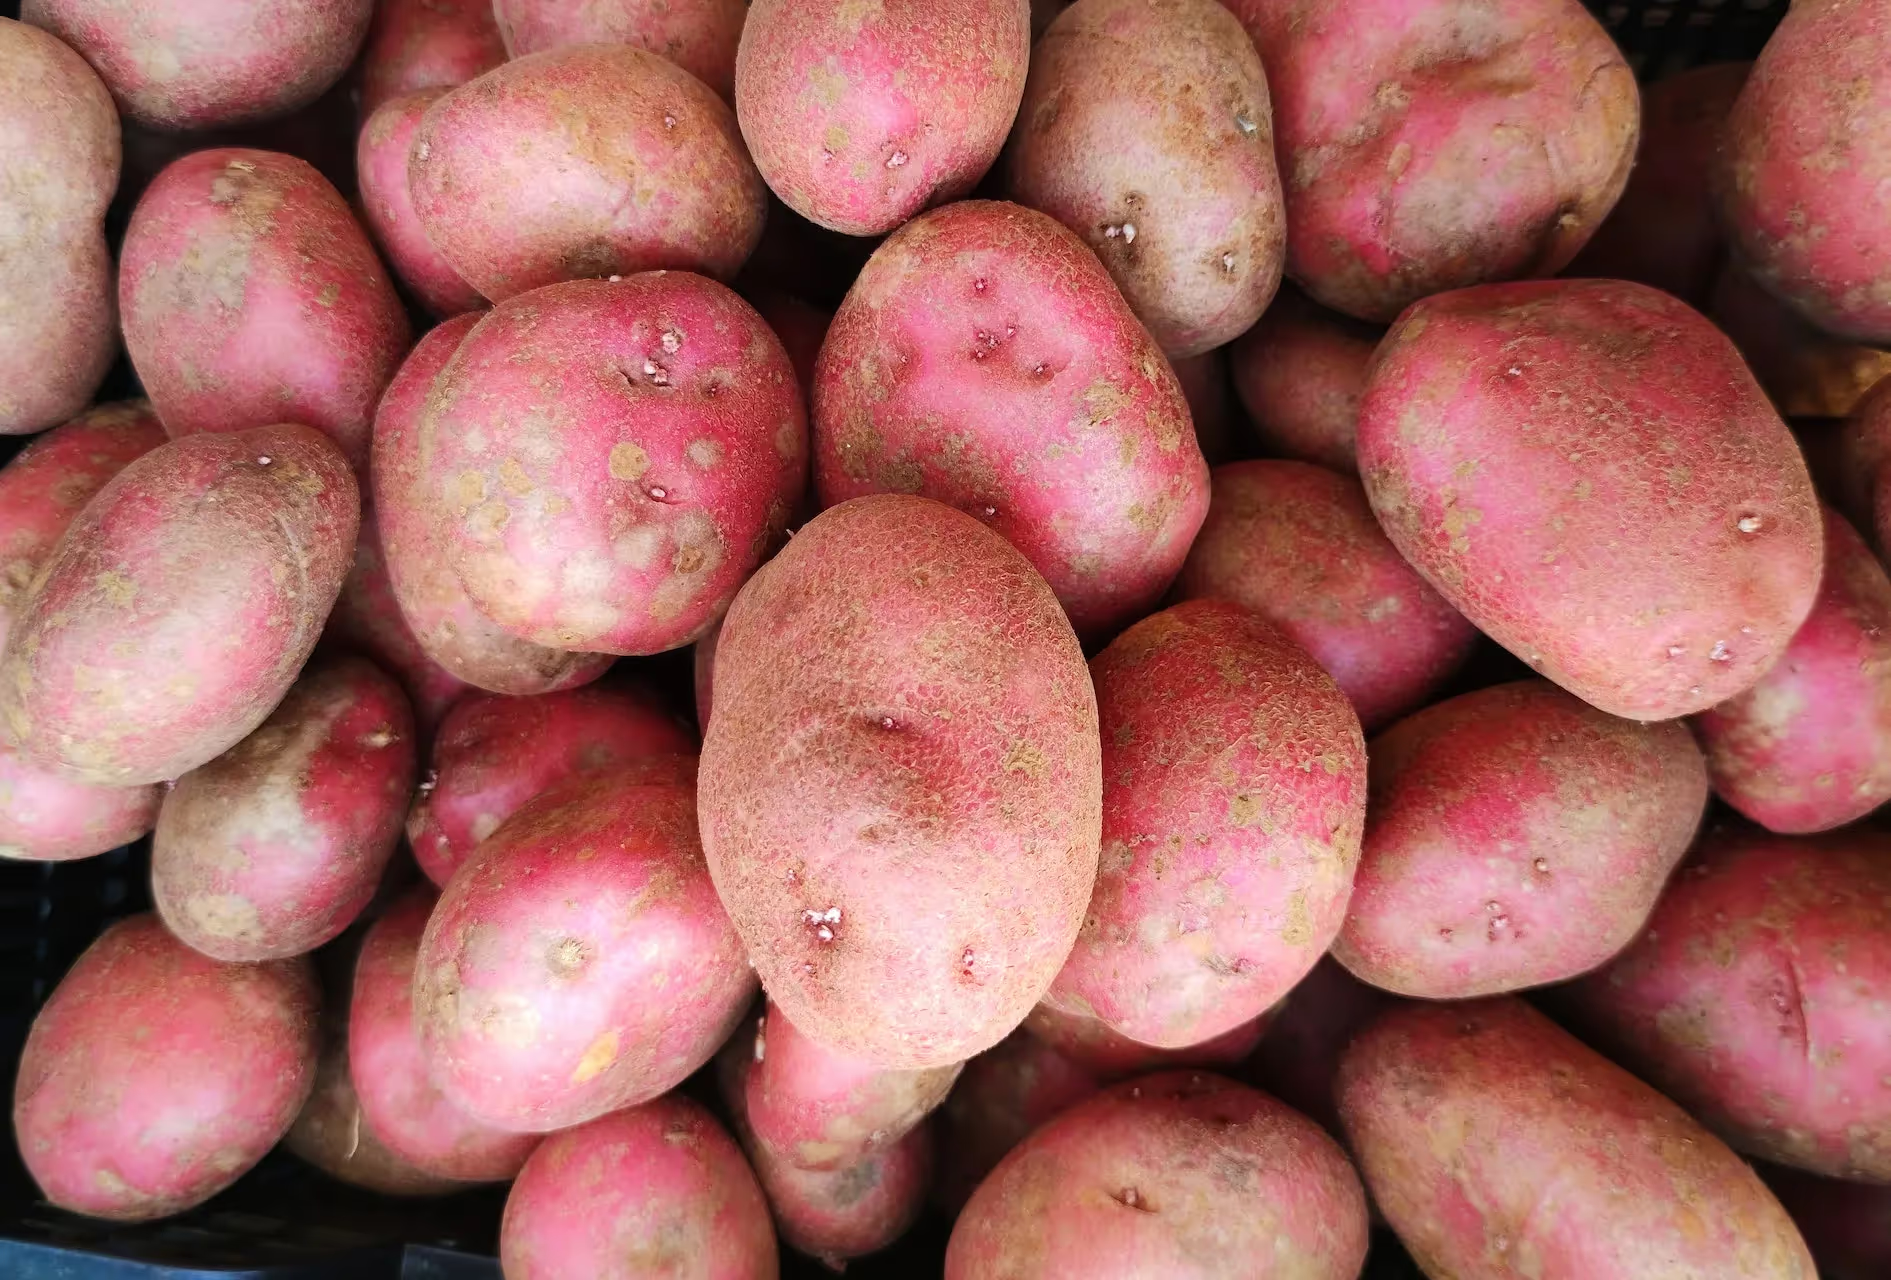
If it’s your first year growing potatoes, I suggest you plant a few varieties to see what does well in your garden. Also, make note of the taste and texture of different varieties. It’s better to grow potatoes that you’ll enjoy eating.
There is quite a diversity of colors, sizes, and maturity times when it comes to potatoes.
Colors:
Potatoes come in many colors. Sometimes the skin and flesh are the same color, but sometimes they are different colors.
Skin color can be the standard red and gold with white to beige flesh.
There are also varieties with red flesh or blue flesh. Some potatoes have multi-colored skin!
Sizes:
Most potatoes are “standard” size, but fingerling potatoes are much thinner in size.
Maturity Times:
Early season maturity potatoes will be ready to harvest in around 60 days.
Mid-season maturity potatoes are ready to harvest in 70-100 days.
Late-season maturity potatoes are ready to harvest in around 120 days.
Here is a chart of popular potato varieties and their color, size, and maturity time. I’ve also input any disease resistance.
All information sourced from Carter Farms, Grand Teton Farm, and Wood Prarie Farm
My favorite potato to grow is German Butterball.
I first heard of this potato from this episode of Bon Appetit. It has a wonderful creamy texture. German Butterballs are great for mashed potatoes or hash browns. I've found they also hold up well when oven-roasted as french fries.
The best potato for both taste and disease resistance is Sarpo Mira.
Where to find Sarpo Mira potatoes in the US? The only source I’ve seen that carries Sarpo Miras in the US is Wood Prairie Farm.
This variety is extremely blight resistant, and is widely available in the UK. If you’ve had an issue with blight in the past, this variety could be a game changer for you.
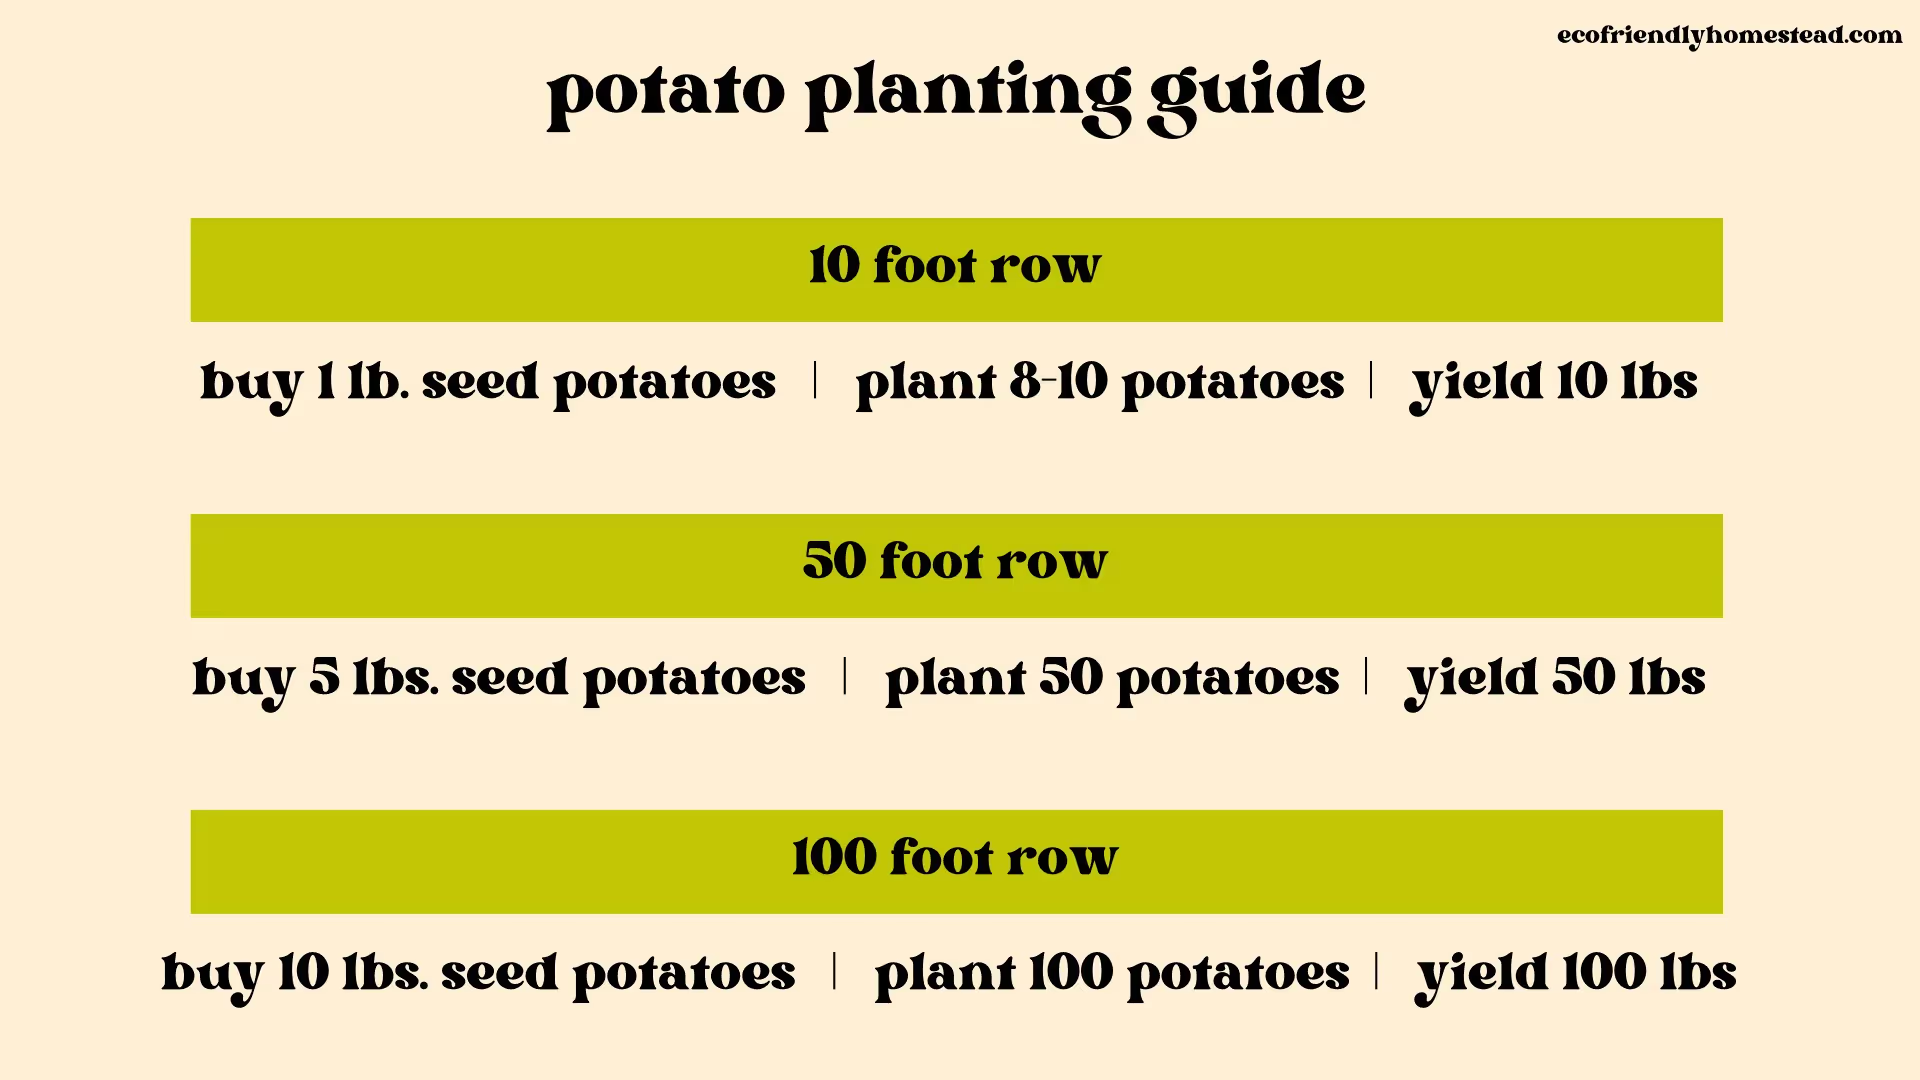
Amount of potatoes to plant for any length of row:
A standard measurement is that 1 pound of seed potatoes will plant out a 10 foot row in your garden.
If you have a 50 ft row, buy 5 pounds of potato seed. You’ll get around 50 seed potatoes to plant.
How far apart to plant potatoes:
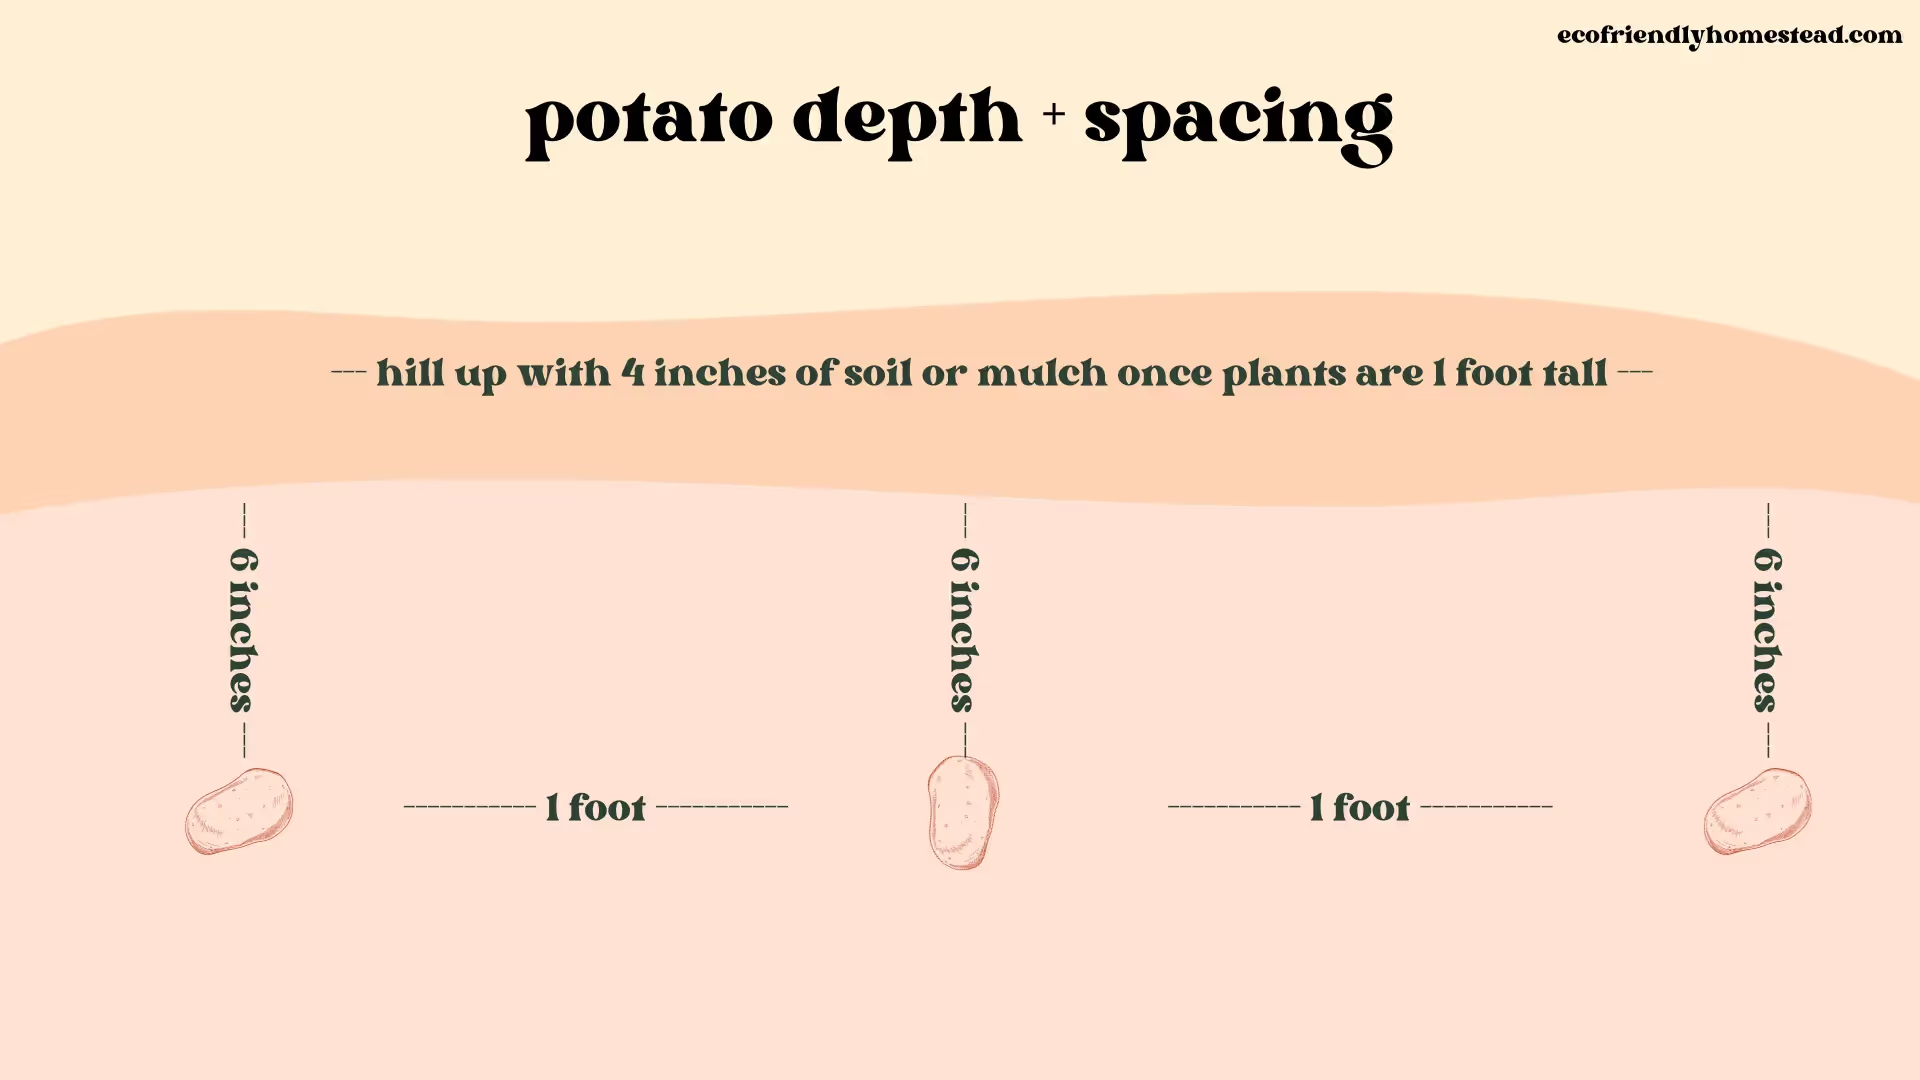
It’s best to plant potatoes 8-12 inches apart.
How deep to plant potatoes:
Plant potatoes 6 inches deep initially. When the foliage grows around 1 foot above ground, add more soil to them so that they are around 8-10 inches deep.
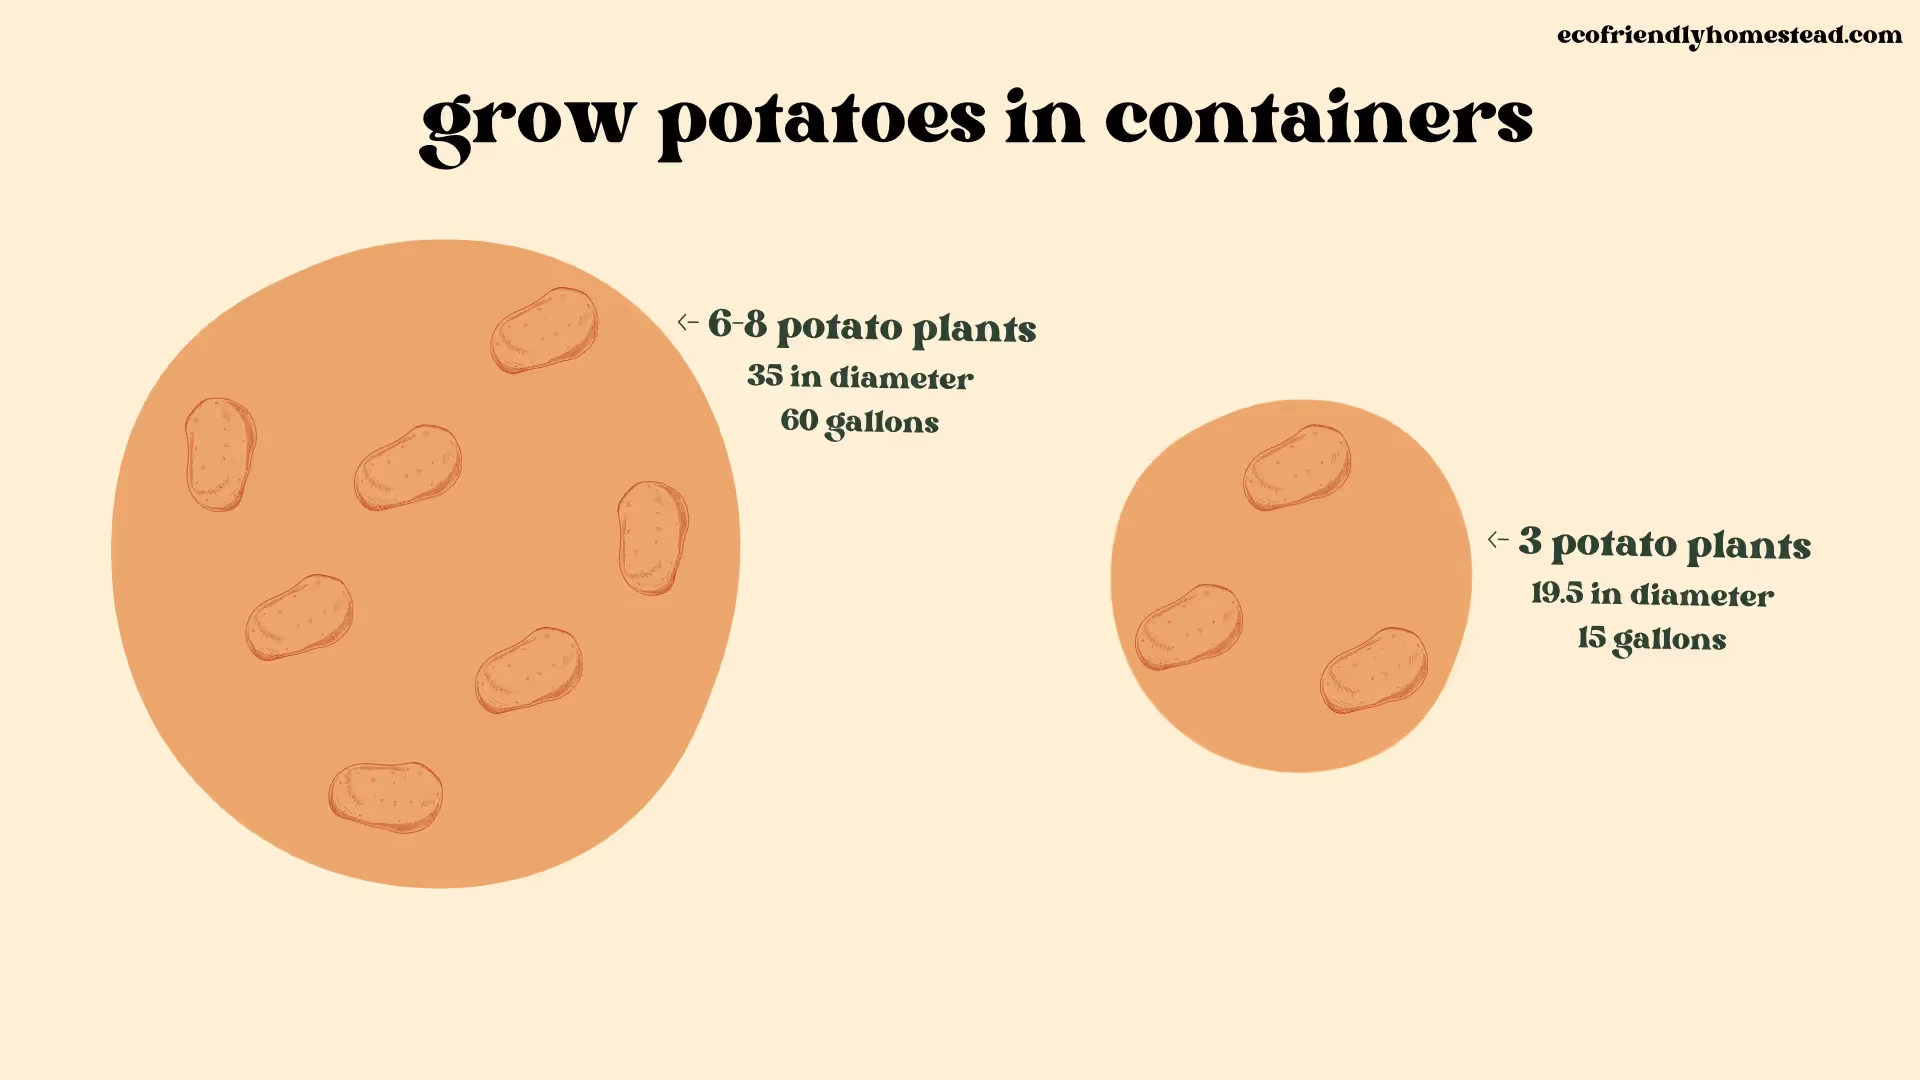
According to Gardeners Supply, 3 seed potatoes can be planted in a 12 gallon grow bag.
Take diameter into consideration with your grow bags as well.
A grow bag with a 19-20 inch diameter can grow around 3 seed potatoes. You will yield around 10-12 pounds of potatoes. Plant out 10 grow bags of this size to yield 100 pounds of potatoes for a year’s supply for one person.
A grow bag with a 35 inch diameter could grow 6-8 seed potatoes. You will yield around 16-24 pounds of potatoes. Plant out 5 grow bags of this size to yield 100 pounds of potatoes for a year’s supply for one person.
I’d lean towards giving potatoes in containers more space to grow. This will help you to be more likely to harvest larger potatoes. This will also allow for more air flow through the foliage and help prevent some disease issues.
Potato yield will vary based on the type you plant and your growing conditions.
However, Utah State University says that a 100 foot row can produce around 100 pounds of potatoes. They also recommend that you plant 100 feet of potatoes per person in your household.
This means that 10 pounds of potato seed plants a 100 foot row, and yields up to 100 pounds of potatoes at harvest time.
Here’s a handy chart for how many potatoes you should plant based on planting area and desired yield:
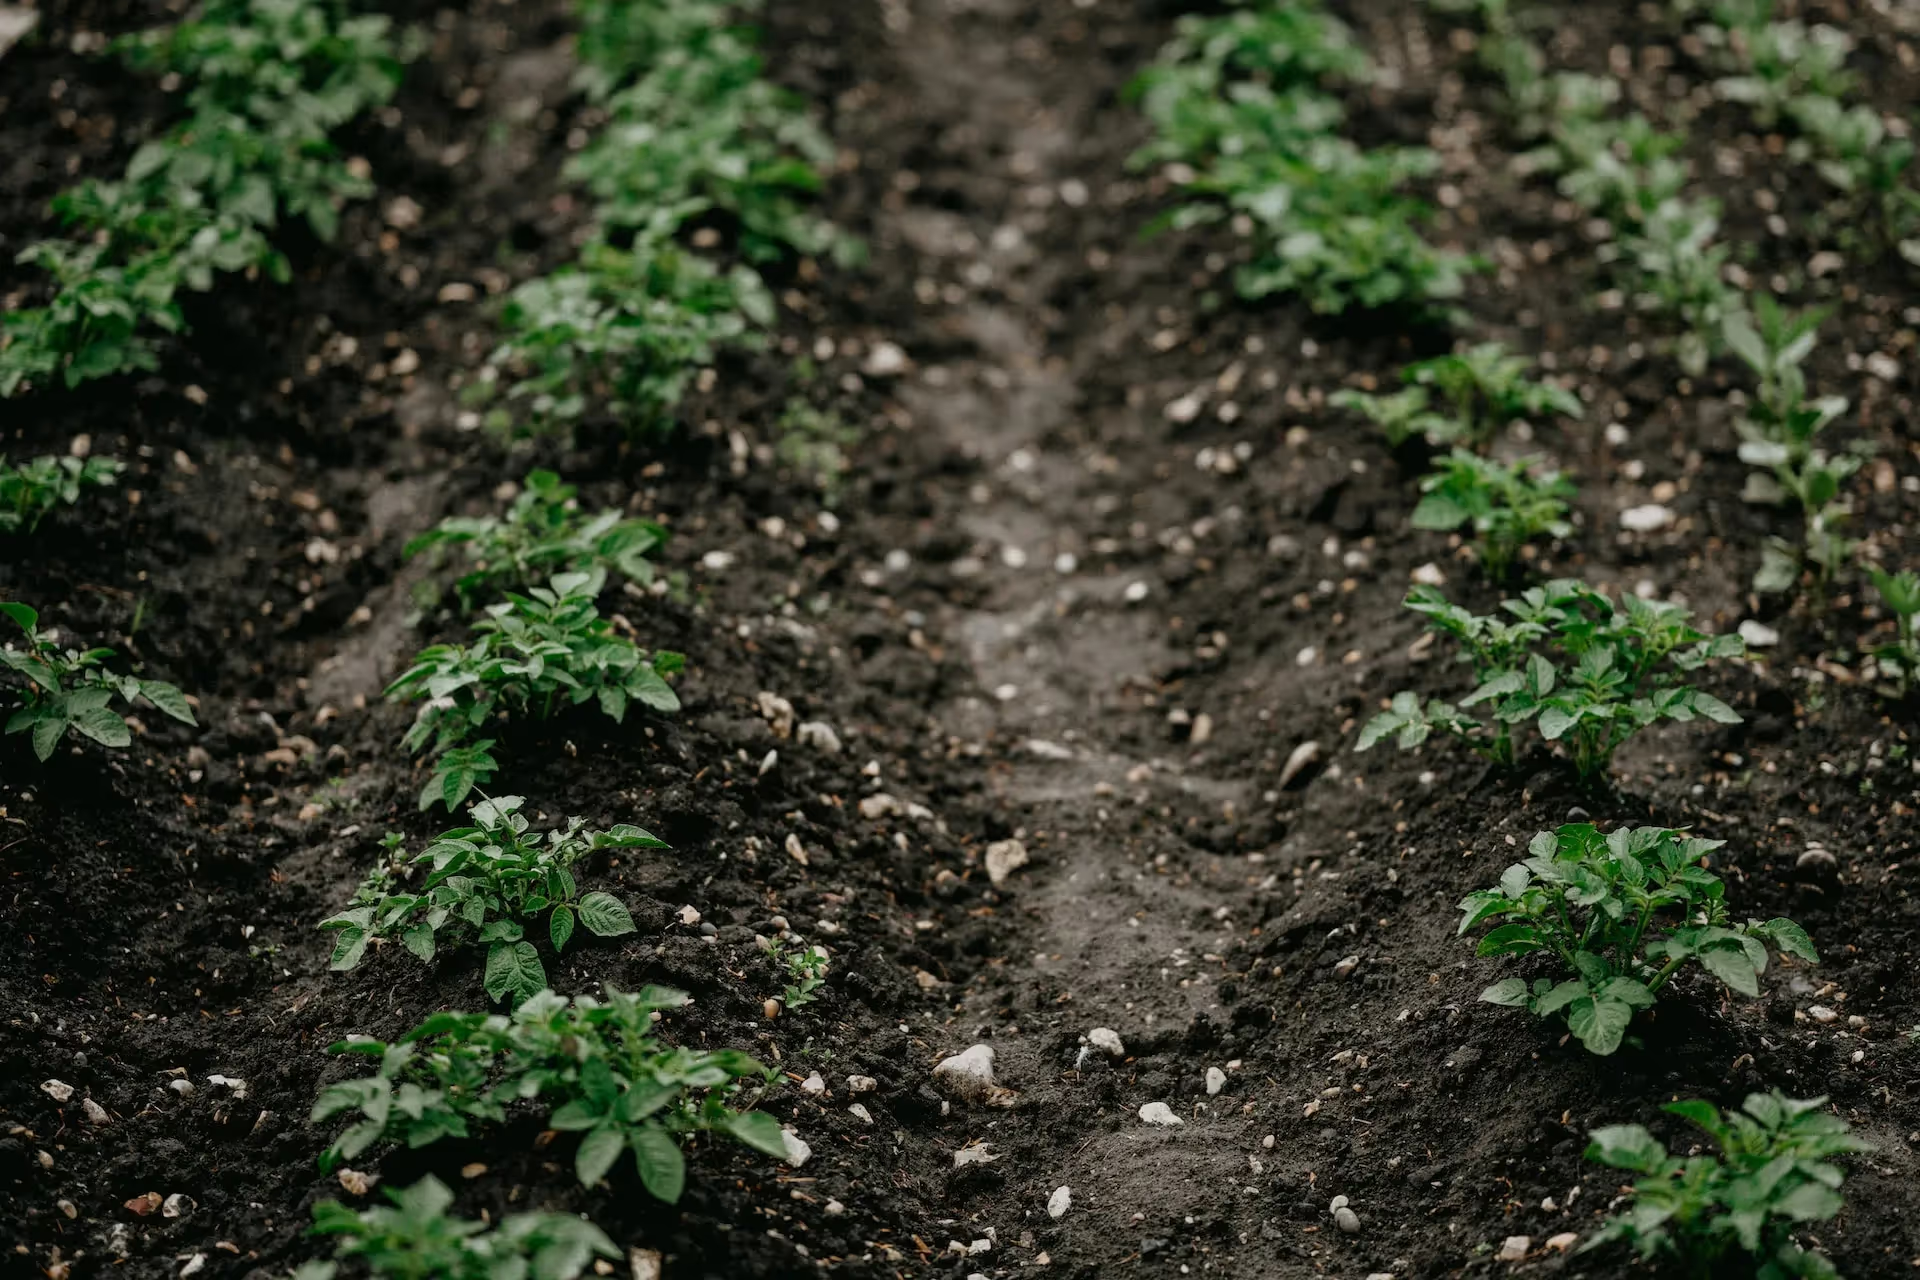
In general, potatoes do well in loamy soil. Select a spot that gets at least 6 hours of sunlight per day. I’ve experimented with shadier spots in the garden when growing potatoes. It seems like areas that have found around 5-6 sunlight hours are the minimum for a a good yield.
I’ve also found that potatoes need far more water if you plant them in a sunny spot. Any area that gets more than 9 hours of sunlight per day with temperatures above 90 degrees will need more water. Intense heat and sunlight can cause the foliage to die back prematurely.
Soil that is heavy clay will have poor drainage and can cause fungal issues. Compacted clay can also yield smaller potato tubers.
If your soil is compacted, you may want to loosen it with a broad fork.
Another alternative is to plant your potatoes in grow bags. The potatoes will perform really well in containers, and will be easy to harvest.
Potatoes can also be successfully planted on top of the ground. You can cover them with a heavy organic mulch, such as organic straw or organic spent hay. This is the Ruth Stout method of growing potatoes. It works great for regenerative gardeners who do not want to till the soil, but who don’t have the correct soil conditions for a good potato yield.
It's also beneficial to amend the soil with organic matter like compost or well-rotted manure. This will improve soil texture and nutrient content.
In most growing zones, potatoes are planted in the spring after the last frost. They can be planted up until early May to get a yield before first frost.
If you live in zone 9 or above, you can also plant potatoes in the autumn to enjoy a spring harvest.
To grow potatoes in the ground, you have two options.
The first option involves creating a trench around 6 inches deep. Then, plant potatotes about 1 foot apart inside the trench. Cover the trench with compost and the dug out soil. Lastly, cover the row with a healthy layer of organic straw. This will help the soil to retain moisture and regulate the soil temperature. As a bonus, straw mulch will eliminate any weeds that you’d otherwise need to deal with around your potato plants.
The second option is similar to the Ruth Stout method that I'll explain below. In this method, you will place your potatoes on top of your row in the garden at 1 foot intervals. Then, cover the potatoes with at least 6 inches of mature compost and mulch. This method involves more materials, but follows the regenerative practice of minimizing soil disturbance.
With either option, water in your potatoes if no rain is in the forecast.
According to Washington State University, potatoes do well when given an fertilizer that is high in potassium and nitrogen. It is best of the potassium levels are as high or higher than the nitrogen levels. For regenerative gardeners, choose organic inputs.
Once the potato foliage is around 1 ft tall, hill them up with an additional 4 inches of soil, compost, and/or organic matter.
Ruth Stout revolutionized the way people grow potatoes with her method that involves spent organic hay. Her method can also work with organic straw.
Essentially, Stout recommends that you place the potatoes in a row on the ground. The ground can have grass on it, or it can be heavily compacted. In Stout's method, soil quality doesn't matter too much, because if you implement her practice continually, your soil quality will improve. The potatoes should be spaced at 1 ft intervals.
Then, cover the potatoes with 6-8 inches of organic straw or hay. I'd also recommend the addition of compost if you have it on hand. I've found that any small space between the straw will inevitably let some light in and cause your potatoes to be green. Green potatoes have toxins in them, and I don't recommend eating them at all. The addition of the compost helps the potatoes to grow in a dark environment.
According to Washington State University, potatoes do well when given an fertilizer that is high in potassium and nitrogen. It is best of the potassium levels are as high or higher than the nitrogen levels. For regenerative gardeners, choose organic inputs.
When the potatoes have grown about 1 ft tall, hill up the potatoes with another 4-6 inches of spent hay, straw, and/or organic matter.

If you want to grow potatoes in a container, you’re in luck. Potatoes perform excellently in pots or grow bags. With container potaotes, you can control the quality of the soil. Continter grow potatoes are all quite easy to harvest.
You can grow potatoes in grow bags as small as 5 gallons with 1 potato plant per 5 gallon bag.
A standard 12-15 gallon grow bag can fit 3 potato plants.
If you have the space for a 35.5” wide grow bag, this 60 gallon grow bag would be perfect for growing potatoes You could grow 6-8 potatoes in a grow bag of this size.
To plant your potatoes in a grow bag or bucket:
I’ve found that the heavy mulch that I apply to my potato plants helps to reduce the amount of water they need.
If you have hot and dry summers, mulch over potatoes with a few inches of light colored organic straw. This will keep moisture in and soil temperatures down.
Also, this study from 2019 shows that intercropping potato with hairy vetch helps reduce the water requirements for the crop.
If you mulch and receive around 1 inch of rainfall a week, then I’d say that is enough for your potatoes to thrive. During dry weeks or extreme heat, provide water to your potatoes.
If you have potatoes in containers, they will likely need to be watered a little more frequently, as containers are prone to drying out faster than in-ground soil.
Signs of stress from lack of water include droppy and wilted foliage.
I like to plant my potatoes in rows where the rows have herbs and flowers at the ends of each row and in the center of each row. This allows for beneficial insects to come into the space. This also makes it easy to tend to the potatoes in terms of hilling them up.
Here are what scientific studies show works for companion plants to pair with potatoes:
Mulch added to your potato rows will help to ensure an abundant harvest for a number of reasons.
First, the mulch will help to retain water, which is perfect for those in hot and dry areas.
Second, the mulch adds organic matter to the soil, which helps to build soil health over time.
Third, mulch will help protect the potatoes from light. This is essential as potatoes exposed to light will turn green and be toxic.
Lastly, straw mulch has been shown to reduce damage to the crop by the Potato Beetle and blight.
If you plan ahead an plant hairy vetch in the area where you'll sow your potatoes next, you can help prevent damage from the Colorado Potato Beetle. The USDA found that when tomatoes are planted into a mulch made from hairy vetch cover crop, that tomato plants were more resilient to the beetle damage. This may have a parallel when potatoes are planted into hairy vetch mulch.
UMass Amherst recommends a cover crop of rye before the potato crop. Then, the rye can be terminated with a crimper or with a scythe. Let the rye dry to turn into straw, which the potatoes can then be planted into. According to UMass, this can help minimize damage by the Colorado Potato Beetle.
Your potatoes will be harvested from September-November. Regenerative gardening looks to maximize photosynthesis to store carbon in the soil. You can do this with a cover crop, sown after the potatoes are harvested.
Look for varieties of cover crop that do well when sown in cooler weather. Daikon radish can be a great choice if you noticed that your soil was compacted.
Add compost to the potatoes when you plant them to increase soil organic matter levels. Compost also helps balance out the structure of both clay and sandy soils.
Crop rotation is a regenerative gardening practice that reduces pest and disease issues. Studies show that a 3-4 year break from certain plant families makes for healthier crops. Crop rotation avoids a lot of disease and pest issues.
Potatoes are part of the nightshade family. Be sure not to plant it in areas where other nightshades have been recently planted. These other nightshade plants include:
No-till garden practices preserve soil structure, moisture, and microbial activity. This can enhance potato tuber development, nutrient uptake, and water retention. All together, the yield and health of your potatoes is improved.
When soil is tilled, it releases its sequestered back into the atmosphere.
There is an alternative to tillage. In compacted soil, use a broadfork to loosen the soil. This has worked great for my garden in the past.
As mentioned earlier in this article, the Ruth Stout method of gardening works well if you would otherwise feel the need to till the soil and want to avoid it.
Regenerative gardening focuses on healthy soil, healthy food, and a healthy planet. This means no synthetic pesticides or herbicides. Synthetic inputs create soil that is void of the normal microbe-plant relationships. These chemicals are also made from petroleum products. Overall, synthetic inputs add greenhouse gases into the environment.
Potatoes are a pretty robust crop that responds well to organic inputs.
According to Washington State University, potatoes do well when given an organic fertilizer that is high in potassium and nitrogen. It is best of the potassium levels are as high or higher than the nitrogen levels.
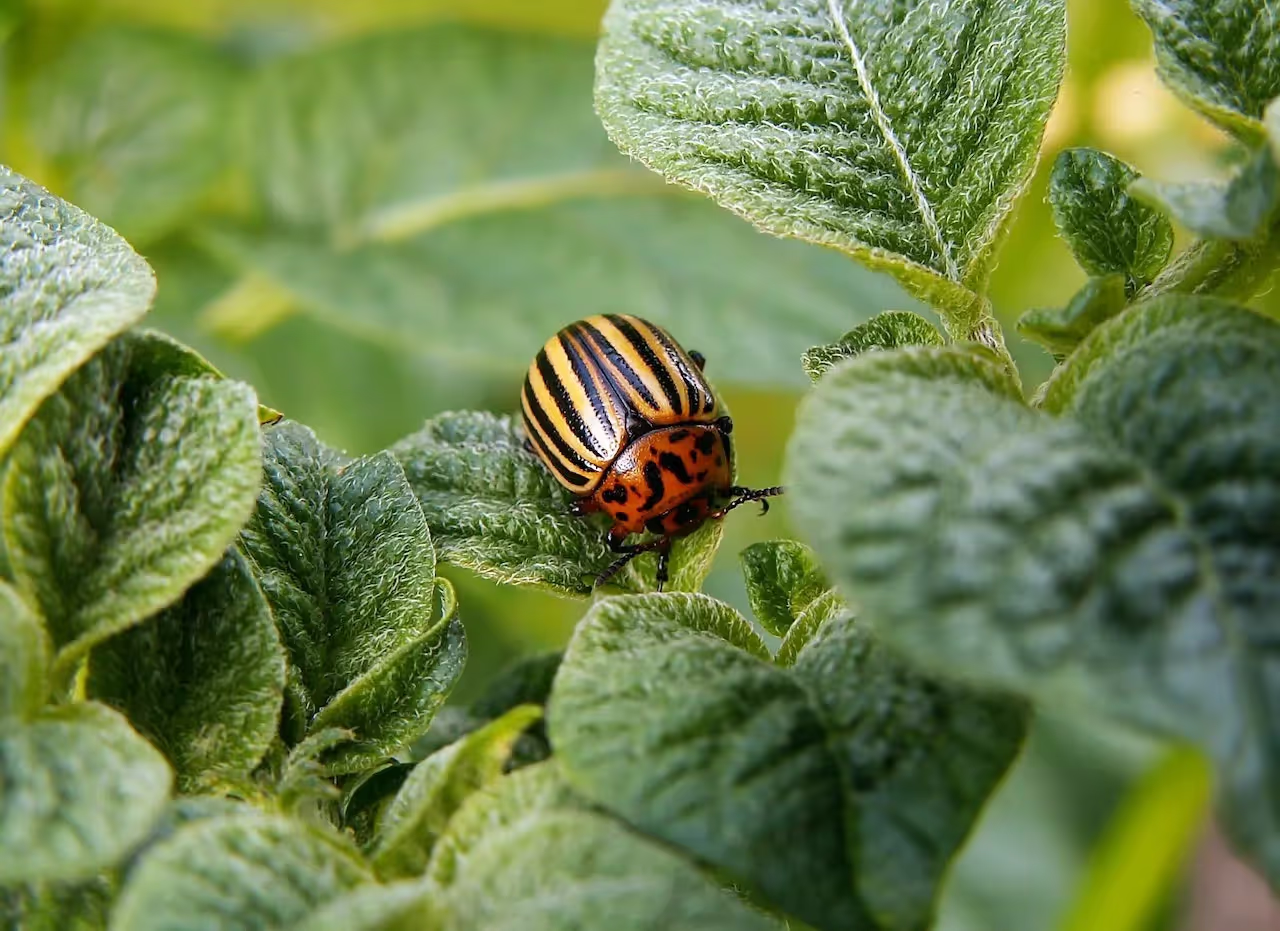
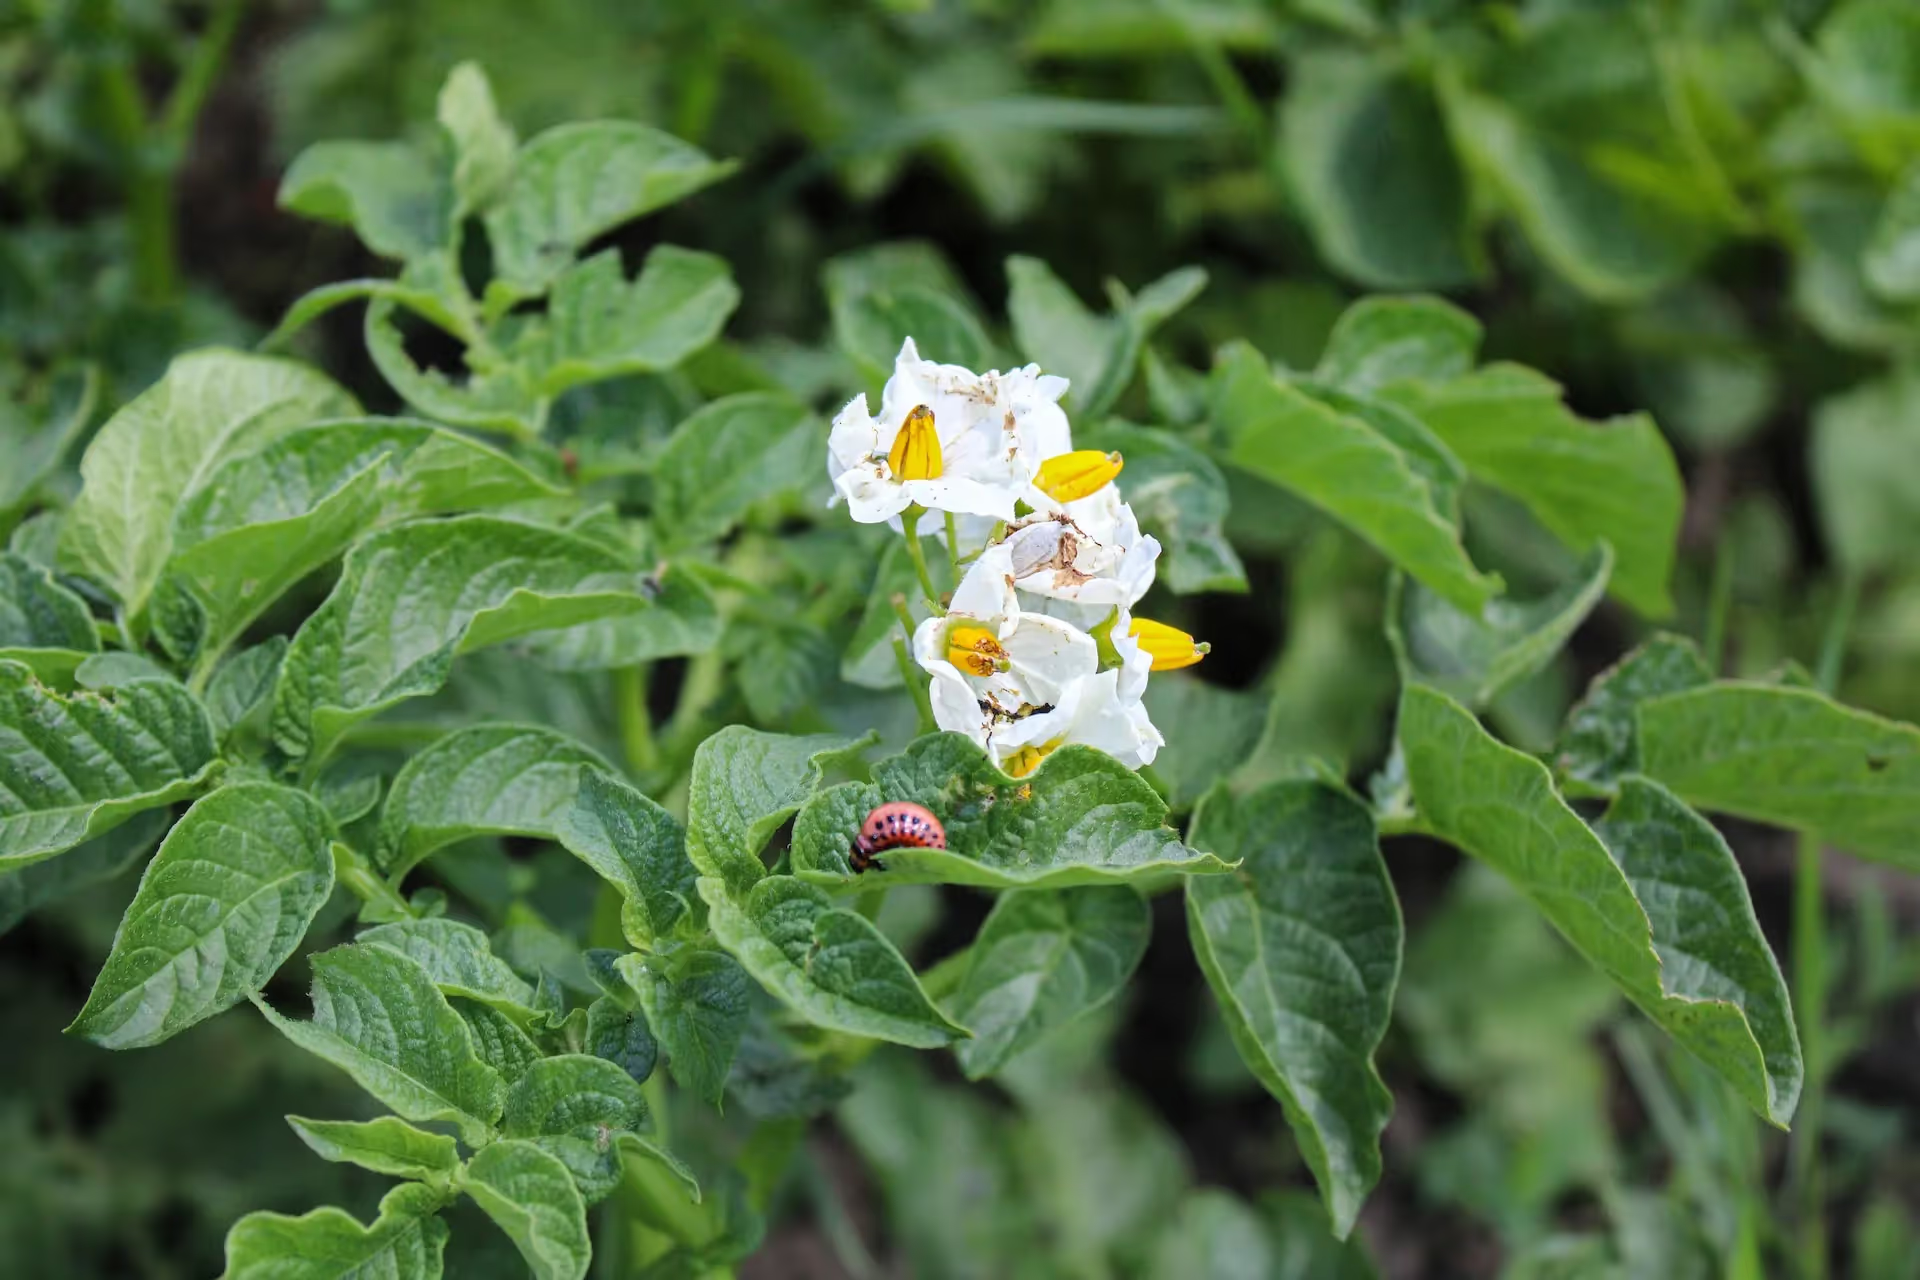
Here are some tips to prevent damage from the Colorado Potato Beetle in your garden:
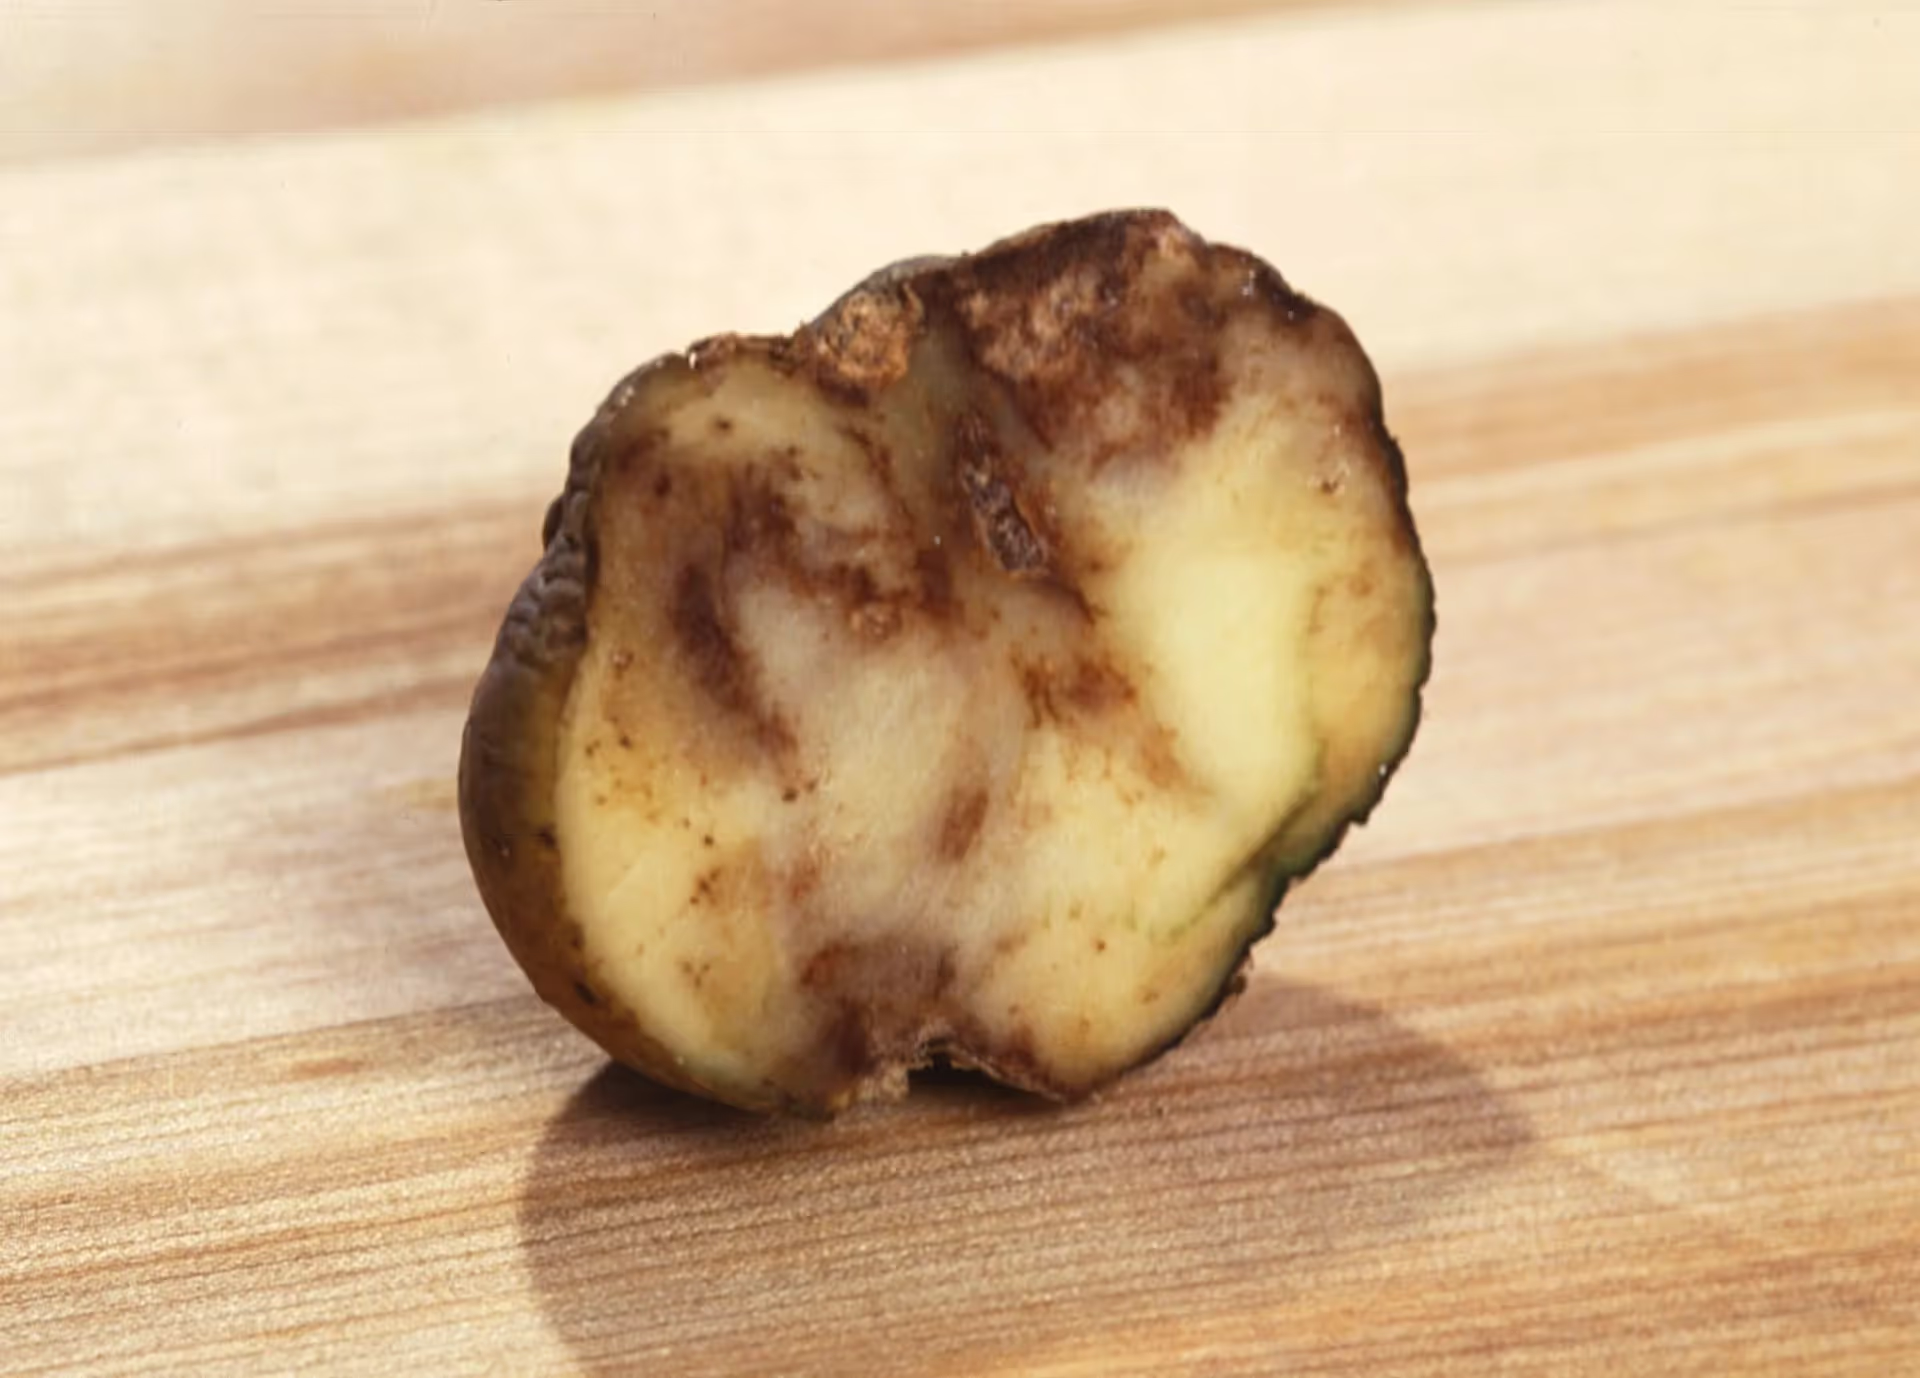
Here are some tips to prevent late potato blight in your garden:
Harvest potatoes once 80% of foliage has died back, or before first frost.
You can use a garden fork or shovel to carefully dig up the tubers. Be cautious not to damage them. I have a hard time not damaging potatoes this way, so I just harvest them with my hands.
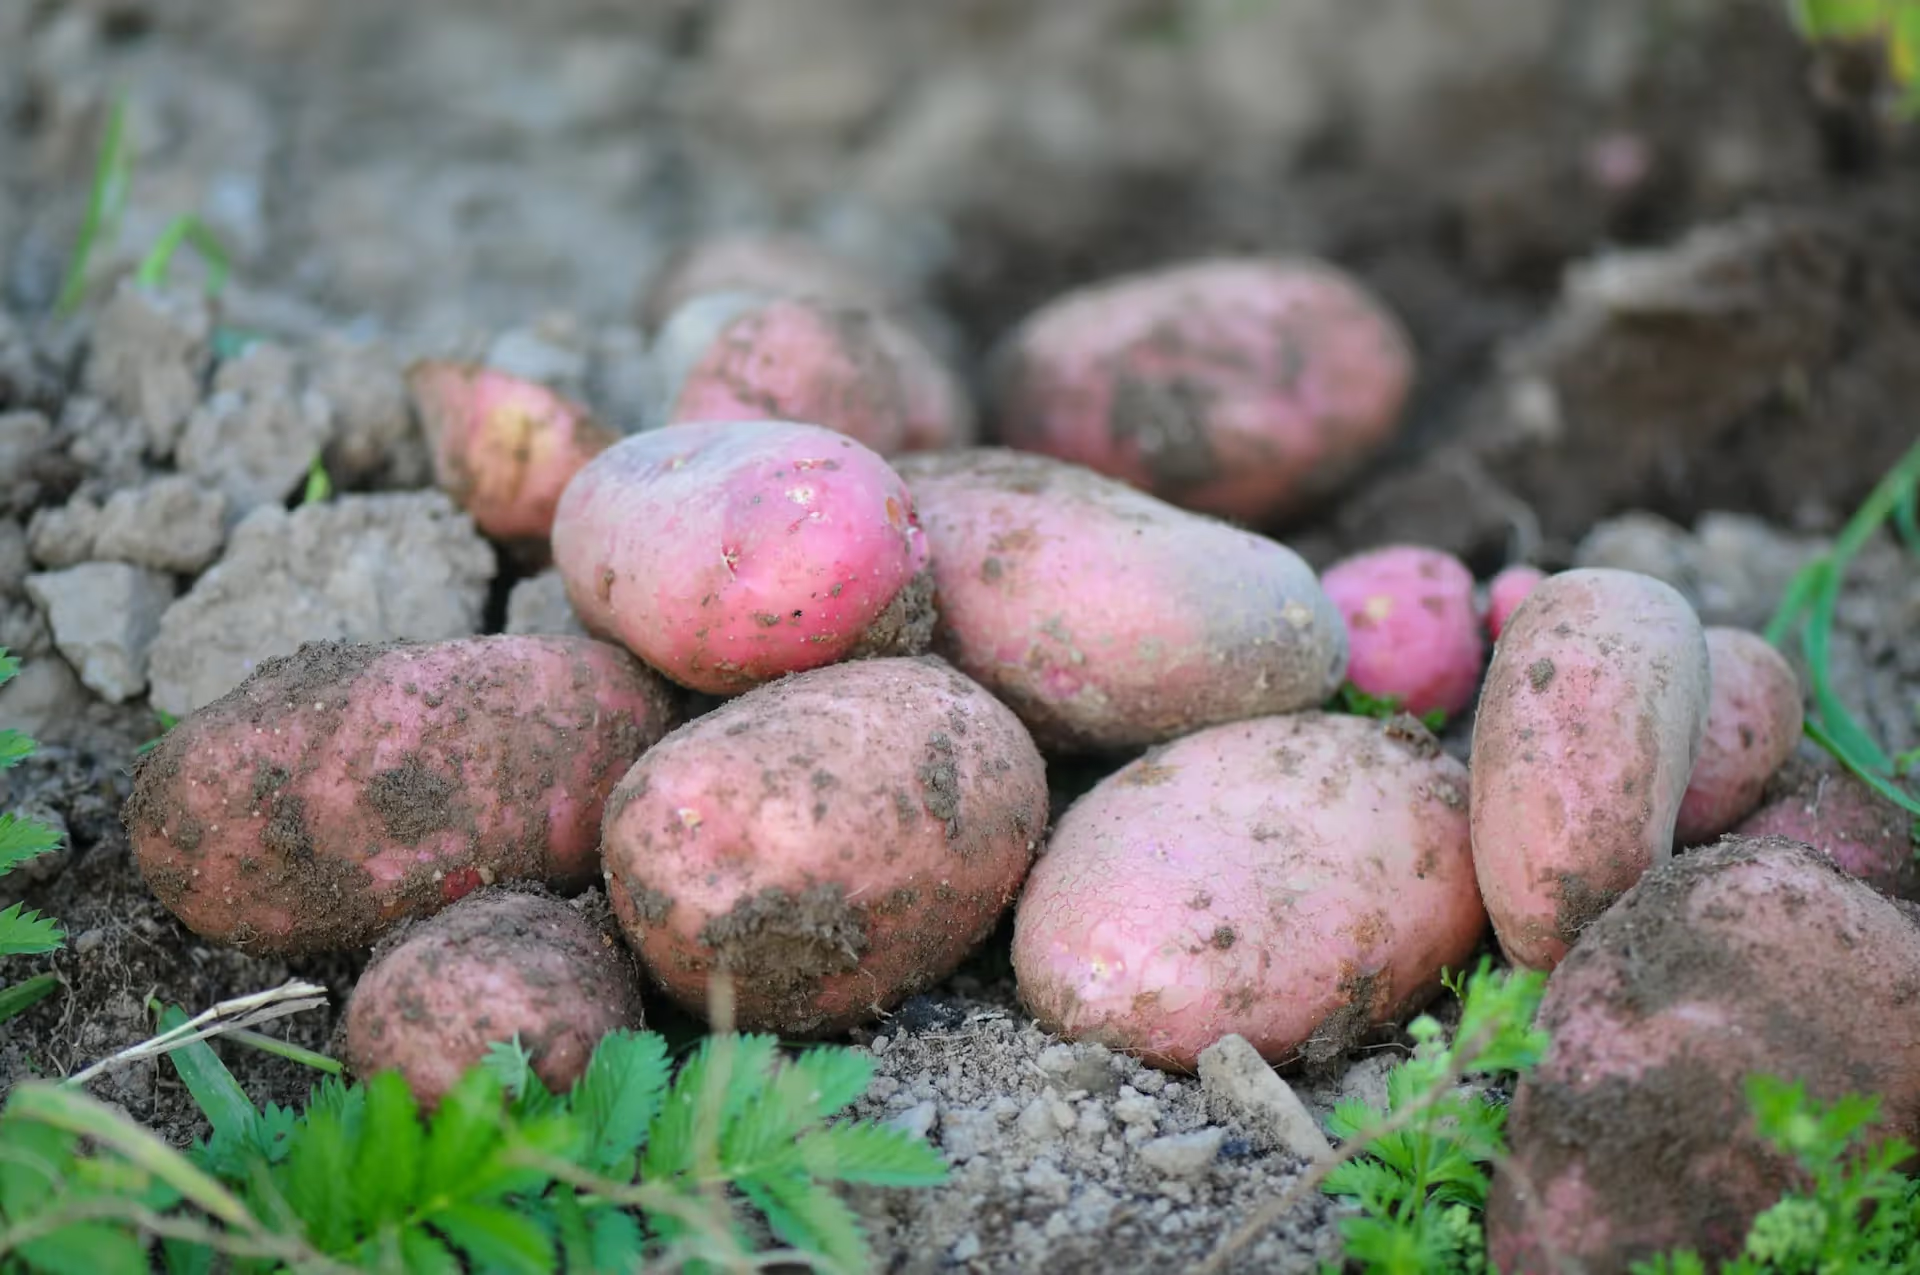
Potatoes must be correctly cured and stored to be kept for any length of time.
After harvest, let the potatoes cure for a week in a cool, dry, and well-ventilated area to toughen their skins.
Next, store potatoes in a cool and dark location.
I store potatoes in a room that does not receive heat from our wood stove during the winter. I also have the potatoes underneath a blackout curtain. This allows me to store potatoes for several months before they sprout.
When you grow potatoes in a regenerative way, you also support the health of the soil and the planet. Potatoes are a simple crop to grow, and when you apply regenerative techniques, you're more likely to have a bountiful harvest.