Be a Land Steward.
Sign up for Greenhouse Gases -
a weekly-ish newsletter that will teach you the science behind regenerative gardening, with action steps to help you make a difference in your backyard.

Sign up for Greenhouse Gases -
a weekly-ish newsletter that will teach you the science behind regenerative gardening, with action steps to help you make a difference in your backyard.
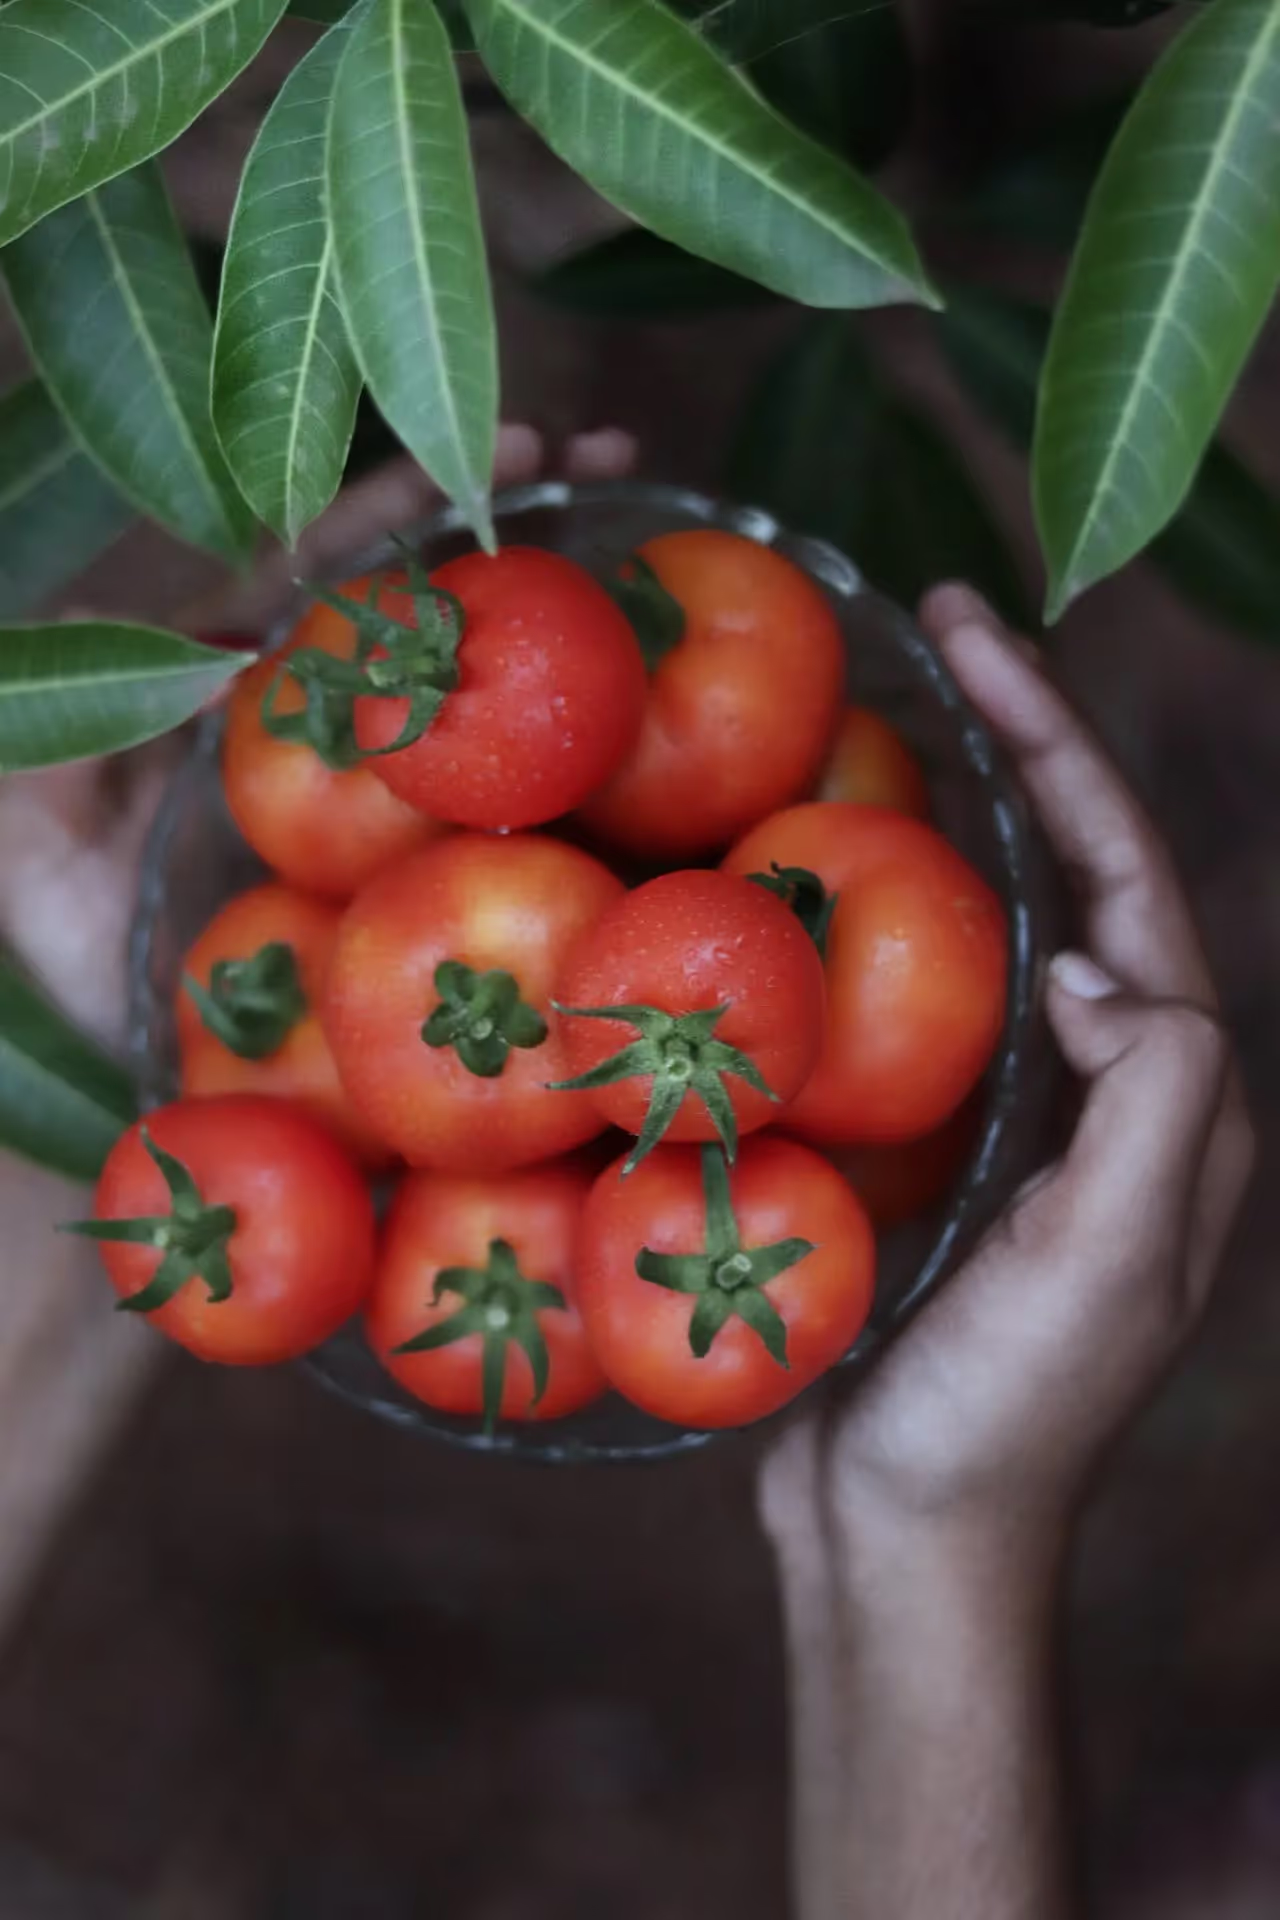
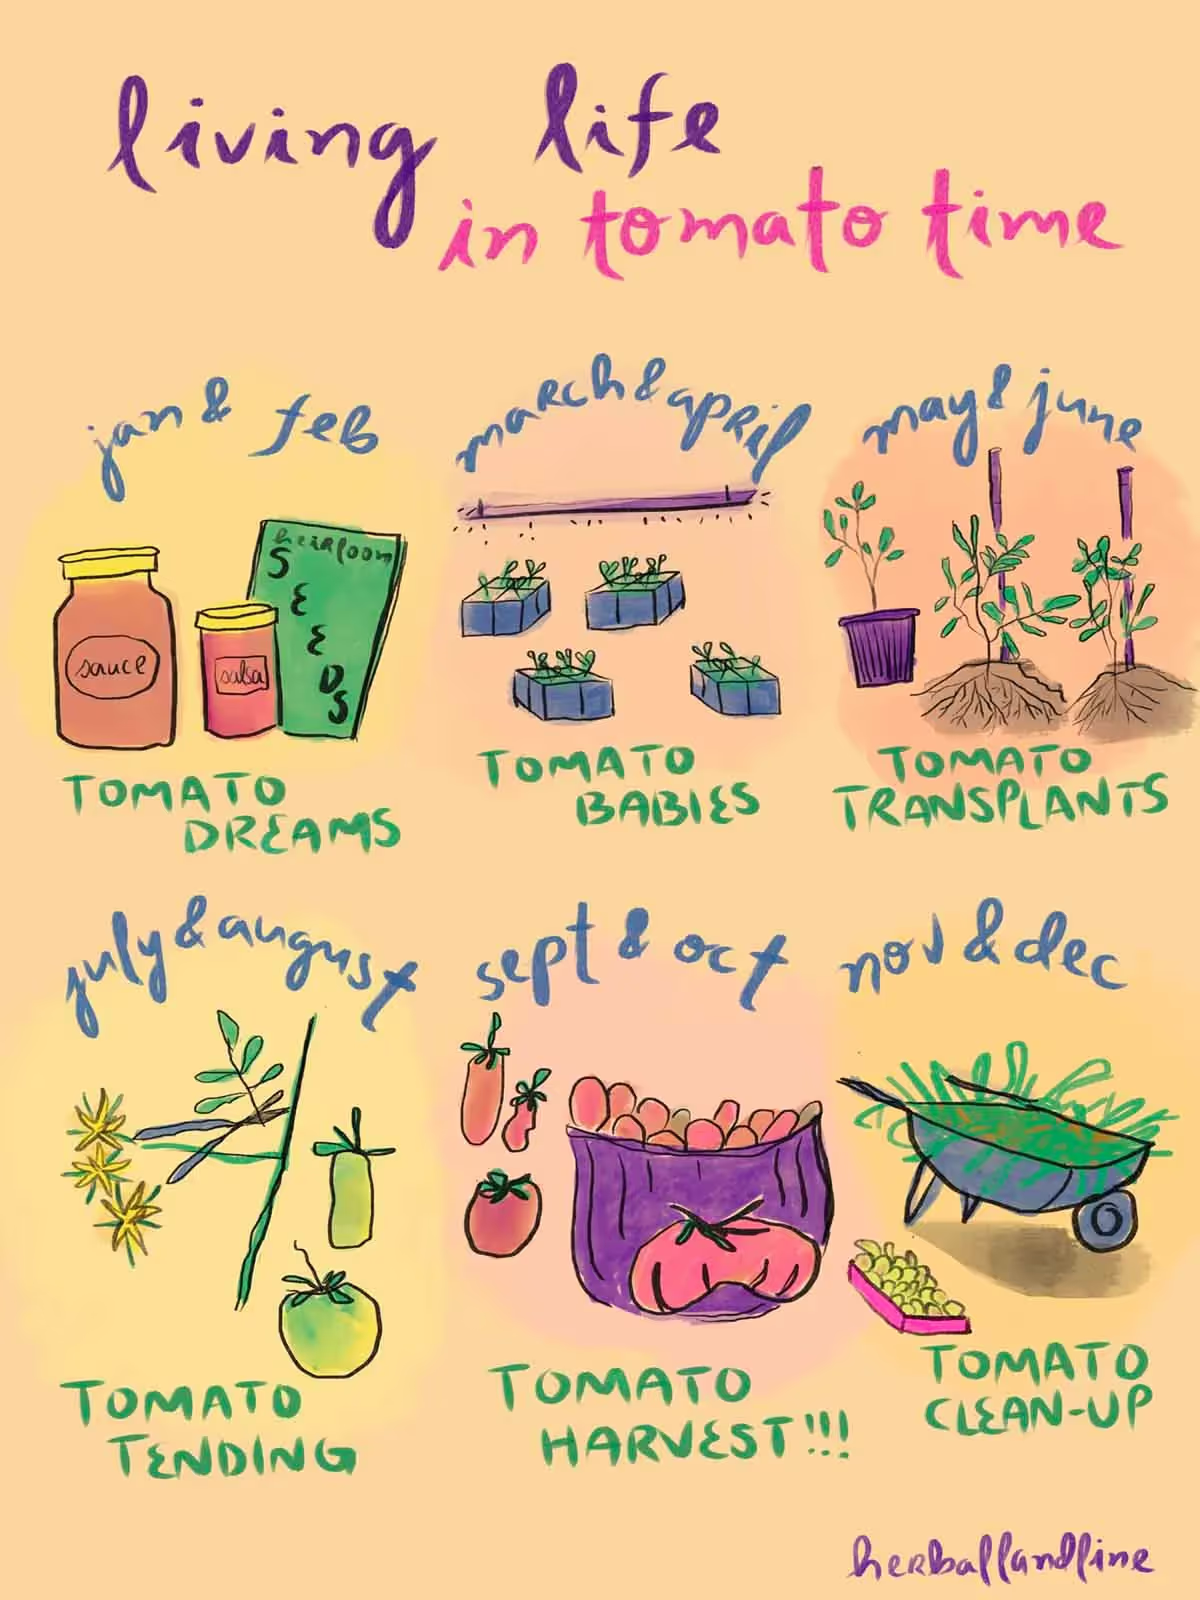
Ah, every gardener’s dream: a garden full of lush tomato plants, properly trellised, glistening with ripe fruit. Piles of tomatoes in harvest baskets, jars of sauce stocked in the pantry, and fermented salsa on the counter.
In order for this dream to come true in September here in the northern hemisphere, the process begins months earlier in February.
Tomatoes are a staple food in many kitchens - tomato sauce, pizza sauce, salsa, tomato soup, and even as a flavoring for broth. Tomatoes are a surprising source of calories, and growing them builds self-sufficiency in your kitchen and pantry.
Tomatoes do well with organic regenerative gardening methods, which I will outline for you here in this article. You can grow tomatoes without digging up the soil, and they also thrive in containers. Other regenerative practices, like crop rotation, mulch, and cover crops are all great for tomatoes to thrive in your garden year after year. These regenerative methods also help the health of your soil and sequester carbon in your garden over time.
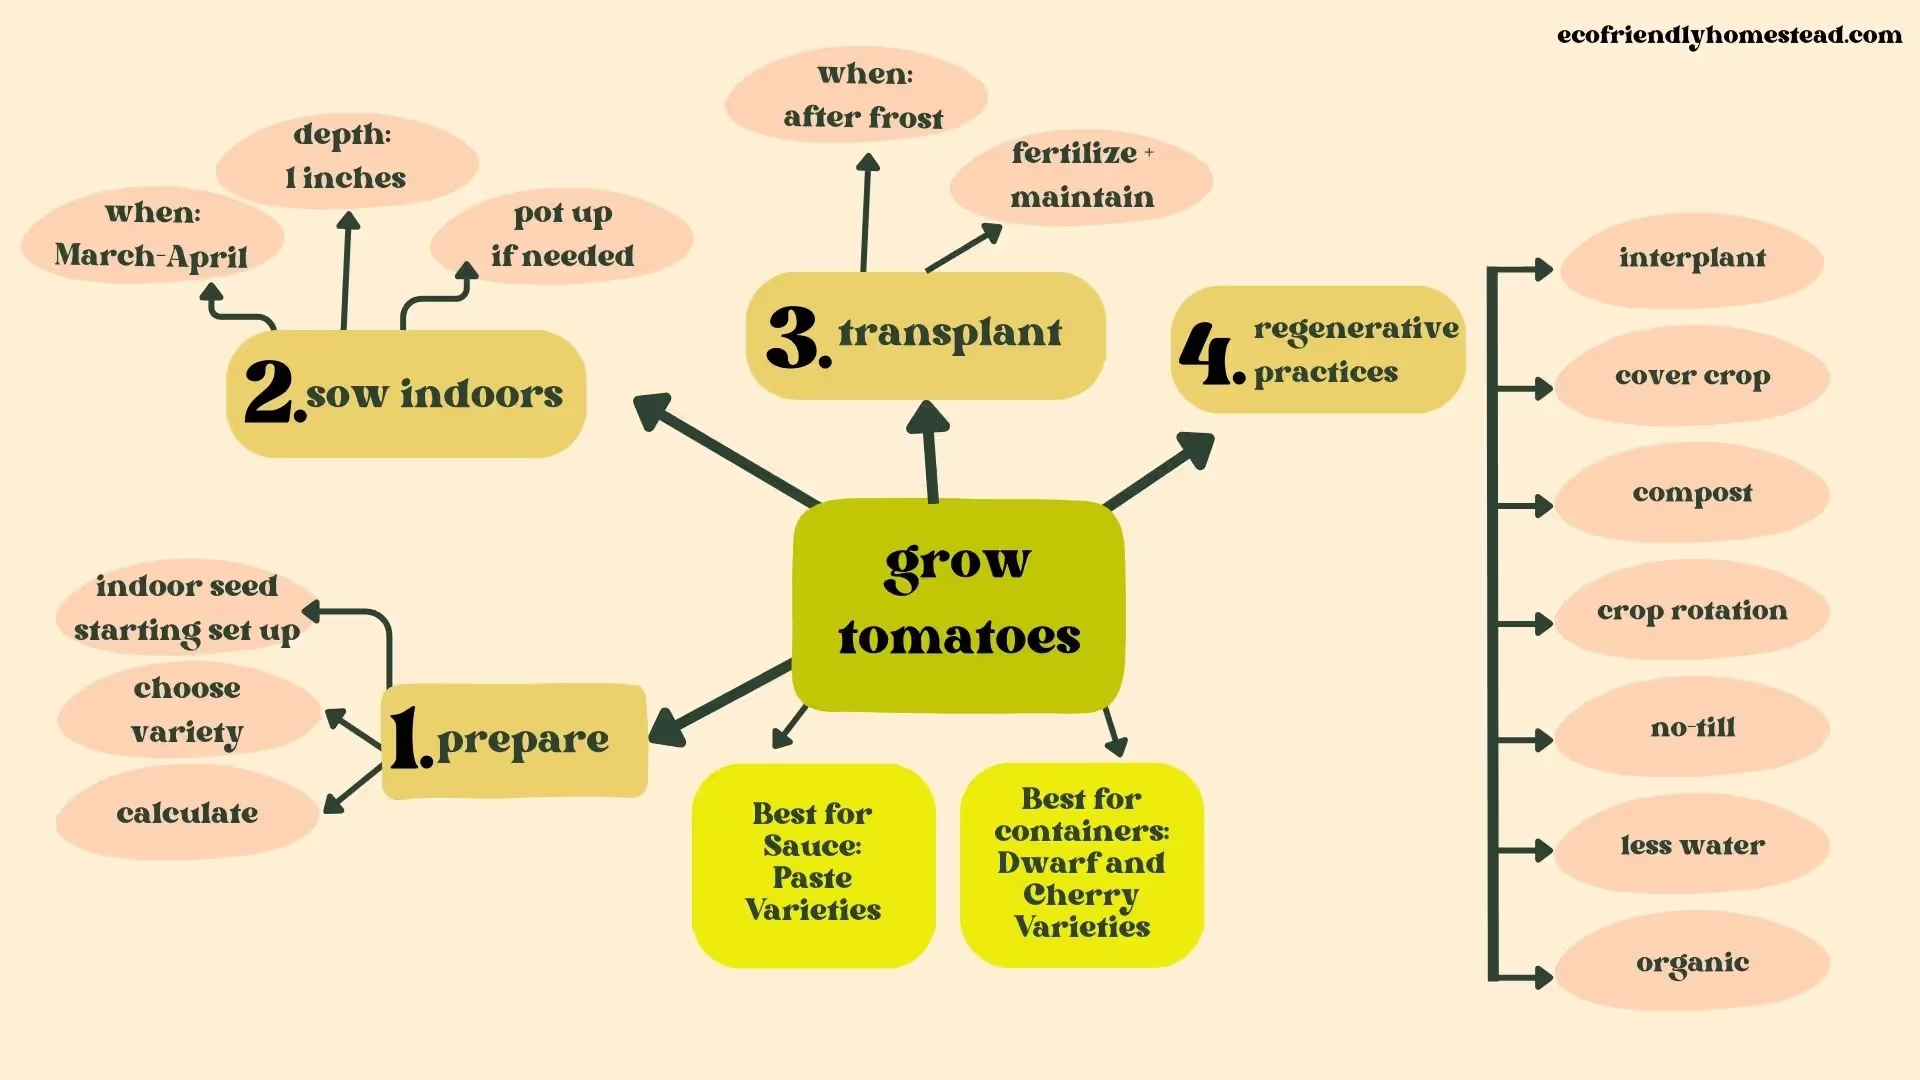
I’ll share my techniques for planting tomatoes from seed to harvest, and break down the steps in this guide.
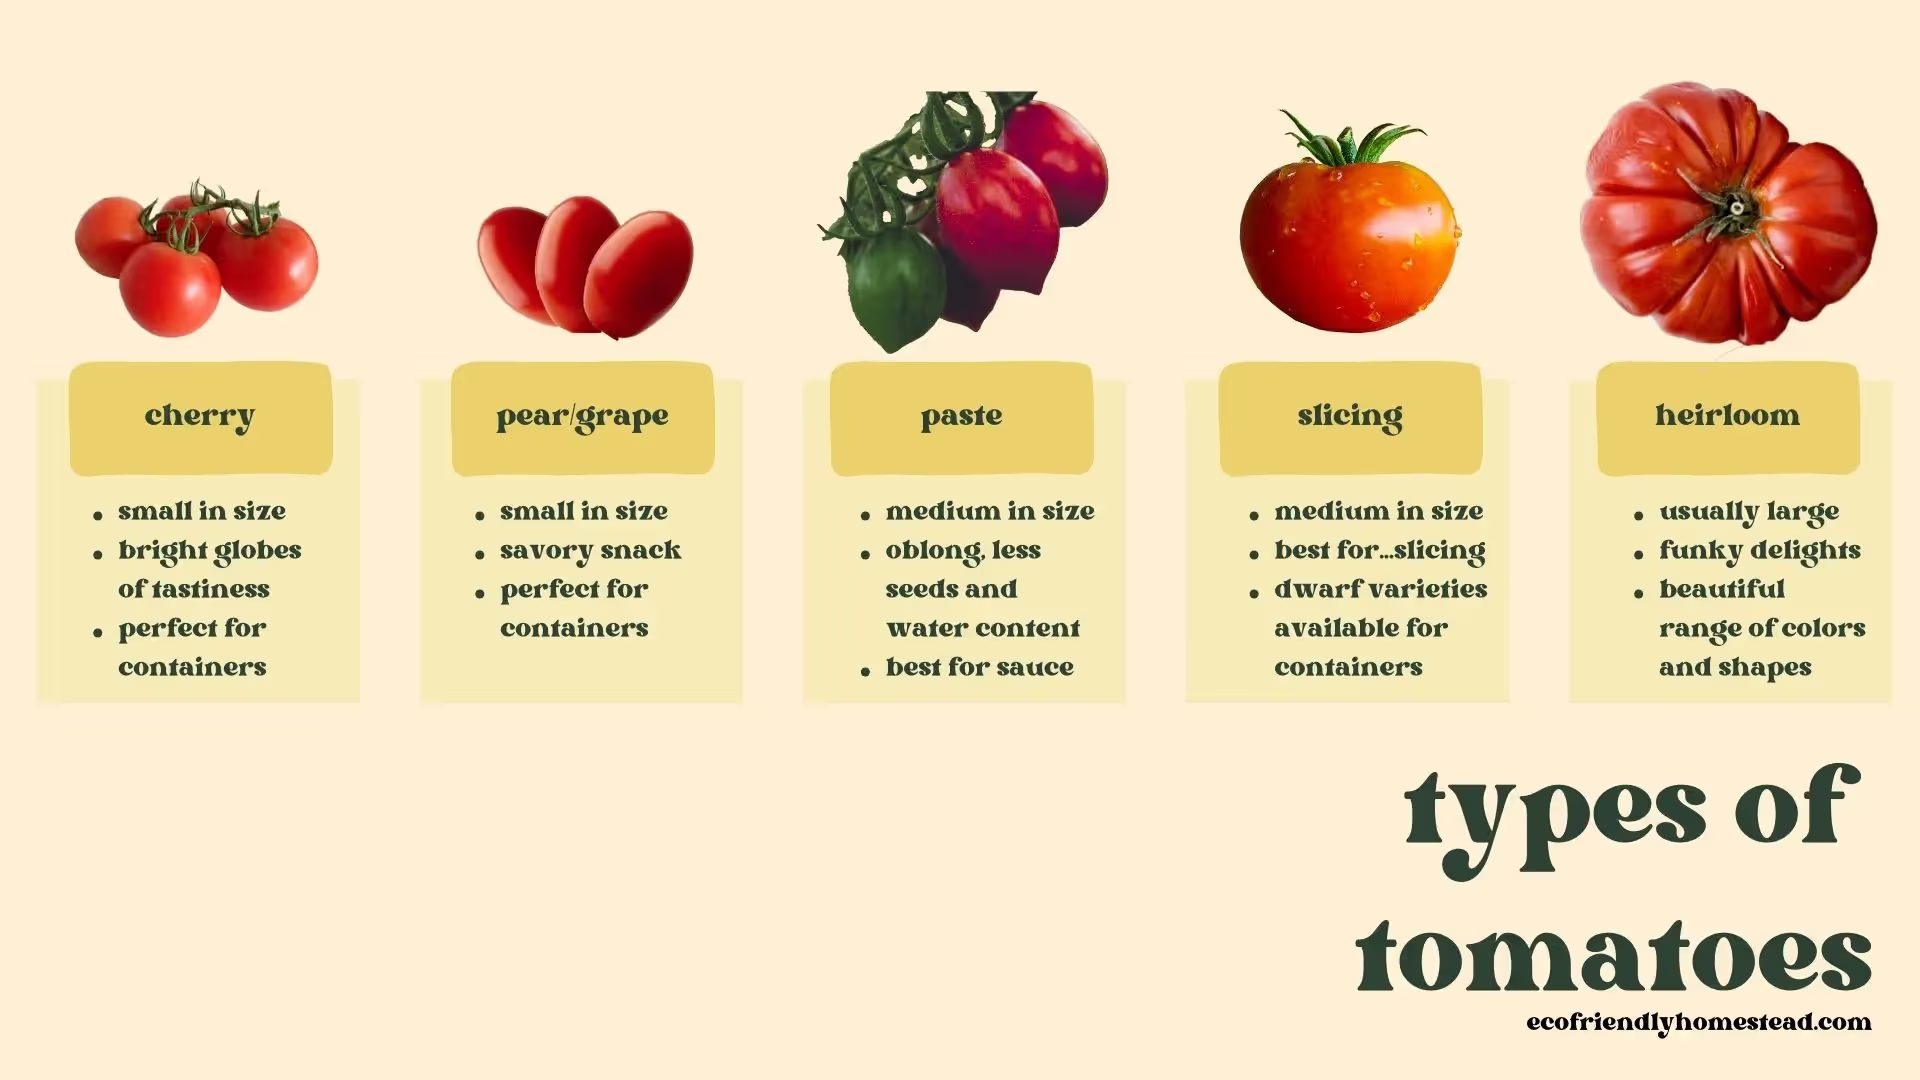
Tomatoes come in so many different shapes, sizes, and colors that it can be overwhelming to know what kind of tomato seeds you should buy.
Here’s a rundown of the different types of tomatoes, and their uses in the kitchen. Below each type I’ll list out varieties that are best for different growing situations:
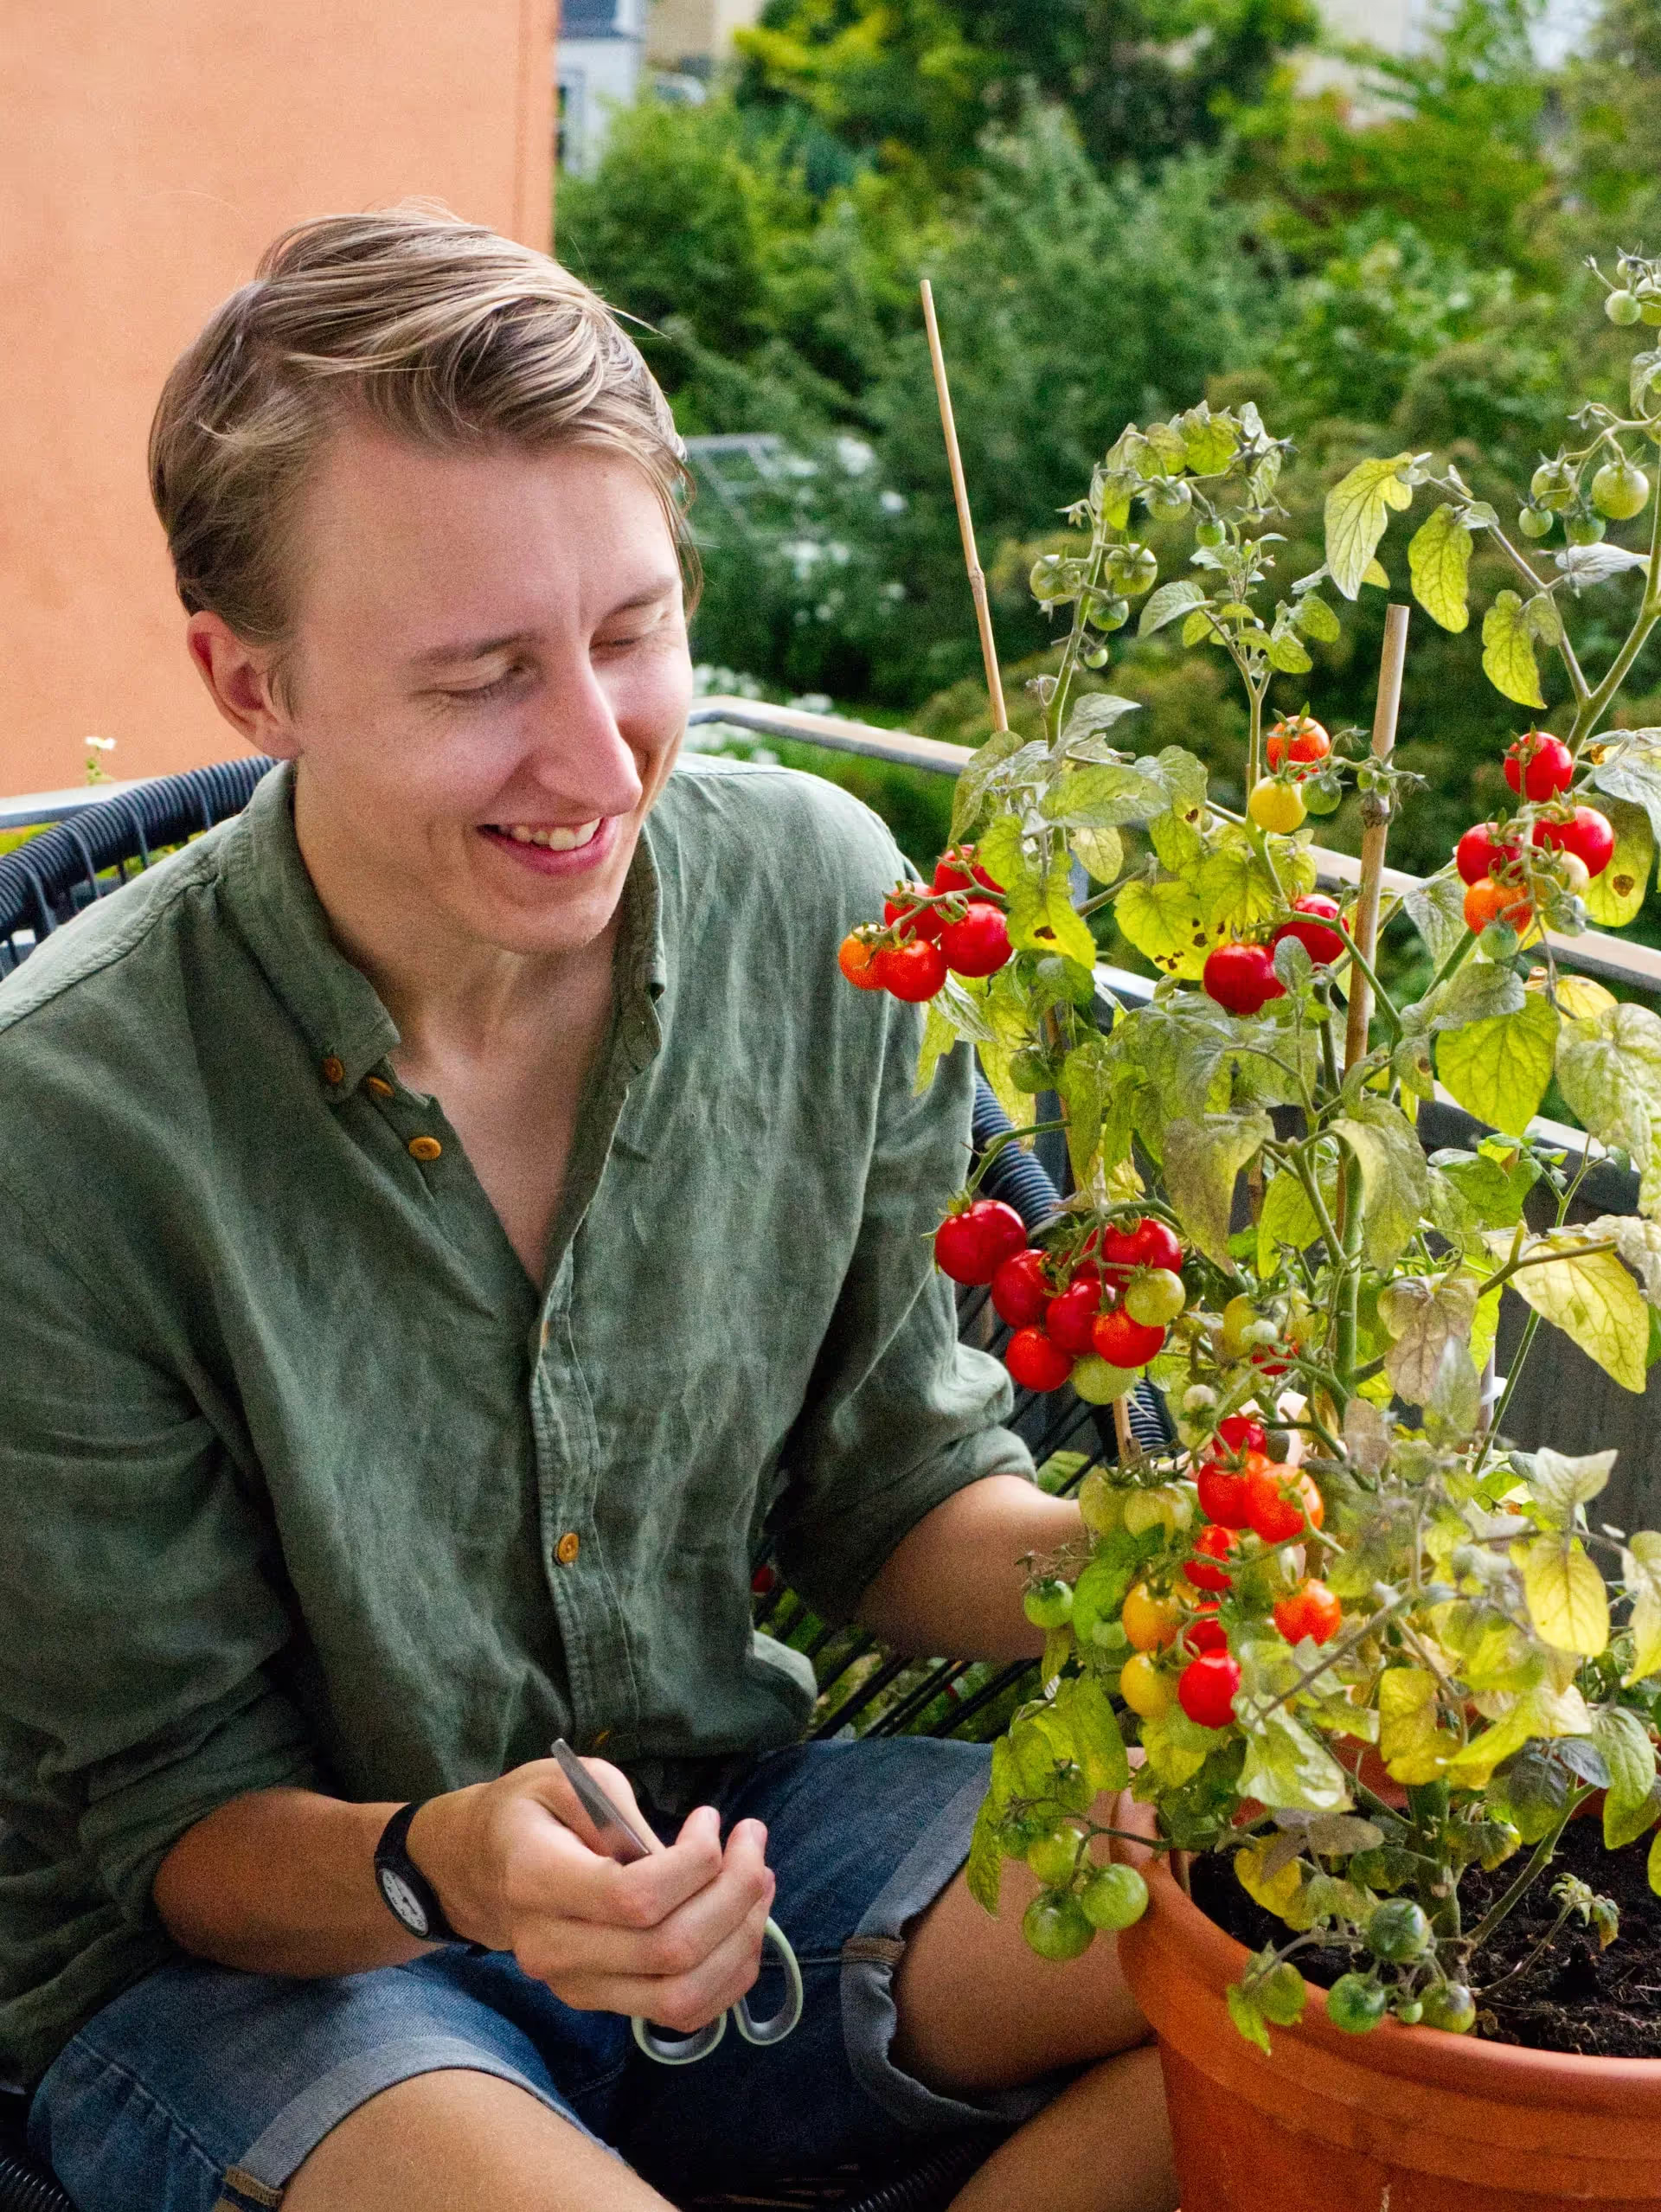
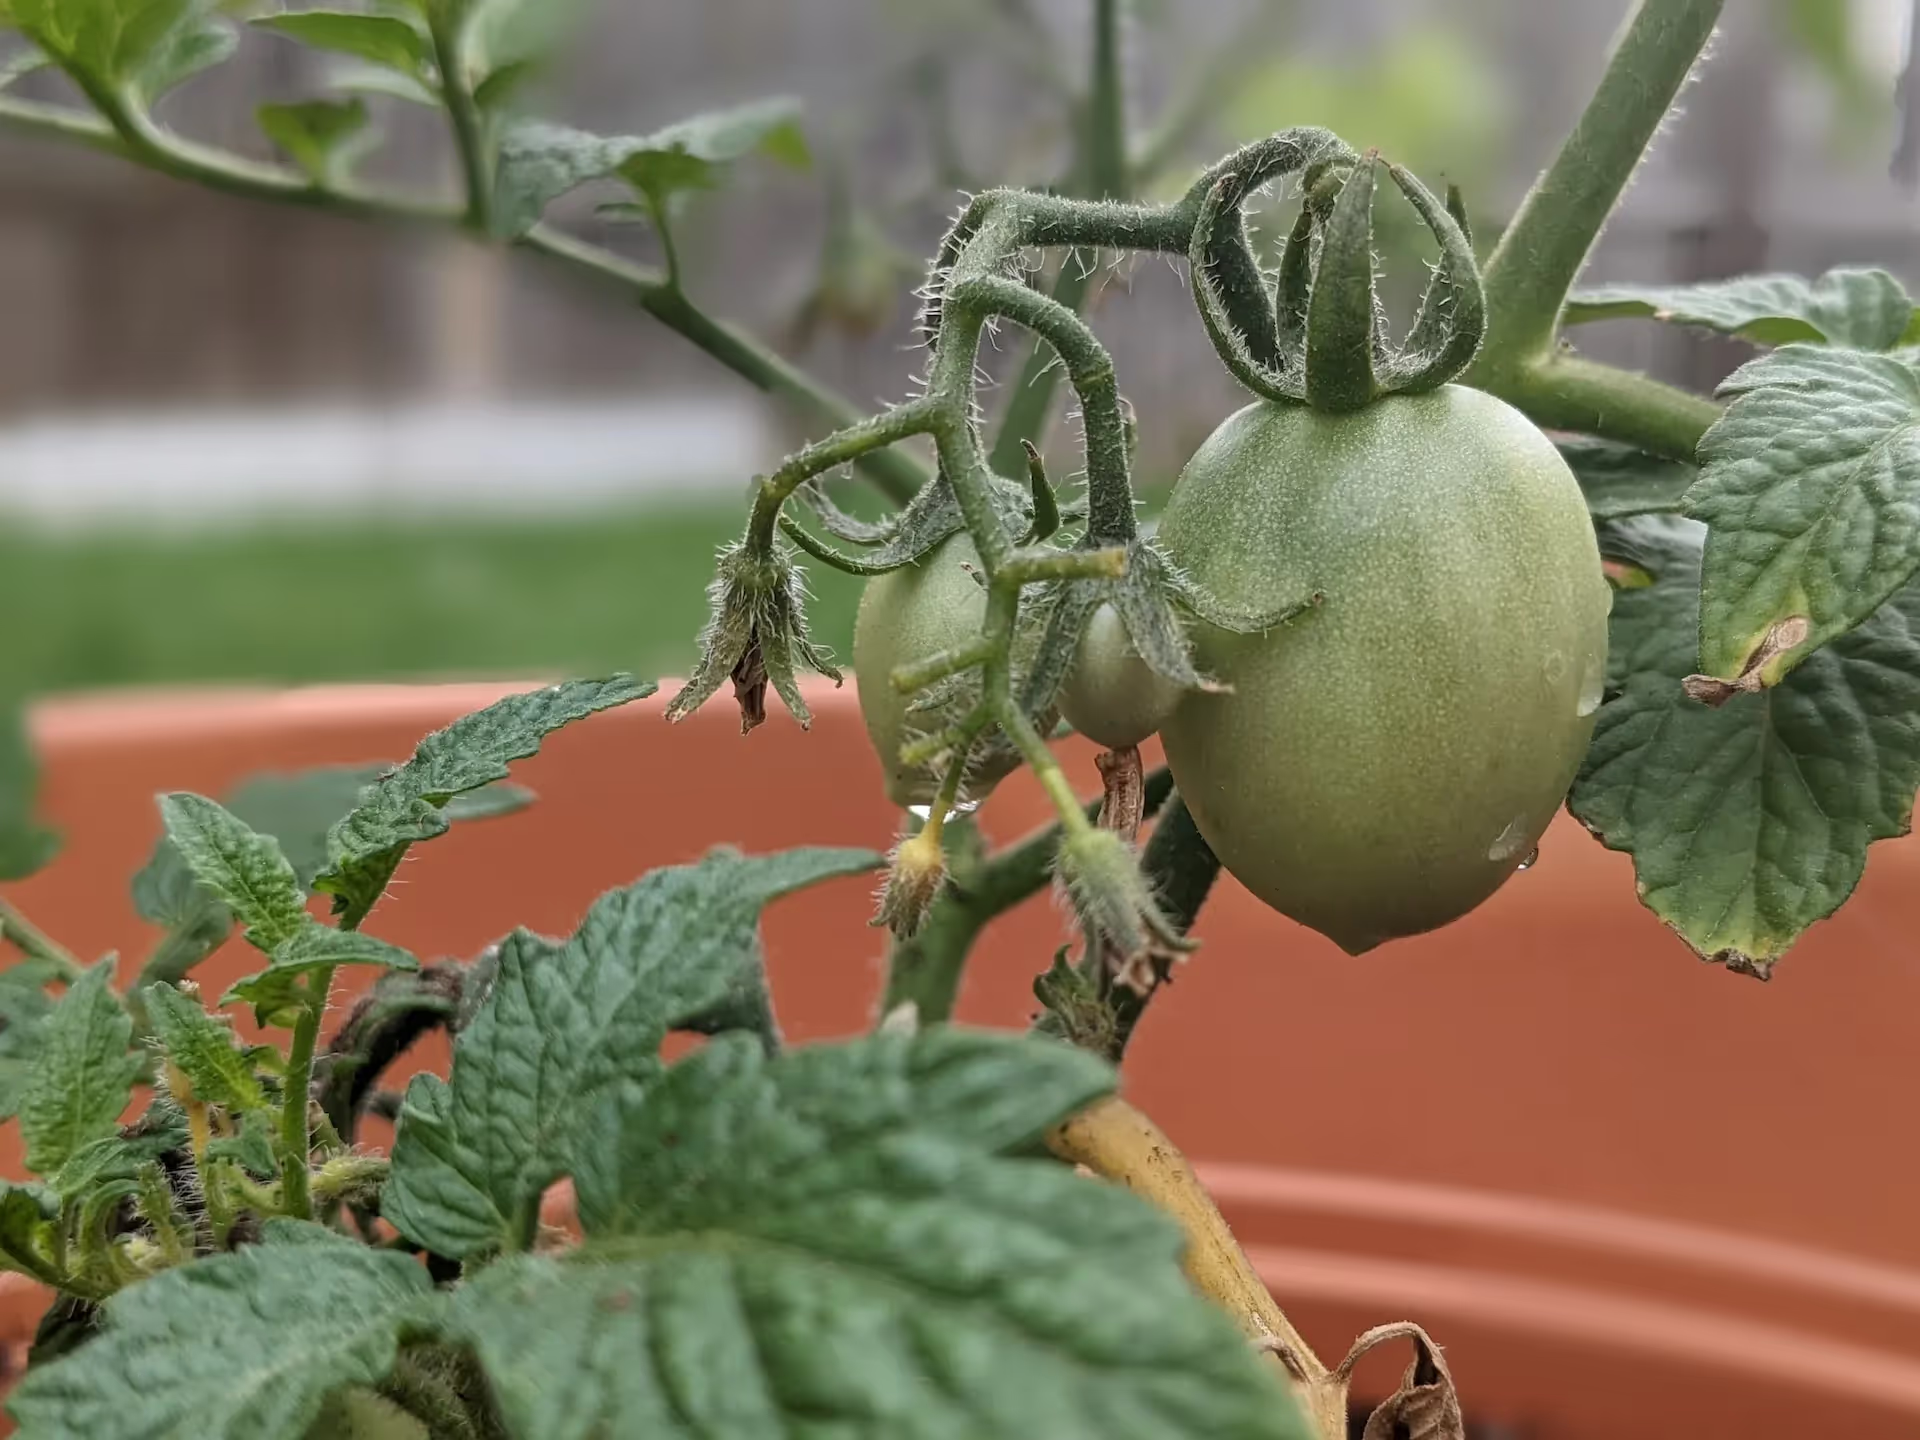
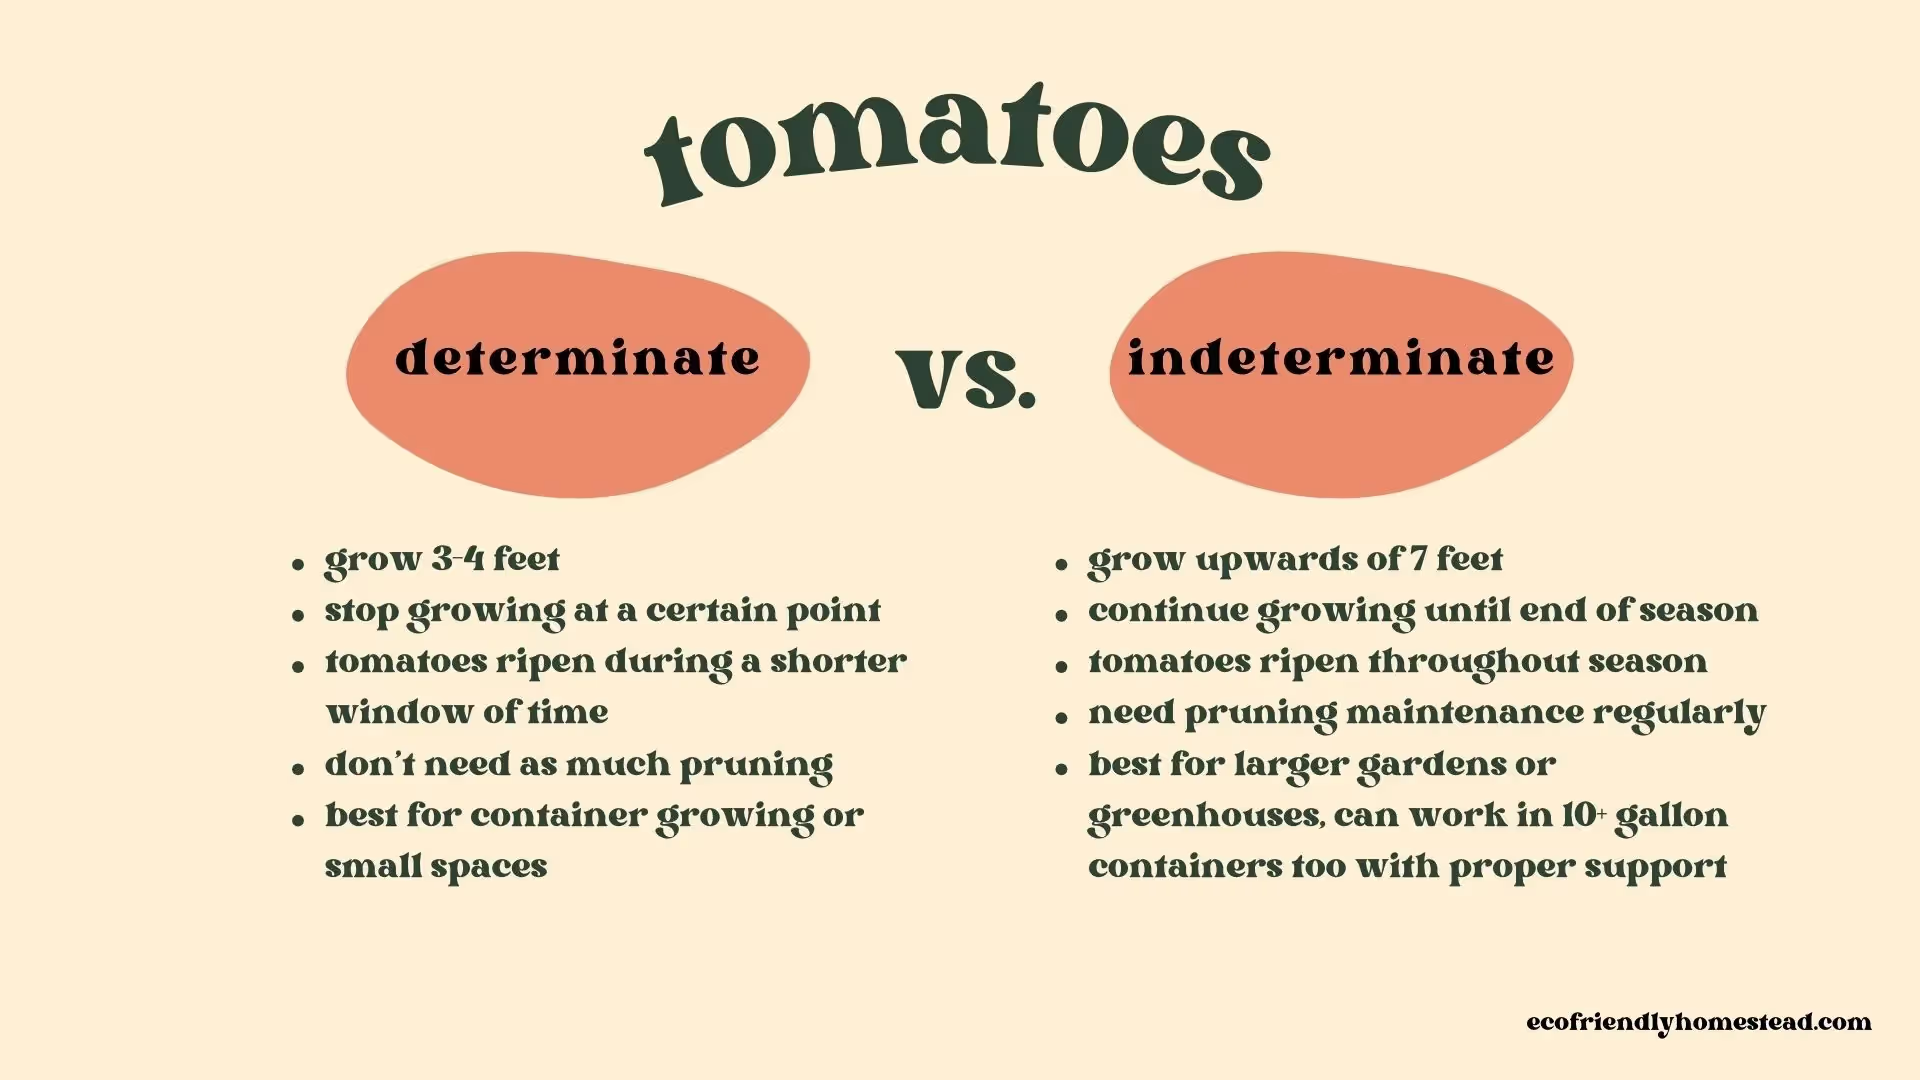
Determinate tomatoes grow to a “pre-determined” height and usually produce a crop of tomatoes within a shorter time frame. Determinate tomatoes are best for containers and small gardens, or for those who want to have a shorter harvest window from their plants. They require less maintenance and pruning overall.
Indeterminate grow for an “undetermined” length of time and will keep growing in height until the season is over. These types of tomatoes can take up a lot of space, but will keep producing tomatoes until your first frost. You’ll need a tall trellising system to maintain these properly in addition to frequent check-ins for proper pruning.
Late Blight Resistant Varieties:
Mountain Magic (slicer), Jasper (cherry), Matt's Wild Cherry, Mountain Merit (slicer), Legend (slicer), Defiant PHR, Plum Regal, Crimson Crush
Early Blight Resistant:
Mt. Fresh, Crimson Crush
Septoria Leaf Spot, Early Blight and Late Blight Resistant:
Iron Lady
Fusarium and Verticillium Wilt Resistant:
Sunny, Mt. Spring, Carolina Gold, Cherry Grande, Roma
Tobacco Mosaic Virus Resistant:
Sun Start, Sunny
Nematode Resistant:
Sunny, Daybreak, Celebrity
Sources: Cornell, UMass Amherst, Kentucky State,RHS
Plan out how you will start your tomato seeds. Will you start them indoors under a grow light? Outside under cover? Or will you wait until danger of frost has passed and direct sow them outside?
Whichever method works best for you, make sure that all of your supplies are ready, clean, and available.
If you’re starting seeds indoors, you’ll need:
If you’re starting seeds outdoors undercover, you’ll need:
If you’re starting seeds outdoors after frost and direct sowing, you’ll need:
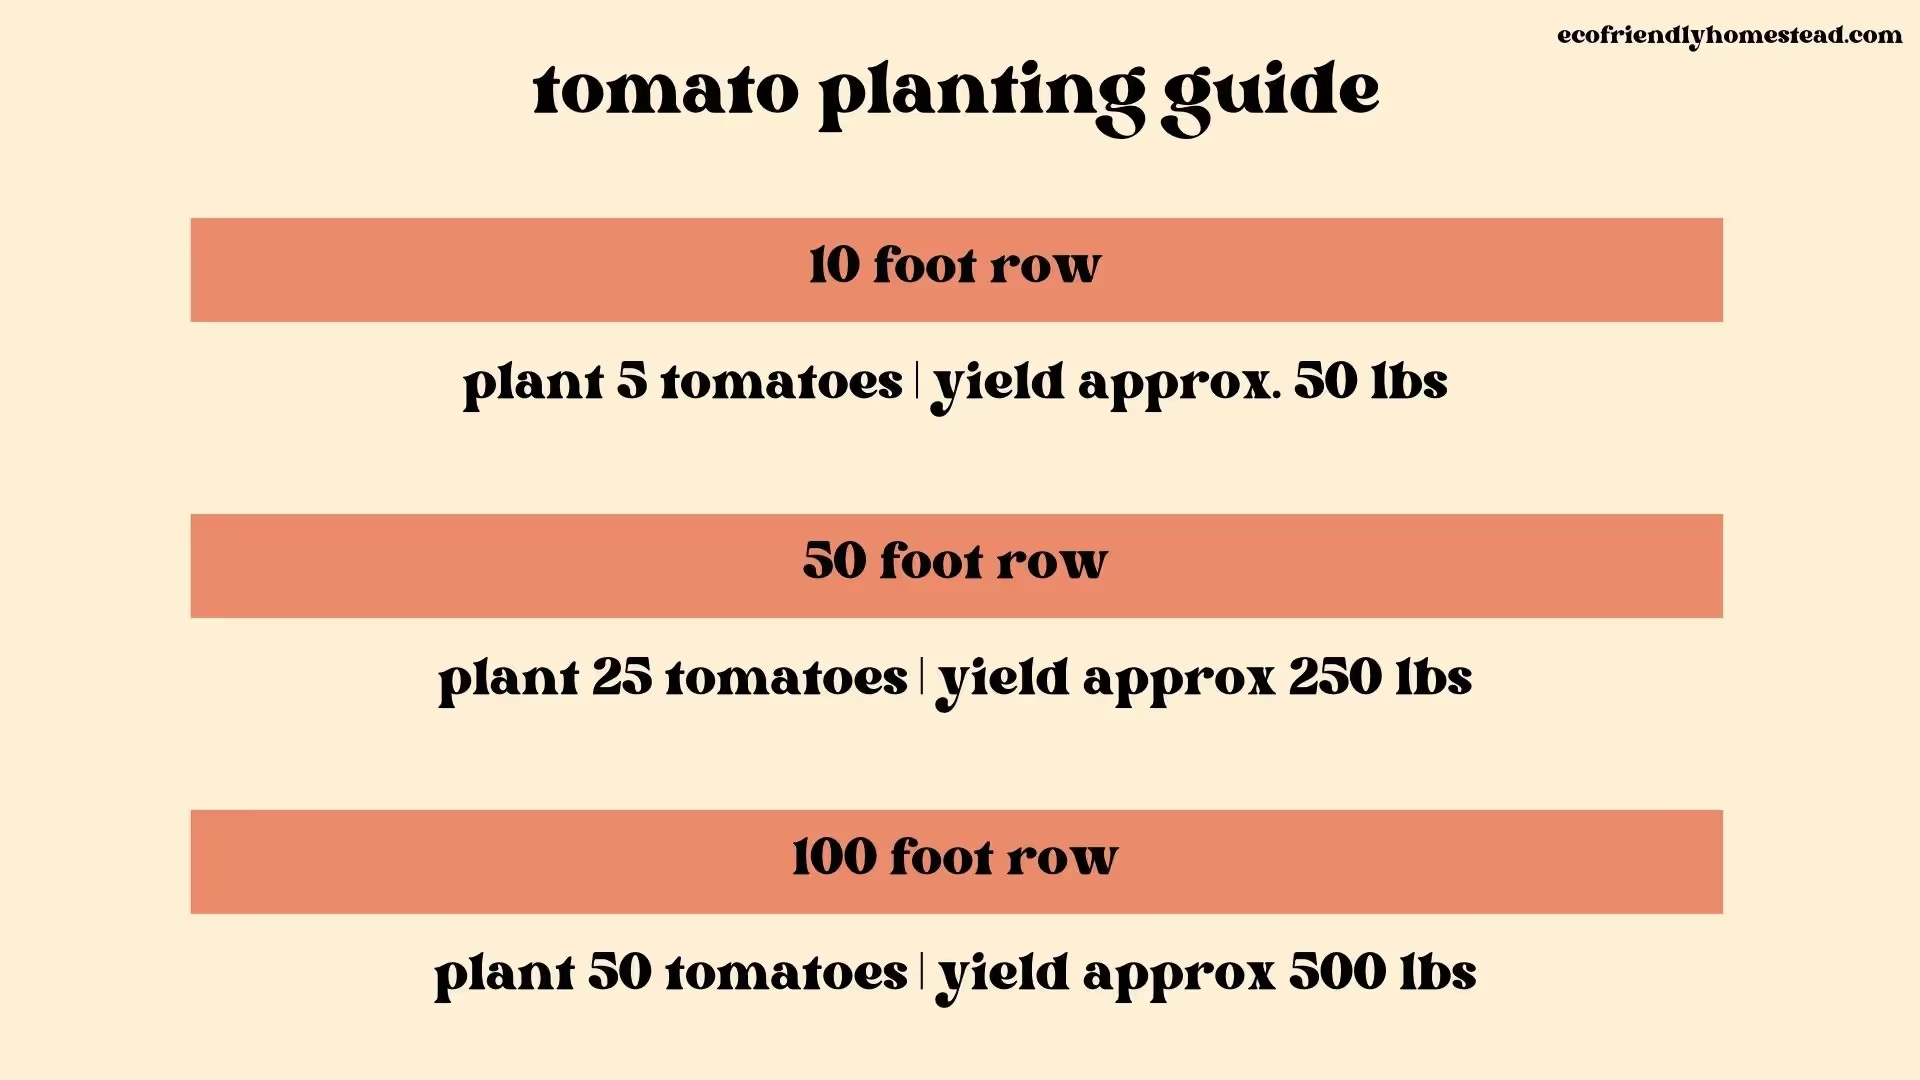
Amount of tomatoes to plant for any length of row:
A standard measurement is that your tomato plants should be 2 ft apart, so you could plant 5 plants in a 10 foot row in your garden.
If you have a 50 ft row, 25 plants could fit into that space.
How far apart to plant tomatoes:
It’s best to plant tomatoes 2 feet apart.
Grow tomatoes in a bag or container:
According to the RHS, a 12 inch diameter grow bag is best for dwarf and determinate tomato plants, which would be a 5-7 gallon grow bag.
10-15 gallon grow bags are best for indeterminate tomato varieties.
If you have the space, I’d recommend the 15 gallon size. I’ve personally had a lot of luck with that size and indeterminate tomato plants in my garden the past few years.
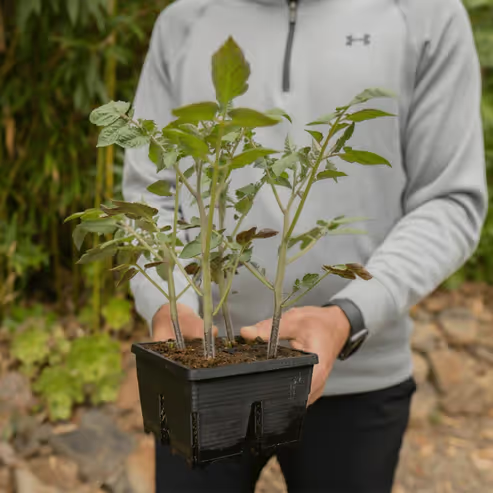
Tips for if you’re starting tomato seeds indoors:
You’ll need to check your local weather around the time of the average last frost for your growing zone to know when to plant your tomato seedlings out into your garden. The last frost date for your garden will vary from year to year, so it’s hard to be specific.
During the time of my average last frost date, I look for a good stretch of weather where night temperatures are at 38 degrees or higher before I plant out my tomato starts.
Tomato planting dates based on average last frost dates
Zone 2: Plant out around June 1
Zone 3: Plant out around May 25
Zone 4: Plant out around May 15
Zone 5: Plant out around May 15
Zone 6: Plant out around May 15
Zone 7: Plant out around April 15
Zone 8: Plant out around April 15
Zone 9: Plant out around April 1
Zone 10: Plant out around March 21

If you live in an area with a longer growing season or have greenhouse or row cover, you can also direct sow your tomato seeds instead of starting them indoors.
For the most part, the guidelines for transplanting tomato seedlings and sowing tomato seeds directly apply to tomatoes.
Here’s some guidance on how many plants to grow in your containers:
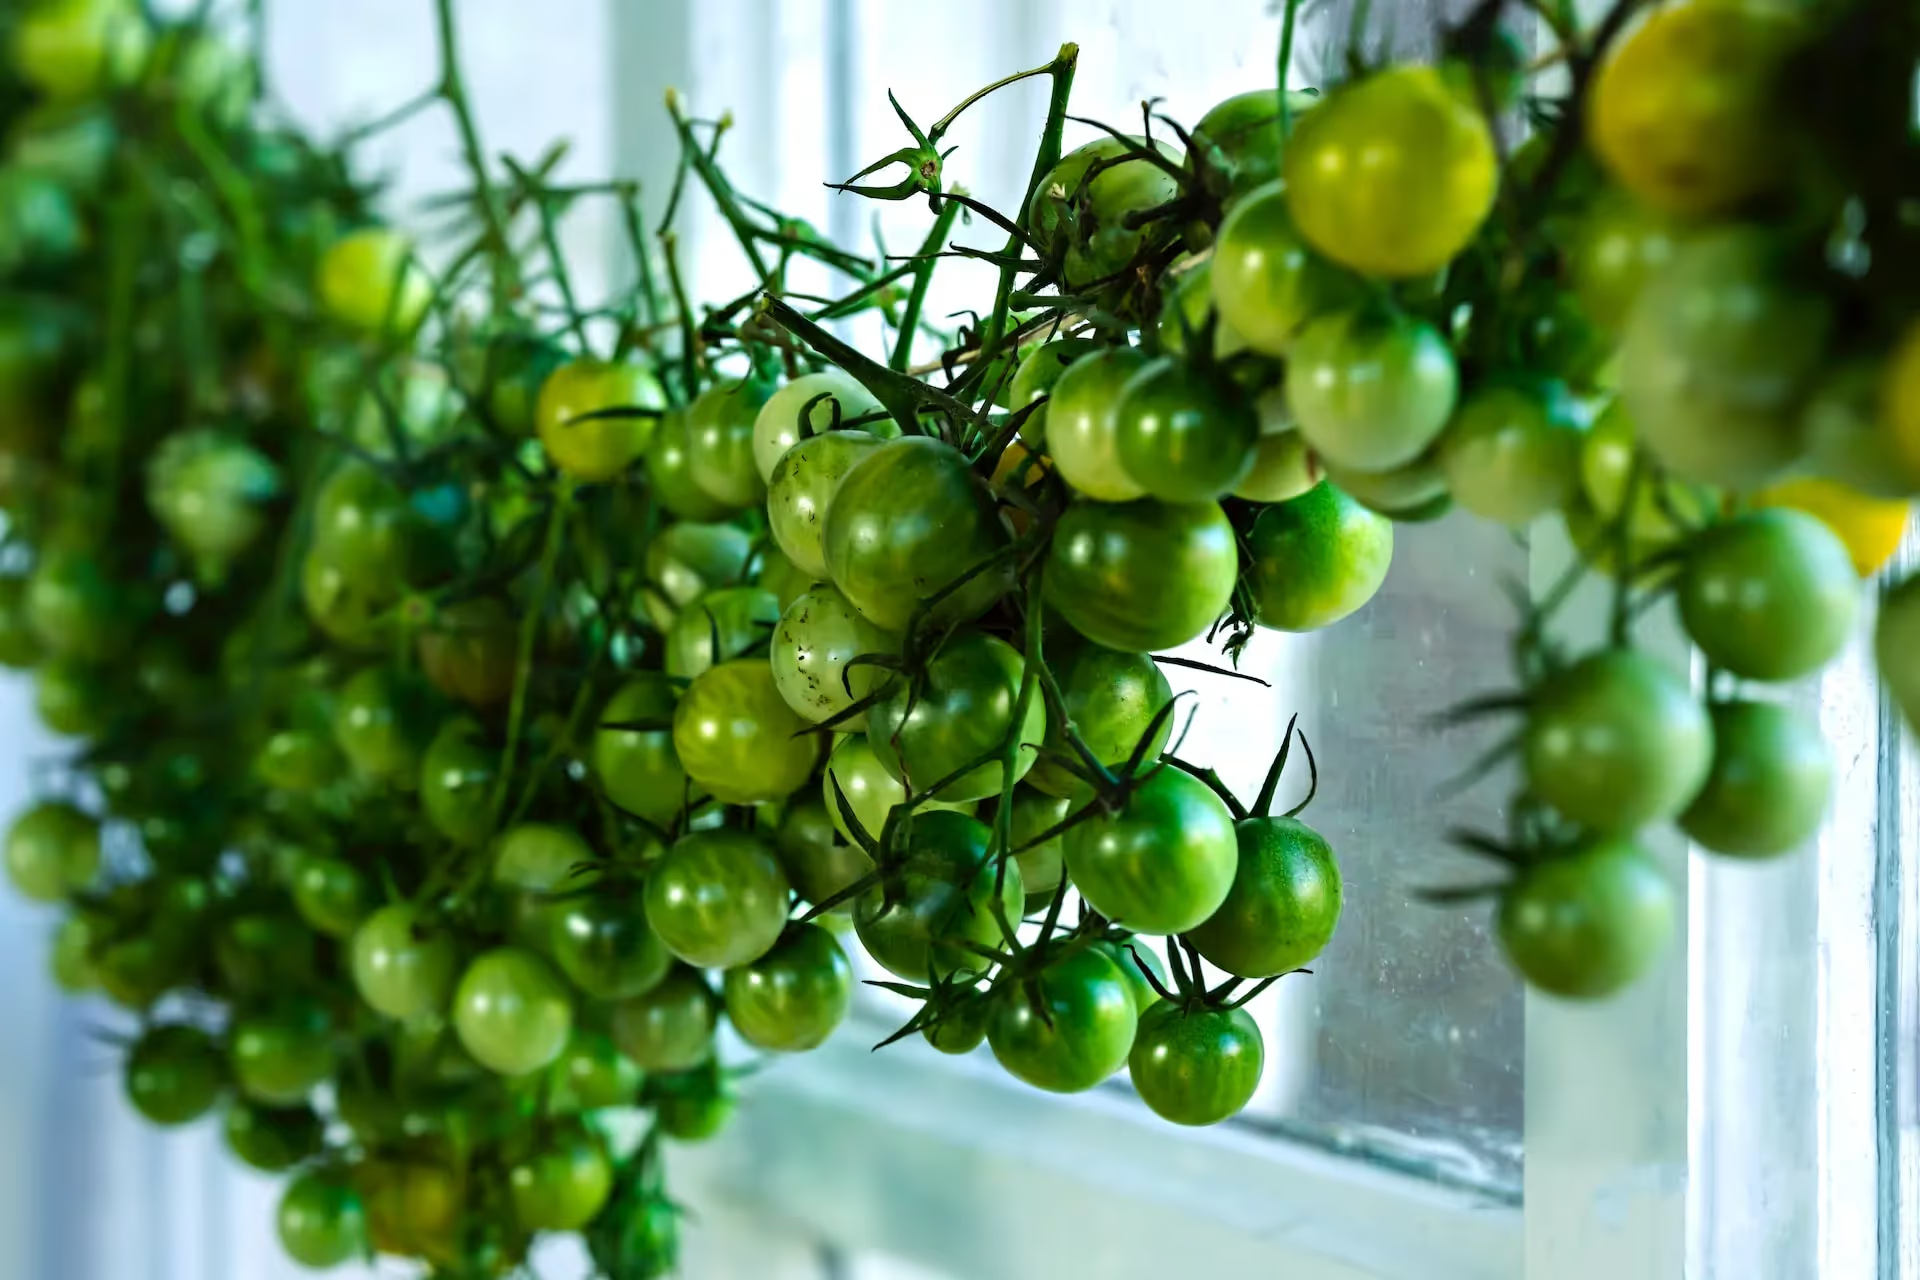
Since tomatoes can host so many different diseases and pests, it's important to clean up all of your tomato plant debris once the season is complete. Tomatoes are one of the few vegetables that I pull up the roots of the plant in order to prevent disease spread.
Once your area is fully cleaned up, plant a cover crop of hairy vetch to support the health of the soil, boost carbon sequestration, and prevent future disease issues.
Interplanting tomato plants with other non-nightshade vegetables or an assortment of herbs and flowers is a regenerative practice. The more diversity and variety in your garden, the more biodiversity you’re building in the soil microbiome.
Herbs and flowers also bring in beneficial insects, which can support your tomatoes by eating potential pests.
There are certain companion plants that are scientifically proven to help tomato health and vigor.

French Marigolds and Tomatoes as Companion Plants:French marigolds have been shown to support tomatoes in two ways.
In 2019, a study out of the UK showed that French marigolds helped reduce whitefly damage on greenhouse grown tomatoes. According to the study, this technique works best at the start of the season, before the whitefly population becomes an issue.
Additionally, in 2007 a study from the University of Hawai’i showed that marigolds protected tomatoes from root knot nematode. They also share that in California, marigolds helps reduce root-knot nematode over seasons. In turn, the tomato harvest increased by 50%!
Basil and Tomatoes as Companion Plants:
Basil and tomatoes are a classic companion plant combination that actually has scientific backing from several studies.
In 2020, a study found that growing tomatoes and basil together in a 1:1 density increased the growth of the tomato plants.
This finding was confirmed in 2022, when a study from Hungary found that tomato and basil interplanting increased the size of the tomato plants and their harvest. Basil also helped tomatoes to have less disease, specifically less fusarium wilt.
In 2016, a student paper from Rappahannock Community College found that basil as a companion plant supported tomatoes in yielding more fruit. This paper noted that roots were also bigger and deeper. What’s fascinating is that in this study, tomato plants grown with basil and no fertilizer performed the same as tomato plants grown with fertilizer.
Regenerative agriculture advocates mulching your garden for many reasons. Mulch adds organic matter to the soil, prevents soil erosion, and helps maintain soil moisture. When the soil is covered, the soil microbial community is able to thrive because the soil won’t get dried out and the mulch provides food for microbes to eat.
Mulch has been shown to protect tomatoes from any blight spores present in the soil.
Common materials to mulch your tomatoes with are weed-free herbicide-free grass clippings, and organic straw.
Add compost to the tomatoes when you plant them to increase soil organic matter levels. Compost also helps balance out the structure of both clay and sandy soils.
Compost supports your garden and the environment in a number of ways. According to the EPA, compost adds biodiversity to the soil microbiome, and reduces the amount of watering needed for your crops. Compost reduces soil erosion and helps sequester carbon in the soil.
The EPA shares that compost can reduce the need for chemical inputs, such as fertilizers and pesticides.
Compost does all of that while also increasing plant vigor and harvests.
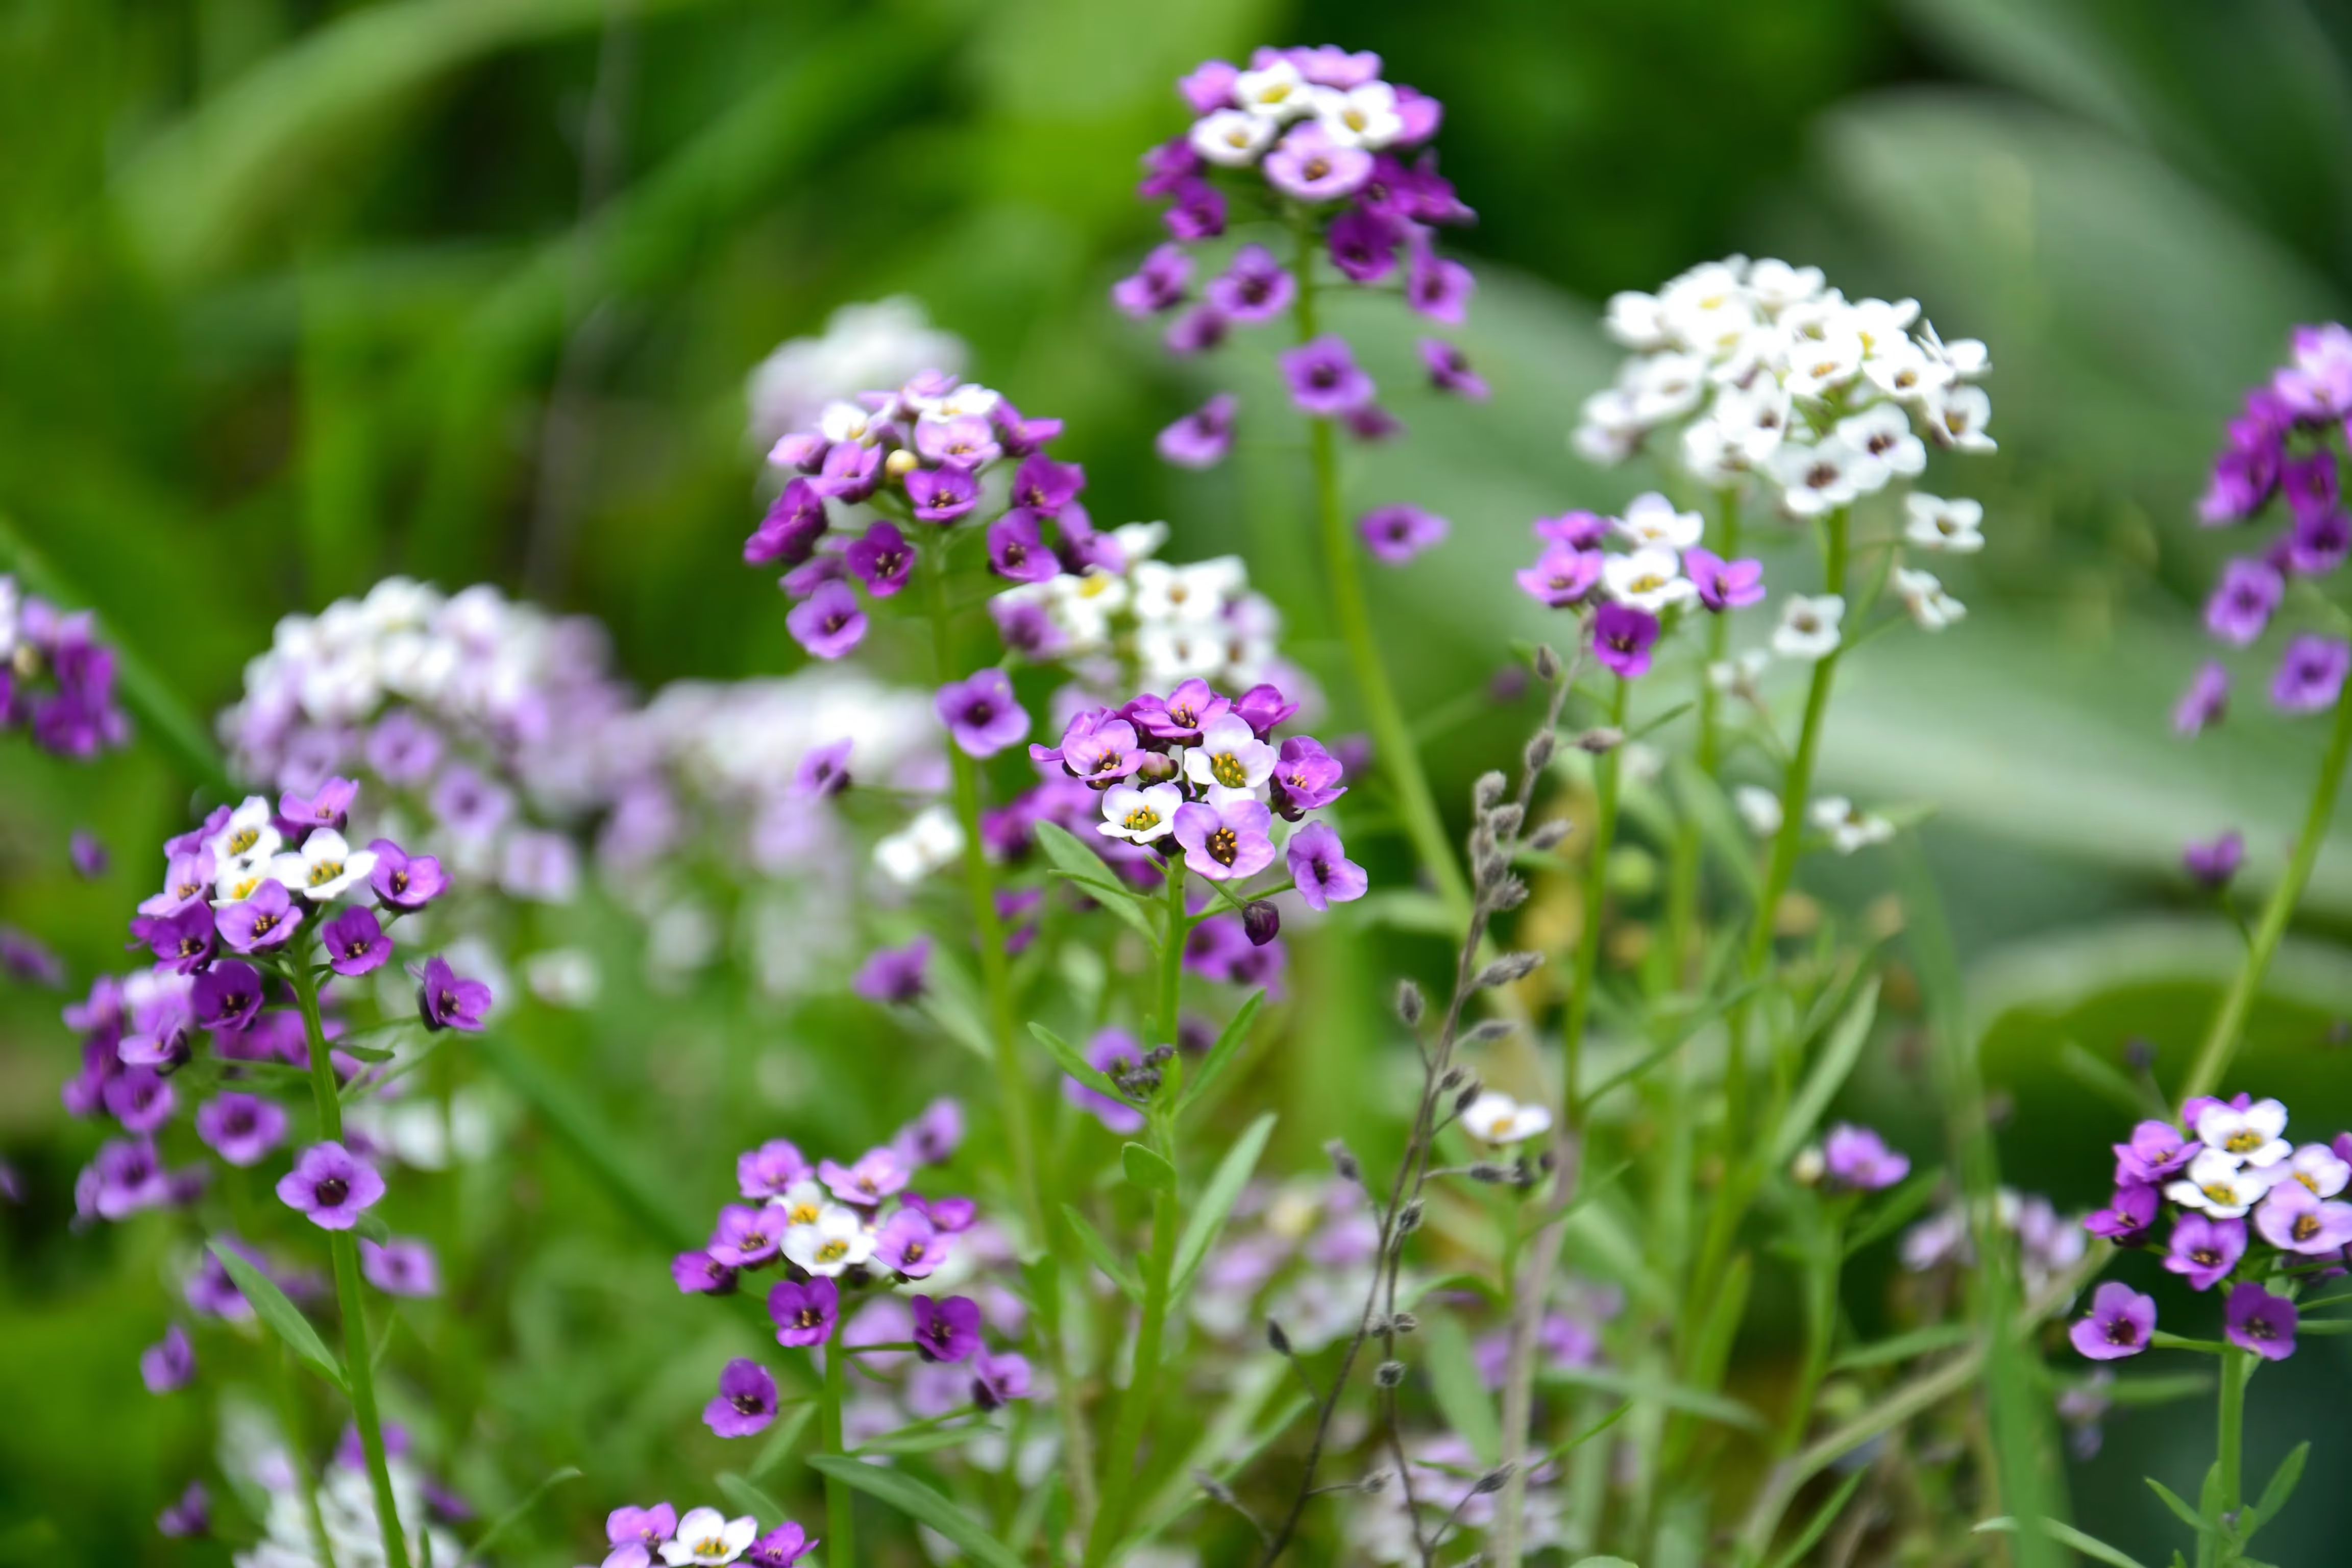
Regenerative farming understands the importance of plant diversity, including native flowers and herbs.
These plants are beautiful and fragrant, and bring in insects that offer the important ecosystem service of pollination.
Be sure to encourage pollinators in your garden to help tomatoes to set fruit and produce an improved yield.
No-till garden practices preserve soil structure, moisture, and microbial activity. This can enhance tomato fruit development, nutrient uptake, and water retention. All together, the yield and health of your tomato plants is improved.
When soil is tilled, it releases its sequestered back into the atmosphere.
There is an alternative to tillage. In compacted soil, use a broadfork to loosen the soil. This has worked great for my garden in the past.
Crop rotation is a regenerative gardening practice that reduces pest and disease issues. Studies show that a 3-4 year break from certain plant families makes for healthier crops. Crop rotation avoids a lot of disease and pest issues.
Tomatoes are part of the nightshade family. Be sure not to plant it in areas where other nightshades have been recently planted. These other nightshade plants include:
Mulch and drip irrigation are two ways to conserve water in your regenerative garden.
We’ve talked about the merits of mulching throughout this article, but it bears repeating that mulch is pretty fantastic for your garden as a whole.
Drip irrigation is another important way to save water in your garden. In fact, UMass Amherst notes that you use around 80% less water when you have drip irrigation correctly in place.
Regenerative gardening focuses on healthy soil, healthy food, and a healthy planet. This means no synthetic pesticides or herbicides.
Synthetic inputs create soil that is void of the normal microbe-plant relationships. These chemicals are also made from petroleum products. Overall, synthetic inputs add greenhouse gases into the environment.
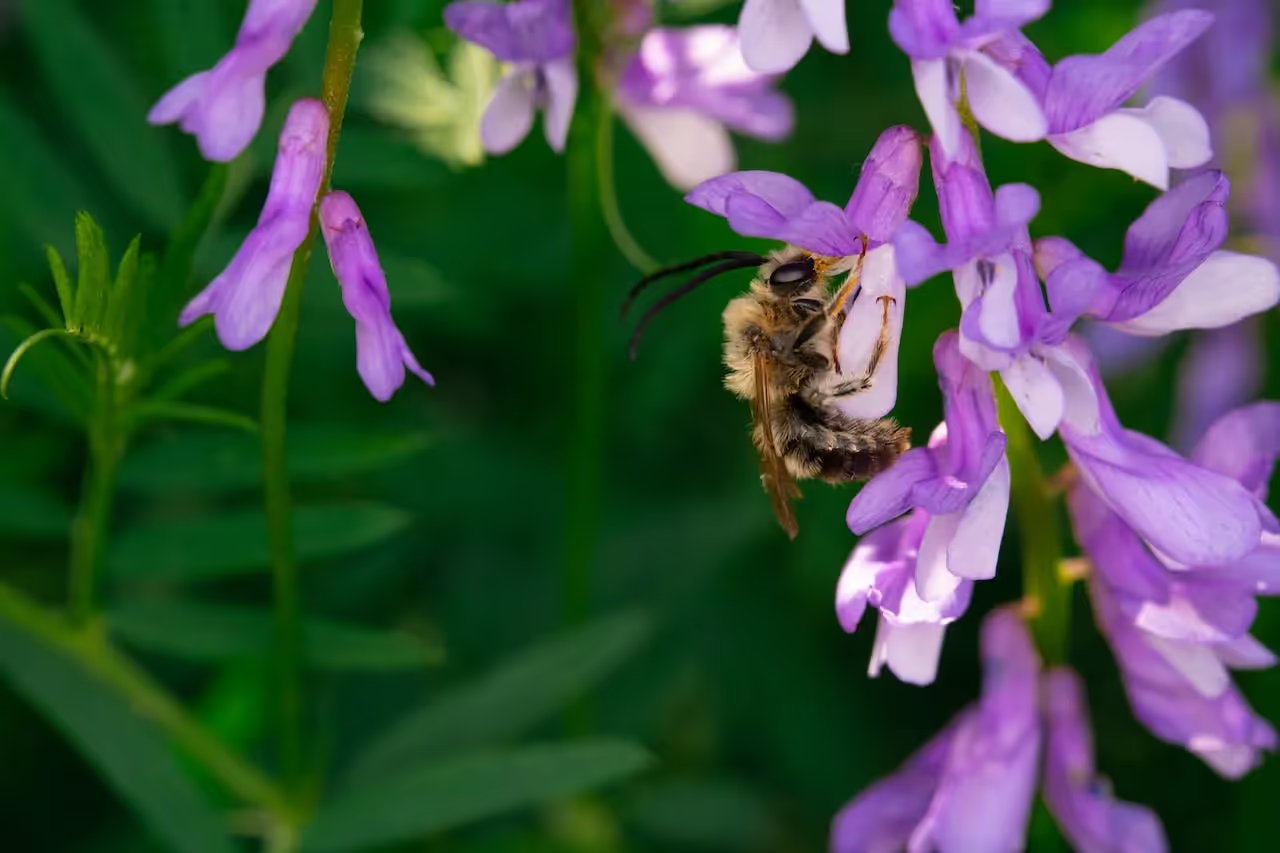
Your tomatoes will be harvested from August-October in the northern hemisphere. Once the crop is done, there’s one more step to take to nourish the soil: cover cropping.
Regenerative gardening looks to maximize photosynthesis to store carbon in the soil. You can do this with a cover crop, sown after the tomatoes are harvested.
Look for varieties of cover crop that do well when sown in cooler weather. Daikon radish can be a great choice if you noticed that your soil was compacted. Hairy vetch is a fantastic winter-sown cover crop that is shown to prevent blight in tomatoes. You can also plant a mix of daikon with hairy vetch to get the best of both worlds.
Avoid overwatering or waterlogged conditions that can lead to rot. Practice crop rotation and maintain good garden hygiene to prevent disease recurrence.
Heavy rainfall or extreme temperatures may also affect tomato growth.
To manage pests and diseases in tomatoes, it's important to be proactive.
Common tomato pests include whiteflies, tomato hornworm, root knot nematodes, and thrips.
Be observant of your tomato plants and pick off any pests that you see. A solution of soapy water applied with a spray bottle can help too.
Of course, crop rotation is another effective way to reduce the incidence of pests and disease in your garden.
Proper trellising, pruning, and air flow help to reduce disease in tomatoes. Be sure to never water your tomatoes overhead, which will also help reduce incidence of disease. Remove lower leaves if they start to touch the soil. Mulch around your tomatoes to prevent blight splash-up.
If you have had blight in the past, try to grow a blight-resistant tomato variety and be sure to rotate your nightshade plants.
